
With each new era, we were always challenged to design our writing in a way that’s more visually attractive and eye-catching. Gradient text provides your design with a stunning and refreshing appearance when used in combination with other materials. Many graphic designers are asked to design elegant texts, which are always unfinished unless they are enhanced with gradient styling. Adding a gradient to text in Adobe Illustrator appears to be a difficult task at first glance. As a result, we decided to show you a simple method of adding gradients to your text.
You must follow the given steps to design a very different and attractive gradient text:
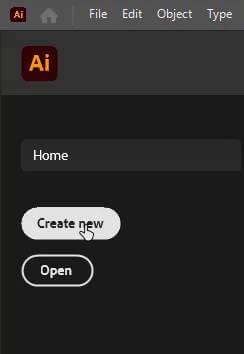
Start by opening your Adobe Illustrator and create a new document.
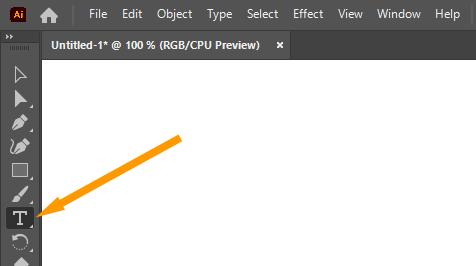
Select “Type Tool” from your left tool panel or you can press “T” from your keyboard.
Click anywhere on your artboard and type the word you want (There will appear a different text by default).
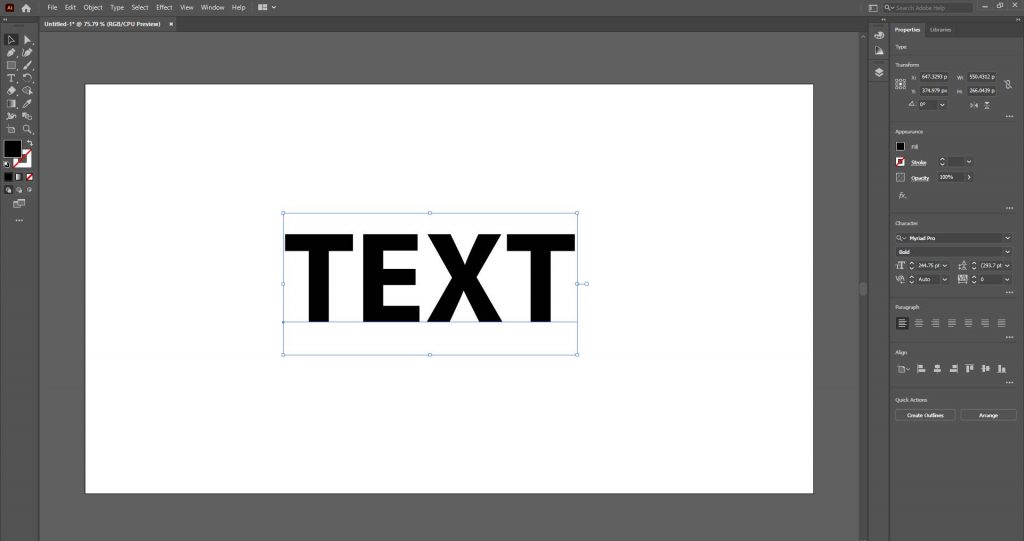
Select your text with the “Selection tool” located at the top of the left toolbar.

Resize your text by grabbing it from one corner of the selection area. You can also resize your text from the character panel that will appear on the right side of your Adobe Illustrator when you select your text. You can also change your text to bold, Italic, or other different formats as you need.
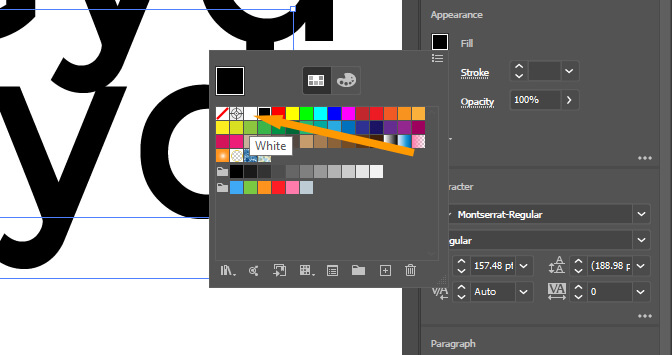
Go to the “Appearance” section in the “Properties” panel and then click on the “Fill” option, select no fill from the drop-down list of colors.
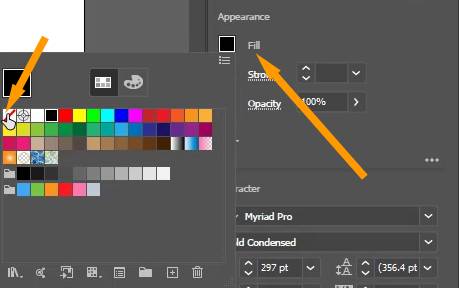
Your text will have no color and will become invisible.

After that go to the “Window” menu from the top menu bar, select “Appearance” from the list, or press Shift+F6 from your keyboard to show or hide the “Appearance” window.
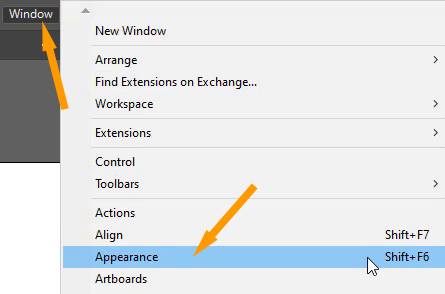
A small pop-up window will appear for Appearance.

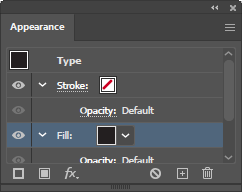
Select “Add New Fill”. It will fill your text with black color, you can change the color if you want, from the “Fill” option.
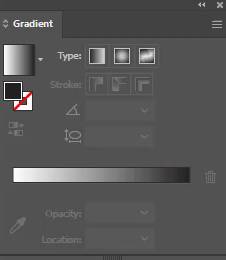
Go to the “Window” menu from the top menu bar and then select “Gradient” from the list or you can press “Ctrl+F9” from your keyboard to show or hide the gradient window.
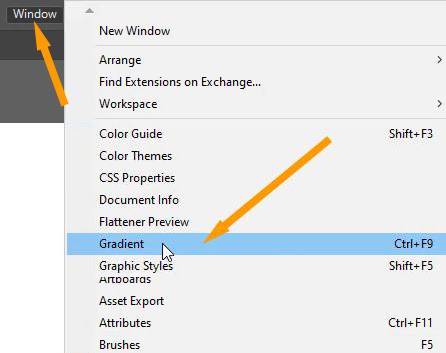
A pop-up will appear for the gradient.
Click anywhere on the Gradient Slider.
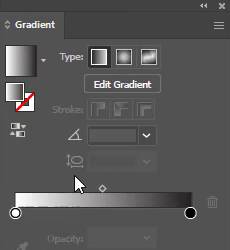
It will change your text to a gradient.

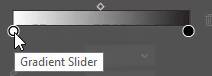
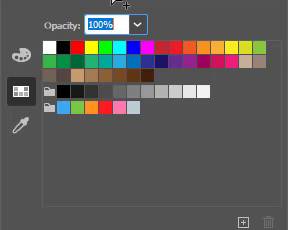
You can change the color of the gradient by clicking on small buttons located under the gradient slider. Double click on buttons and then choose swatches.
Choose any color that you like.
You can add more color swatches by clicking on the slider when the “+” sign with the pointer appears. Change the color according to your choice.
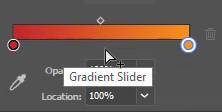
You can delete the color by selecting the button of color from the gradient slider and click on delete.
The gradient can also be changed to a different sort of gradient:
Linear Gradient
Radial Gradient
Freeform Gradient
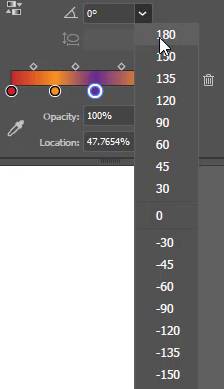
You may also adjust the angle of the gradient by selecting it from a drop-down list of available angles or by typing any angle that you wish to use in the box. After applying the angle the gradient will be shown according to the selected angle.
The gradient can be applied to any text of any size any style and color. You can apply more than two colors as a gradient to the text.

How to Add Gradient in Illustrator
You can Click Here to learn more about using Gradient Tool. You will learn “how you can add a gradient in Adobe Illustrator”.
Illustrator Gradient Text Turns Black
Select your text with the Selection tool, go to the Window menu bar, click it a drop-down list with different options will appear. Choose Appearance or Press Shift+F6 from your keyboard. From the pop up Choose the no fill option. Now apply the gradient to your text. You can see the gradient is now applied to your text.
How to Color Text in Illustrator
Type your text that you want to color in Adobe Illustrator. Choose whatever color you want from the list of colors available by selecting it from the Appearance section in the “Properties” Panel and then clicking on the “Fill” option.
The color of your text will be changed from black to a different color.


Leave a Reply