
To make an eye-catching graphic design, you must first cut text from a picture in Illustrator. As difficult as this may seem, it is quite simple. You can create stunning results in minutes by following this step-by-step guide for complete beginners. You do not need any experience to do this lesson. So let’s learn how to cut out text from an image in Illustrator
The first step is to launch Illustrator and create a new document.
Table of Contents
Add text
After that select Type Tool(T).

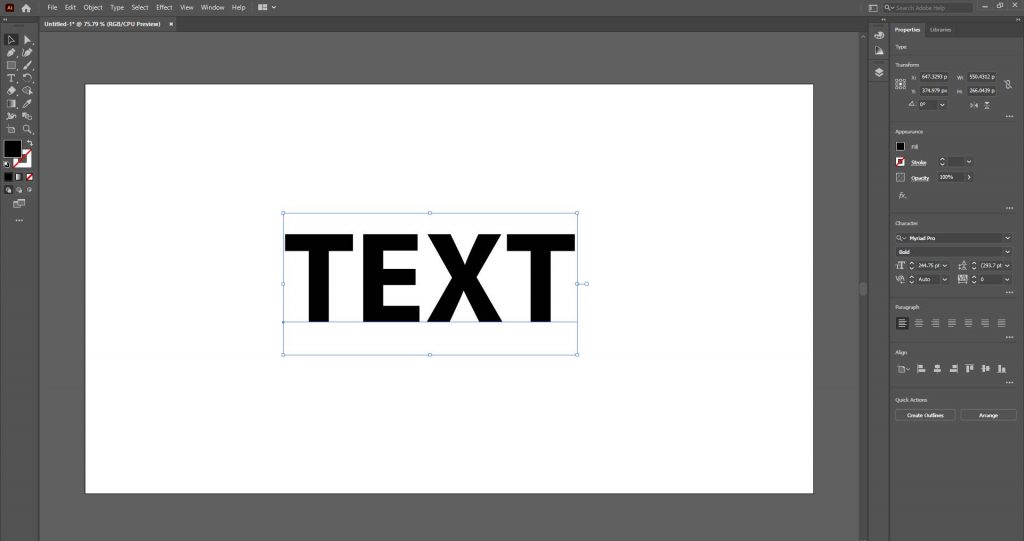
Now add your desired text.
Create Outlines
Right-click on text. Choose “Create Outlines” or press Shift+Ctrl+O.

Select text and right-click on it. Choose “Ungroup”.

Create a compound path
From the main menu bar, select “Object” then select “Command Path”, from the drop-down list. Then click “Make” or press “Ctrl+8”.

Add the image
Import any photo that you wish to use.

Move the text to the front
Select the layer or press F7 and put the photo under the text and combine both layers.


Create a Rectangle on Image.

Change the color of Rectangle to green from the color palette.


Press Ctrl+Y.

Now, select the text, right-click on it >>Arrange >Bring to front.

Select text and Rectangle and then click Minus on Pathfinder Panel.

Press Ctrl+Y.

From the main menu bar select “Object” then select “Command Path”, from the drop-down list > click “Make” or press “Ctrl+8”.


Create a clipping mask
From the main menu bar select “Object” then select “Clipping Mask”, from the drop-down list > click “Make”.


Conclusion
Cutting out text from an image in Illustrator CC is a versatile technique that can elevate your designs. By following the step-by-step process outlined in this article, you can seamlessly integrate text into images, creating visually appealing and impactful compositions.
Frequently Asked Questions (FAQs)
Can I edit the text after applying the clipping mask?
Yes, you can edit the text even after applying the clipping mask. Simply select the text with the Selection Tool or the Type Tool and make the necessary changes.
Can I use different fonts or formatting within the cutout text?
Absolutely! Illustrator allows you to apply different fonts, sizes, colors, and formatting options to individual characters or sections within the cutout text.
Can I change the image or text within the clipping mask?
Yes, you can modify the image or text within the clipping mask. Select the image or text using the appropriate selection tools and make the desired changes.
How can I release the clipping mask and revert to the original text and image?
To release the clipping mask and revert to the original text and image, select the masked object and go to the “Object” menu. From the dropdown menu, choose “Clipping Mask” and select “Release.”
Can I apply effects or filters to the cutout text?
Certainly! Illustrator offers a wide range of effects and filters that you can apply to the cutout text to further enhance its appearance and visual impact.
What is a clipping mask?
An object that clips other artwork is a clipping mask, whose shape conceals the artwork so only portions that fit within it are visible-in effect, clipping the artwork to the object. Read More about Clipping Mask.
All Done! Enjoy.


Leave a Reply