
Dividing a Circle into Equal parts in Illustrator is fun. It’s just like a pie chart, but all the parts are equal, not greater or less. You probably have seen circles that are divided equally. But it’s the time to make one for yourself or your client.
The best part of dividing a circle is when you color every part differently. Any color can be given to any part of the circle. You can separate it or marge it and place just like you want.
You can also learn:
- Divide a Rectangle into 3 Equal Parts in Illustrator
- Make a Circle in Illustrator
- Rotate Objects Around Circle in Illustrator
- Make a Hollow Circle in Illustrator
- Type in a Circle in Illustrator
- Type on Bottom of Circle in Illustrator
- Type Inside a Circle in Illustrator
I have divided rectangles into equal parts but when it comes to Circle it’s a bit different method. The method is easy to understand but if you skip any step you may not get the results. Many beginners don’t have an idea of how to divide a circle into equal parts. But don’t worry, we are here to help you.
If you don’t have any idea to divide the circle, then this tutorial is for you. In this tutorial, we will give you a step-by-step method to divide a circle into 3 equal parts.
Let’s Start.
Table of Contents
Create a New Document in Illustrator
First of all, start by Creating a New Document in Illustrator.
Step 1: Create a New document by overhead menu File > New.
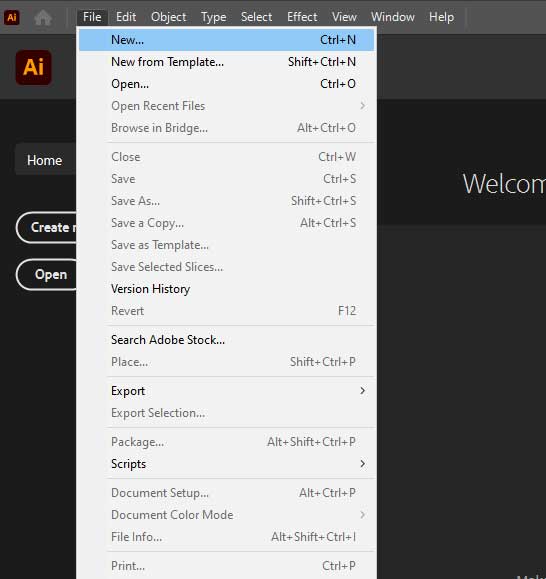
Step 2: From the New Document Dialog box select the “Common” Document.
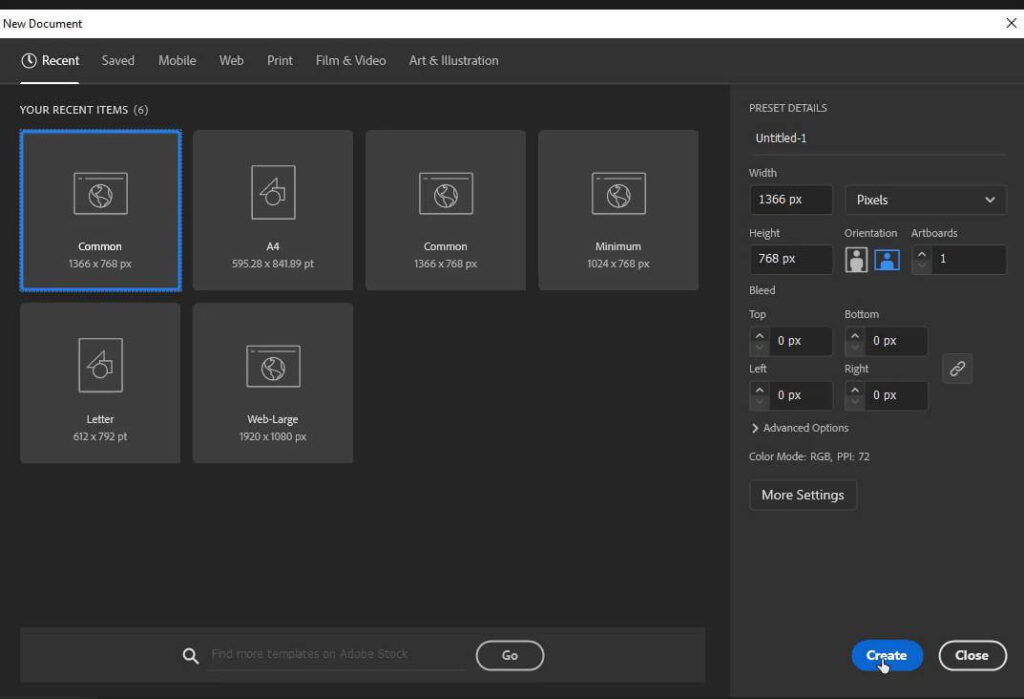
Step 3: Adjust Preset Details if you want and click “Create”.
Create a Circle
Create a perfect circle by using the Ellipse tool in the illustrator.
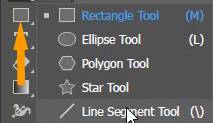
Step 4: Right-click on the Rectangle tool and select the Ellipse tool.
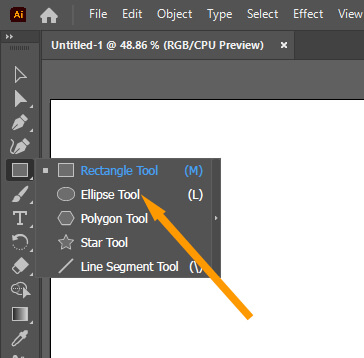
You can also press L from the keyboard to activate the Ellipse tool and then create a circle.
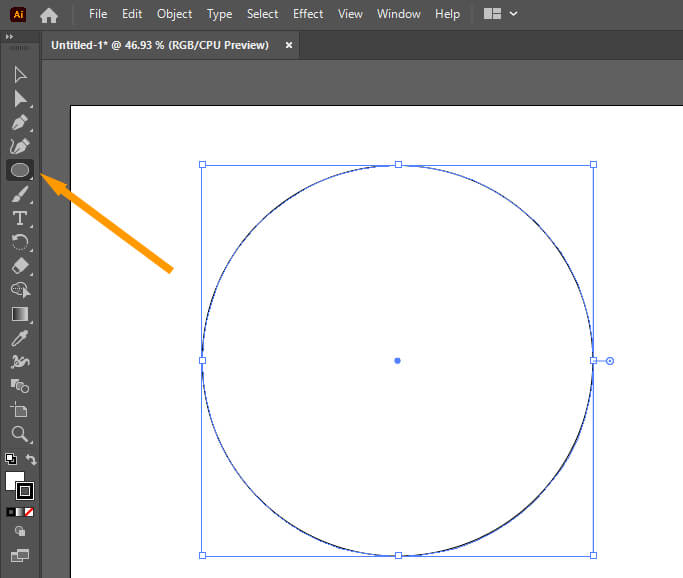
Step 5: Hold the Shift key and then draw a circle on the artboard.
Fill any Color in the Circle
In the circle that is drawn, any color can be filled inside it according to your choice.
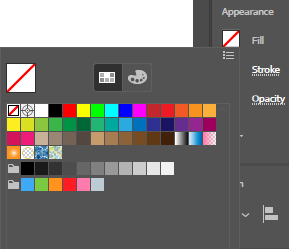
Step 6: Set Stroke to None.

Step 7: Fill any color in the Circle according to your choice.
Step 8: Unselect the circle by using the Selection Tool.

Click on anywhere on the artboard to unselect the shape. Always keep in mind that if the circle is selected, you will not be able to draw a line from the center of the circle.
Draw a Line on the Circle
Now it’s the main and necessary part of the tutorial, draw a straight line on the top of the circle.
Step 9: Select the Line Segment Tool from the left toolbar, or you can also press \ from the keyboard to use the Line Segment Tool in Adobe Illustrator.
Step 10: Draw a straight line from the center of the circle by pressing & holding the Shift key on the keyboard in a way that one point is outside of the shape.

Copy and Rotate the Line
Now it’s time to copy the line on the circle and then rotate it.
Step 11: Select the Rotate Tool from the left toolbar or press R from the keyboard.

Step 12: Press Alt from the keyboard and click on the Anchor point of the line that is located in the center of the circle.

Step 13: As you release the click the Rotate panel will appear.
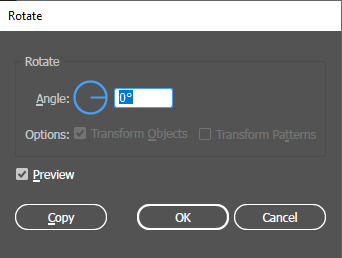
Step 14: In the Angle add the value 360/3.

Step 15: Copy the Angle.
Step 16: Press Ctrl+D once from the keyboard to make the copies of Line.

Step 17: Grab the Selection Tool from the left toolbar.
Step 18: Select the Circle by dragging the box with the left click all over the circle.

You will see that the lines are placed at equal distances on the circle and divided the circle into 3 equal parts.
Color the Circle Parts with Shape Builder Tool
Now it’s time to circle the parts of a circle with the shape builder tool, this will help to divide the circle.
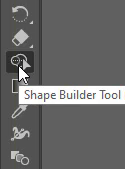
Step 19: Select the Shape Builder Tool from the left toolbar or press Shift+M from the keyboard.
You can see that the circle is divided equally by the lines and the divided part are visible.

Step 20: Select any color from the Fill.
Step 22: Bring the Shape Builder tool on to the shape, you will see one part is selected.
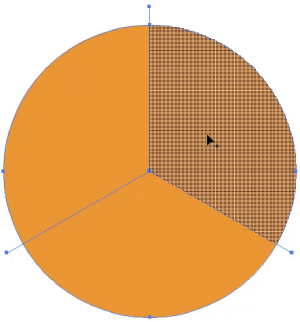
Step 21: Click on the part of the Circle. You will see that it is filled with the color that you have selected.

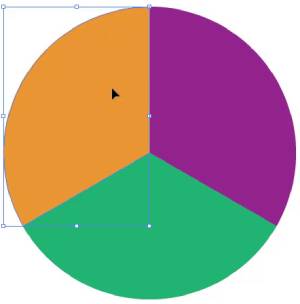
Now repeat this for another part of the circle.

You can see here that we have got 3 equal parts of the Circle in Adobe Illustrator using Line Segment Tool, Rotate Tool, and Shape Builder Tool.
Grab the Selection Tool from the left toolbar and select any part of the circle.
You can separate the parts of the circle from the other parts at any distance.

Also, you can merge them back together into their actual position.

This is How to Divide a Circle into 3 Equal Parts in Illustrator. The process is easy but it needs full concentration to perform each step. With the help of the given method, you can divide a circle into 5, 6, 10, 8, 12, or multiple parts in Illustrator.
It’s Easy to Learn How to Divide a Circle into 3 equal parts in Illustrator.
Now you know how to divide a circle into 3 equal parts. You can divide the Circle into more parts as well in the future.
How to Divide a Circle into 5 Equal Parts in Adobe Illustrator
To divide Circle into 5 equal parts, add the value 360/5 into the Rotate panel, and then copy it and press Ctrl+D from the keyboard 3 times. The circle is divided into 5 equal parts in Illustrator.
How to Divide a Circle into 12 Equal Parts Illustrator
To divide a Circle into 12 equal parts, add the value 360/12 into the Rotate panel, and then copy it and press Ctrl+D from the keyboard 10 times. The circle will be divided into 10 equal parts in Illustrator.
In this tutorial, you have learned to divide a circle into 3 equal parts in Adobe Illustrator. This tutorial can be used to divide the circle into many pieces as you want. We recommend you perform every step with full concentration so that you get the correct results. If you have any questions related to circles, feel free to ask.
All Done! Enjoy.


Leave a Reply