
Drawing in Illustrator can be a great task for a designer. When it comes to eyes, the real effort starts right there. Because many times, I also faced the same thing that you are facing. That is why you are here. But with time, practice and the right steps can help you draw anything easily and with more advancement.
Different parts of the eyes can be drawn and then joined together to make a perfect eye.
You can also learn:
- How to Draw in Illustrator
- How to Draw a Line in Illustrator
- How to Draw a Spiral in Illustrator
- How to Draw Shapes in Illustrator
- How to Draw Umbrella in Illustrator
If you are new or don’t have the idea to draw eyes in Illustrator, then you are in the right place. This tutorial is perfect for you. In this tutorial, you are going to learn how to draw eyes in Adobe Illustrator.
Let’s start.
Table of Contents
How to Make an Eye in Illustrator (Quick & Easy)
You can easily create an eye using a few shapes. But before you draw an eye, make sure you know the right way to use every shape and then arrange them in a way to make an eye. You can also color the eyes using different colors.
We will discuss the step-by-step method with you. So follow all the given steps to get accurate results at the end.
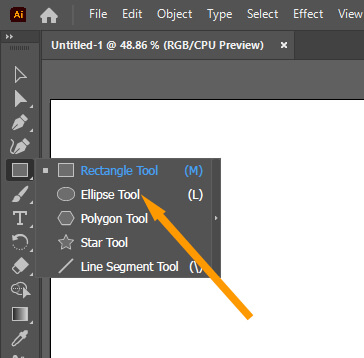
Step 1: Grab the Ellipse Tool from the left toolbar. You can also press L from the keyboard to use the Ellipse Tool as well.
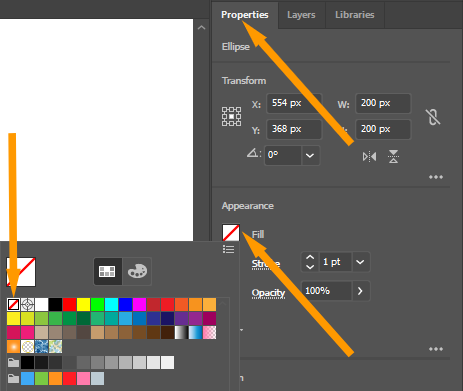
Step 2: Set the Fill to none by Properties > Appearance > Fill > None.
Step 3: Press & hold Shift and then drag to make a circle.
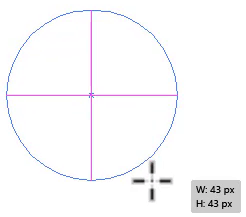
A circle is drawn.

Step 4: Copy the circle by pressing Ctrl+C on the keyboard.
Step 5: Paste the circle by pressing Ctrl+V on the keyboard.
The circle is pasted.

Step 6: Arrange the circles on top of each other as they are combined, and a shape is formed by placing them on top of each other. As you can see, we did here. The circles should look like this.

Step 7: Grab the Selection Tool from the left toolbar.

Step 8: Select both circles together.

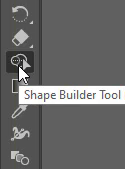
Step 9: Grab the Shape Builder Tool from the left toolbar.
Step 10: Build the shape as we did here.

Using the shape builder tool can help us get the center part of the circles that look exactly like eyes. So we will use it. This is the easiest way to get the outer layer of an eye.
Step 11:Grab the Selection Tool from the left toolbar.
Step 12: Select the shape from the center. This is the shape that we need to make an eye.

Step 13: Select and drag the object to another location.

Step 14: Delete all the other remaining parts by selecting them using the Selection Tool and then pressing the Delete button on the keyboard.
Step 15: Adjust the position of the outer layer of the eye.
Step 16: Grab the Ellipse Tool again from the left toolbar.
Step 17: Bring the pointer to the center of the shape.

Step 18: Press and hold Alt+Shift and you will see the pointer change to this.

Step 19: Now click and drag to make a perfect circle that touches the outer shape.

Step 20: Repeat and create a smaller circle.

Step 21: Select the smaller circle by using the Selection Tool.


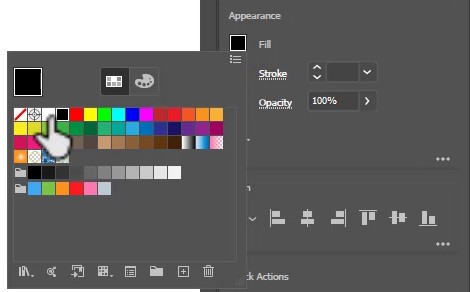
Step 22: Go to Properties > Appearance > Fill and then select a black color.

We set the inner circle to a black fill color.

Step 23: Grab the Ellipse Tool from the left toolbar.
Step 24: Press and hold the shift key to make a small circle.

Add a white fill and stroke color to it.
Step 25: We will use this circle to add shine to the eye.
Step 26: Place it on the eye as we did here. You can change location according to your choice as well.

Here is the eye that we have drawn using a different shape. If you have followed the right steps, the eye that you made should also look the same.

Step 27: Select the outer circle and fill in any other color that you want to use for the eye. Here we are using a dark brown color to fill in the eye.
Step 28: Set the stroke color to none.
Step 29: Select the outer layer of the eye by using the Selection Tool.
Step 30: Go to Properties > Appearance > Fill > select the gray color to add it to the outer area.
Here is the eye after adding colors to it.

You can also add different colors to the eye as well.

Click here to download the source file we used in this tutorial.
You have learned to draw Eyes in Adobe Illustrator.
In this tutorial, you have learned to draw eyes using different tools. Now you can easily draw eyes for your designs without wasting much time.
You can also watch the detailed video tutorial, to learn to draw Eyes in Illustrator that is given at the top.
Have More Questions?
If you have any questions related to drawing eyes in Illustrator, you can ask in the comment section below.
All Done! Enjoy.


Leave a Reply