
There are multiple ways to fill in a shape. If you want to fill a shape with a color, pattern, or image of your choice, then that’s a good idea to make your designs more attractive and lovable. Sometimes we don’t want a whole image in our design we just want some part to be displayed then that’s the best idea to fill a shape with the image to show some specific area. While designing cards, brochures, or any type of design, we love to use images by using shapes.
Filling colors in a shape is important when you are designing colors for a project. So we have decided to show you different methods to fill any shape. You can use any color by the Fill Tool or pattern to fill the shape.
So in this lesson, we are going to show you different methods to fill a shape in Adobe Illustrator. You can pick any method that suits you the most.
Table of Contents
How to Fill a Shape in Illustrator
1st Method: Fill the shape by using Colors
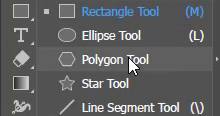
Step 1: Draw any shape of your choice.
(We are using Polygon here).
Step 2: Long press on the Rectangle tool and then select “Polygon tool” from the offered list of tools.
Step 3: Click and drag the mouse pointer on the artboard to draw a Polygon.

Step 4: Go to the Properties panel, In the appearance, click on “Fill”.
Step 5: A color palette will appear, select your desired color.
Step 6: The shape will be filled with the selected color.

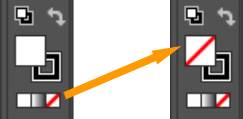
Step 7: If you want to fill any other color according to your themes then go to the left toolbar and click on the “Fill Tool” or you can also press “X” from the keyboard.
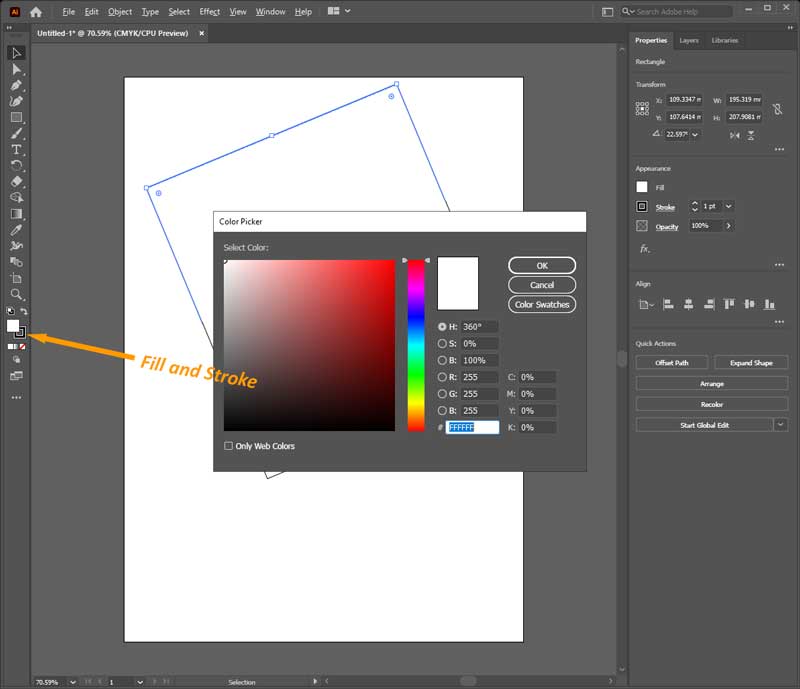
Step 8: Color Picker palette will appear. Select any color of your choice.
Step 9: If you want to add color by code then you can also add code for your color.
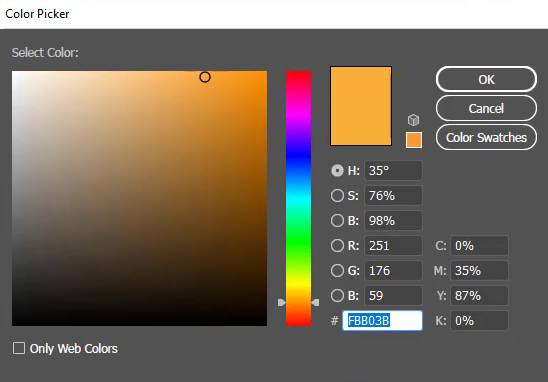
Step 10: The color of the code will appear in the shape.
2nd Method: Fill the shape with any image/pattern
Now we will fill the shape with a pattern. So let’s see the steps:
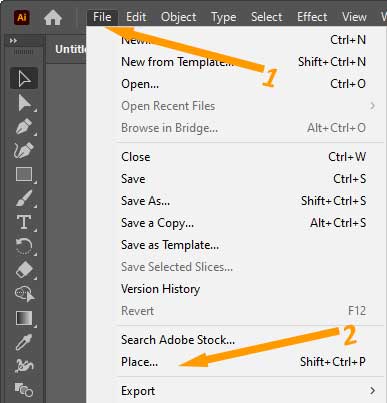
Step 1: Go to the “File” menu and Click “Place” or press “Shift + Ctrl + P” from the keyboard.
Step 2: Select the pattern from the location and click on Place.

Step 3: Here a small pattern with the pointer will be shown. Click anywhere to place the pattern .

(Remember the Open and Place options can work here. We can choose any method to add a pattern to the artboard. If we choose Open then the pattern might open in a new artboard. So Place goes perfectly here.)
Step 4: Set the shape to no fill if there is any color filled.
Step 5: Bring the shape to the front.

How to fill a shape in Illustrator with a pattern
Step 6: Select the shape and pattern by using Ctrl + A or we can also select by using the “Selection Tool”.

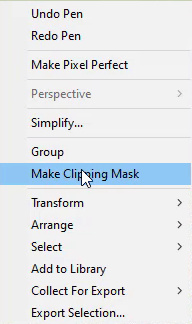
Step 7: Right-click and from the list select “Make Clipping Mask”.
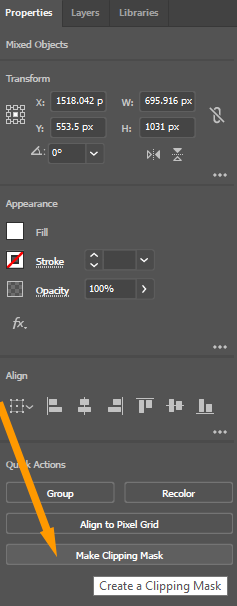
You can also go to the “Properties” panel and from “Quick Actions” select “Make Clipping Mask”.
Step 8: The pattern will not be displayed fully, we will see only the part of the pattern that is covering our shape, and only the selected lines will show us the pattern size.

Step 9: Drag the pattern and fill the shape with the area that we need.

We can fill any shape with any image, pattern, and color of our choice to increase the looks of our designs. So, the above given are two main steps to fill in a shape in Adobe Illustrator.
You have learned to fill a shape in Adobe Illustrator.
In this tutorial, you have learned two different ways to fill a shape in Illustrator. You can fill any shape with gradients, patterns, or colors using the Fill Tool.
Have More Questions?
If you have any questions related to filling a shape in Adobe Illustrator, you can ask in the comment section below. We have also answered some most frequently asked questions below.
How to fill a shape in Illustrator with an image
To fill a shape with an image in Illustrator, select Draw inside which is available under the Fill Tool. Now place the image using the File > Place. Drag and adjust the image in the shape. Due to Drawing inside, the place image will appear only in the shape.
Shortcut to fill color in Illustrator
You can select Fill Tool by pressing X from the keyboard or double click on the Fill Tool that is available in the left toolbar.
Fill the Background in Illustrator
You can add background fill to any document in Illustrator by File > Document Setup. Select the fill color of your choice from the Document panel and don’t forget to check Simulate Colored Paper and then select OK. The selected fill will be applied to the background.
How to use Fill Tool in Illustrator
You can use the Fill Tool to add fill colors to any object. Select any object or shape, and then double-click on the Fill Tool that is available in the Toolbar in a square box. select any color from the color picker panel and select OK. The selected color will be applied to the object.
Fill Color not Showing in Illustrator
Make sure to select the object first before selecting the fill color. Otherwise, you will not be able to see the fill color in the shape in Illustrator.
All Done. Enjoy!


Leave a Reply