
The most amazing part of your design is that you don’t have to create every brush for the design. You can get the free illustrator brushes and then use them in your designs. Brushes can help you to work quickly and you don’t have to spend a lot of time working on any project.
You can also watch a detailed tutorial, below to learn how to install brushes in Adobe Illustrator.
You can also learn:
- 20+ Free Illustrator Brushes
- How to Change Brush Size in Illustrator
- How to Make a Brush in Illustrator
There are a lot of brushes available that can easily be downloaded and worked with them. We have also created a collection of amazing Brushes that can be downloaded for free and then use in your upcoming projects.
If you are new or don’t have any idea to install brushes in Adobe Illustrator, then you are in right place. In this tutorial, you will learn how to install brushes in Adobe Illustrator.
So let’s start.
Table of Contents
How to Install Brushes in Adobe Illustrator
To install brushes in Illustrator, go to Window > Brushes. Brushes panel will appear. Click on Brush Libraries Menu and you will see a list of different options. Click on Other Library. “Select a Libray to Open:” panel will appear. Select the brush library from the panel and click Open. Now use the brush.
Step 1: You can download 20+ Brushes for free in Illustrator. Here you can click on the given link to proceed to the download page for the brush.
Step 2: You will be directed to a new page. Click on the link to download the brush.
Step 3: The brush will start to download. The download will be available after a short time depending on the internet speed you have.
Step 4: As the download completes, right-click> Show in Folder.

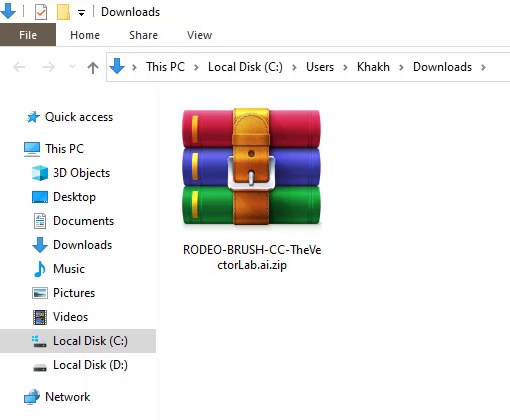
Step 5: Here you will find a .zip file in the folder.
Step 6: Create a new folder Ctrl+Shift+N or right-click> New > Folder if you are working on Windows.

Click and drag the .zip file to the new folder so that all the files stay in the folder that will appear from the zip right after extracting.
Now open the folder by double click or right click and select Open.
Right-click on the .zip file and select Extract here.

The files will be extracted and you will see .ai files.

Now going to Adobe Illustrator, go to Window > Brushes.
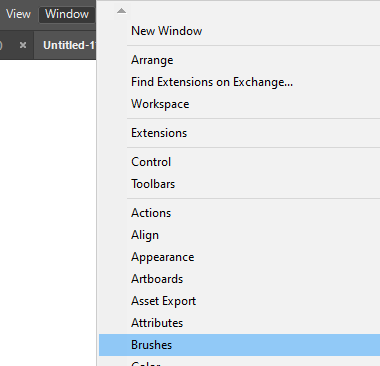
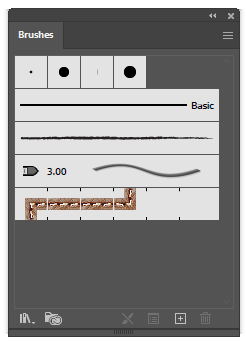
Brushes panel will appear.
Click on Brush Libraries Menu. A list will appear with different options. Select the Other Library option.

“Select a Library to Open:” panel will appear. Select the file that we have extracted from the location and click Open.

A new panel brushes panel will appear with different brushes in it.

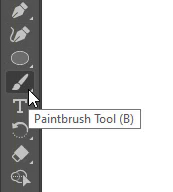
Grab the Paintbrush Tool from the left toolbar.
Select any brush from the new brush panel having all newly installed brushes.

Use the brush now using the Brush Tool. Here is the brush right after using it.

You have learned to install brushes in Adobe Illustrator.
In this tutorial, you have learned to install brushes in Adobe Illustrator. You can easily install any brush using the same method given above.
Read also: How to Change Brush Size in Illustrator

You can also create your own brushes in Adobe Illustrator which is not a difficult task. We have a complete guide for you to help you make a brush in Illustrator without getting stuck at any point.
Have More Questions?
If you have any questions related to installing a brush in Adobe Illustrator, ask in the comment section below. We have also answered some most frequently asked questions below.
Brush texture Illustrator
You can download texture Brushes for Adobe Illustrator. We have a collection of 20+ Brushes in which Texture brushes are also included.
All Done! Enjoy.


Leave a Reply