
Throughout this post, I will demonstrate why and how to use the pattern-making tool in order to create a polka dot pattern.
I’m going to draw a polka dot now. The Ellipse tool is what I am going to use.
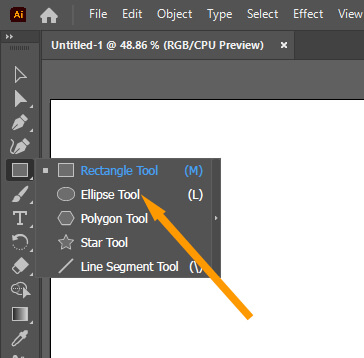
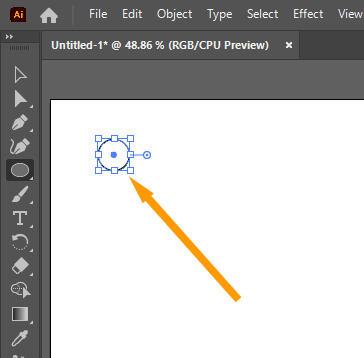
To create a precise circle, hold down Shift while drawing.
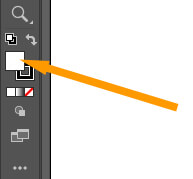
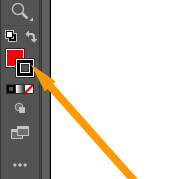
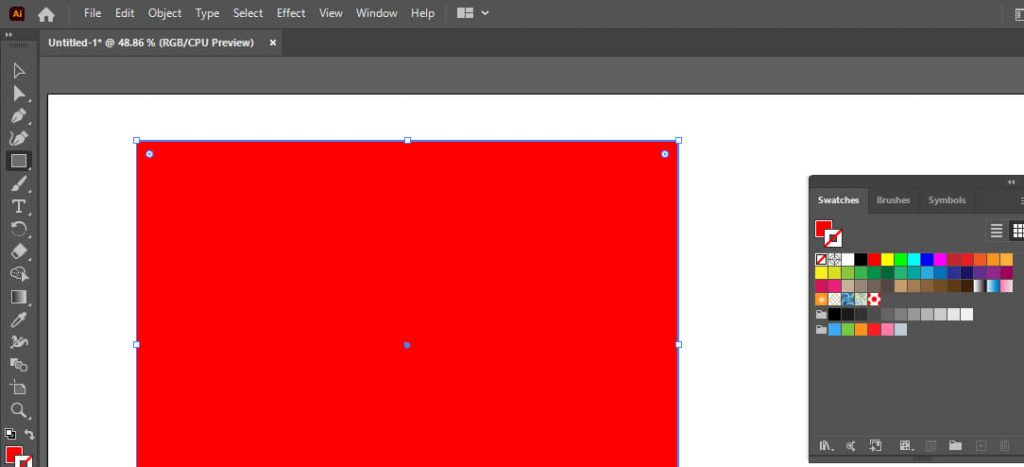
Click the fill color option to change this to red.
Choose the color of your choice.
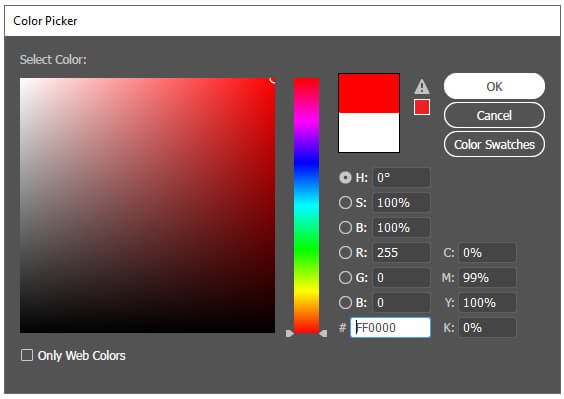
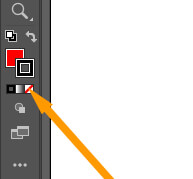
Color has been filled, but stroke appears here.

Select the stroke option.
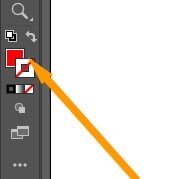
Now select the lower none color option.
Stroke color is selected to none.
If you need to update them later, you can do so as well.

To make a pattern, go to Object >> Pattern >> Make.
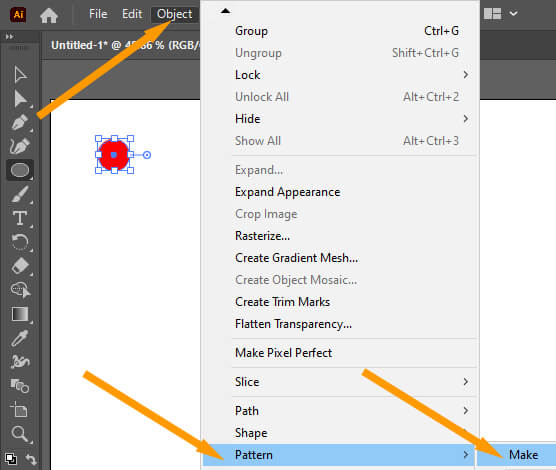
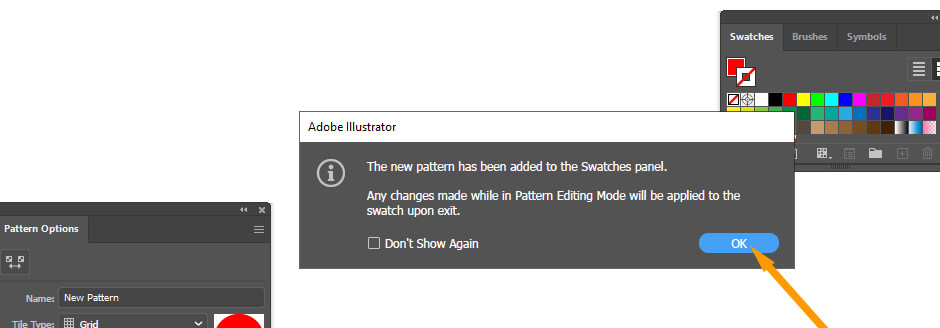
You should now have access to the pattern-making tool. First click on OK Button.
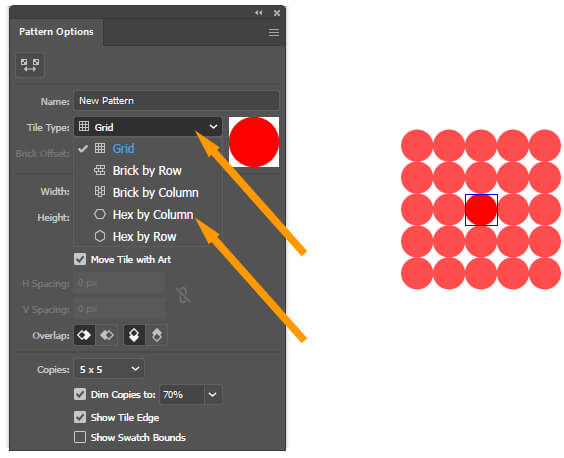
The polka dots are currently placed in grids as the default. However, they can be changed. You can choose between five different tile types. For demonstration, Hex by Column really works best.
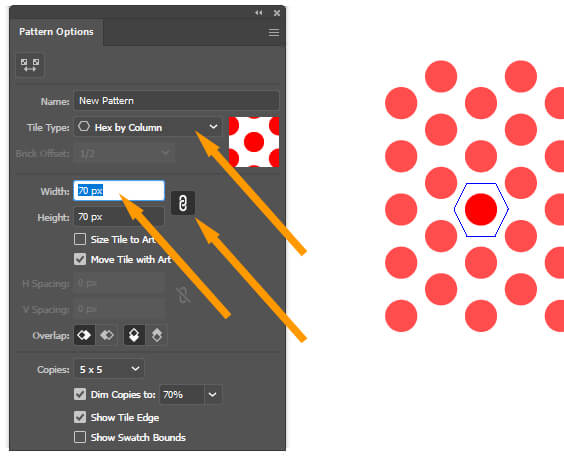
It seems that the space next to each other is a little too close, but we can adjust the spacing. Make sure the link option is selected.
Now, increase the values of width.
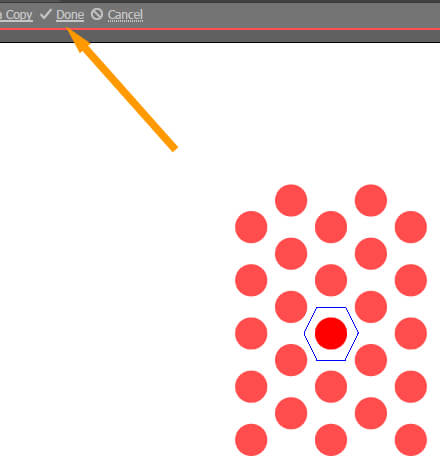
You can then save it by clicking Done once you are satisfied with the pattern.
This polka dot can be removed now.

I am drawing a rectangle now. Pattern swatches function just like color swatches. You can apply them to your artwork using your type or brush tool.
Select the fill color option.
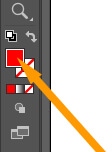
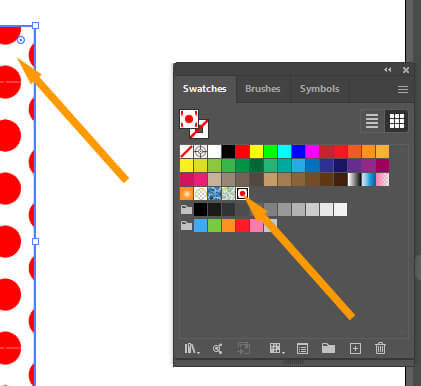
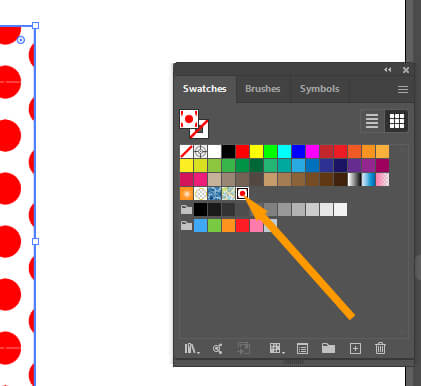
Now select the New pattern from the swatches box on the right side. Open the swatches panel if you need it to. If you are unable to find it, go to the Windows menu and select Swatches.
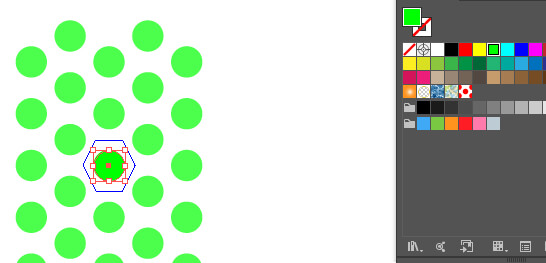
The polka dot button may be edited by double-clicking on it. Then you’ll be back in the pattern maker option.
you could try to change the color. You’ll need to select the polka dot in the middle with the Selection tool. The color picker and the palette can now be used to select a color.
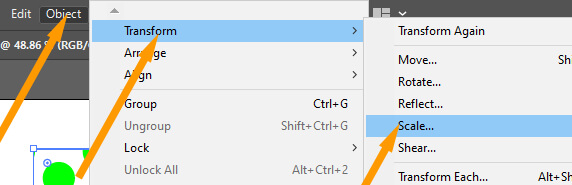
you can try to make the dots a bit larger or smaller. Go to Object >> Transform >> Scale to do that.
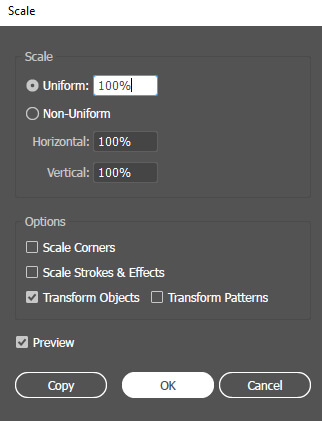
Upon pressing the button, it will open the scale box. To adjust the size, you can enter a value or use the arrow keys. It is possible to also make the polka dots larger than the original polka dot since this is a vector pattern.
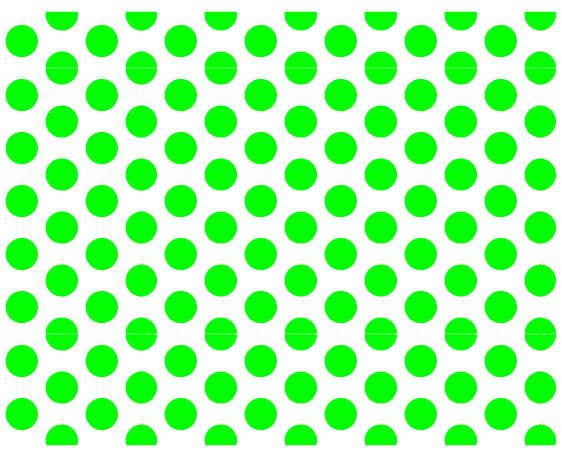
The final result is here.
Leave a Reply