
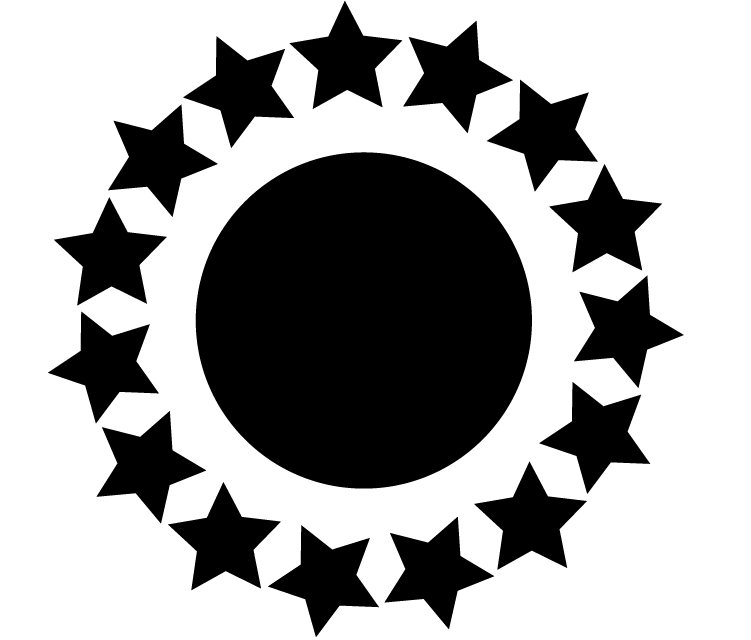
For instance, if you have a circle and you want to place stars around the circle. The stars are not lined up correctly when you’re doing it by hand. Although the circle does not circle perfectly around the center, it still yields a result. Therefore, I’m going to show you How to Rotate an Object Around a Circle in Illustrator.
Table of Contents
Rotate Object Around Circle in Adobe Illustrator
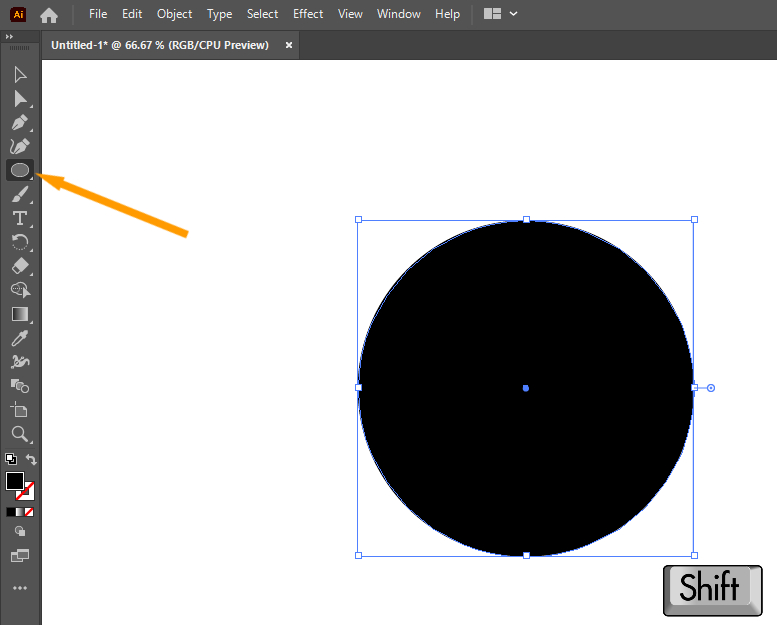
We’re going to start a new document here. To create a circle, I’m going to use the ellipse tool. As you hold down shift, we’ll get the perfect circle, so go for it.
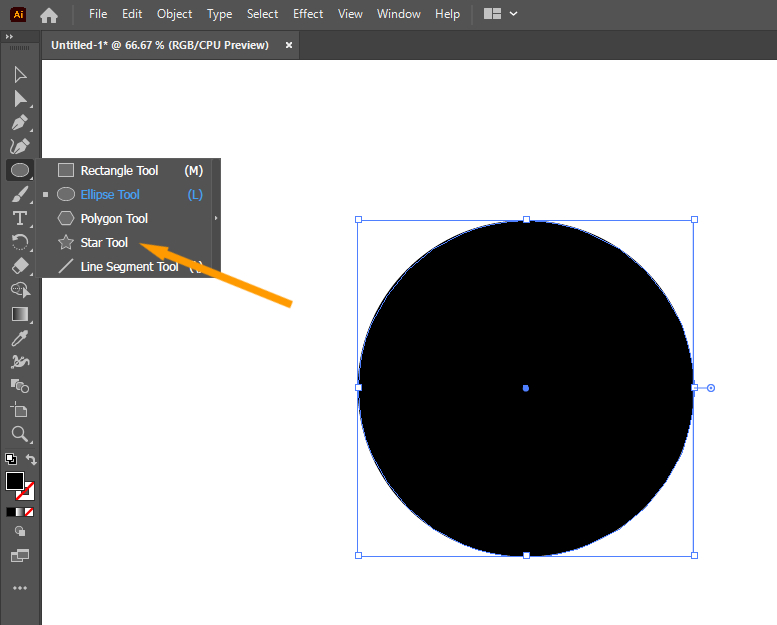
We are going to use the star tool under the ellipse tool.
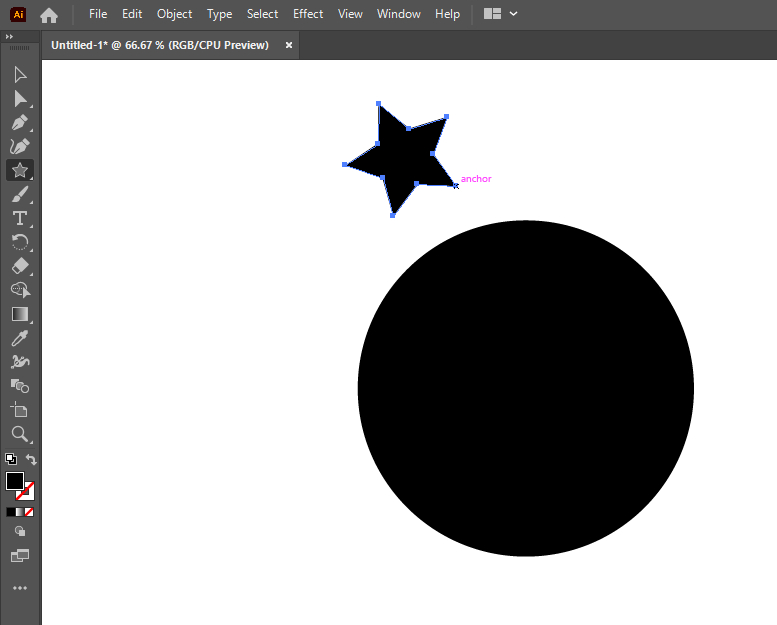
Now we will just drag this out.
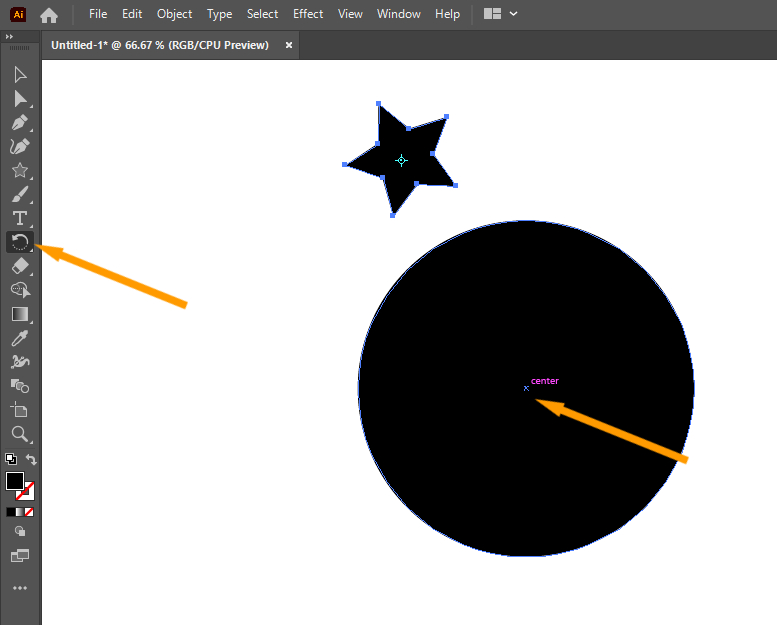
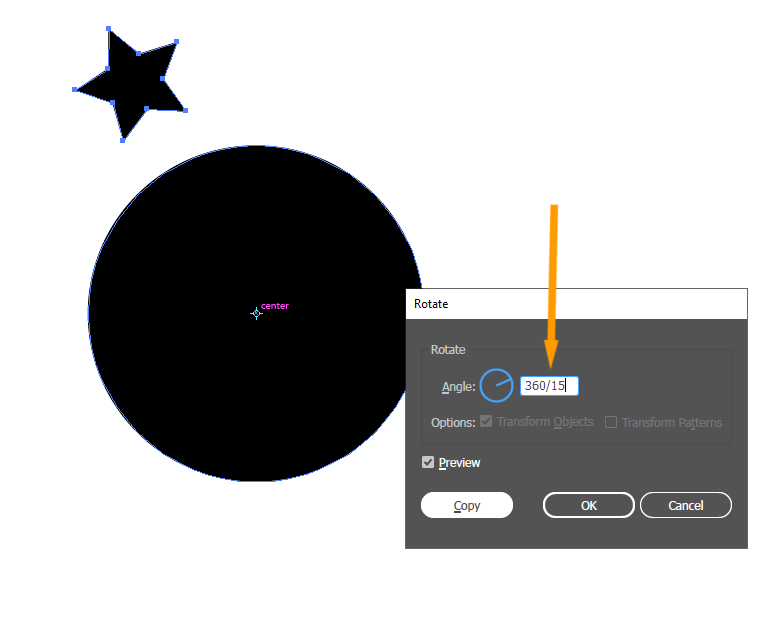
Take the rotation tool from the right toolbar. While holding down the alt key, we will click in the center of the circle.
A pop-up window will appear.
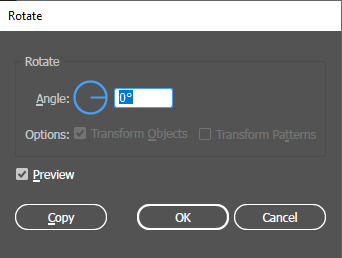
Since you know that a circle is 360 degrees, we are going to type 360. Once that’s typed, add a forward slash to it, followed by the number of objects you want going around it. So type in 15 if you want 15 stars around it.
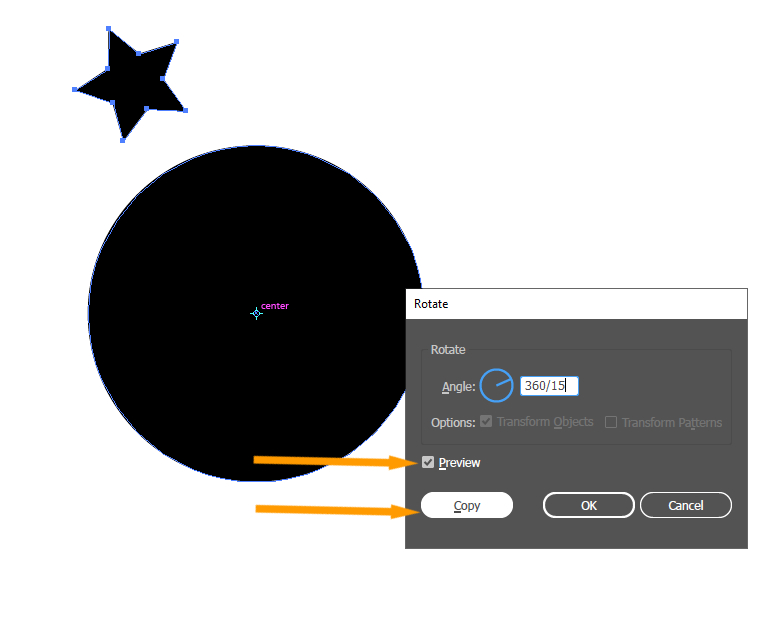
if you’d like to look at it before you release it, hit preview. you’ll see exactly how it angles the star. Once that is done, hit the copy button.
Keep in mind: don’t click OK.
We noticed it also made a copy over here.
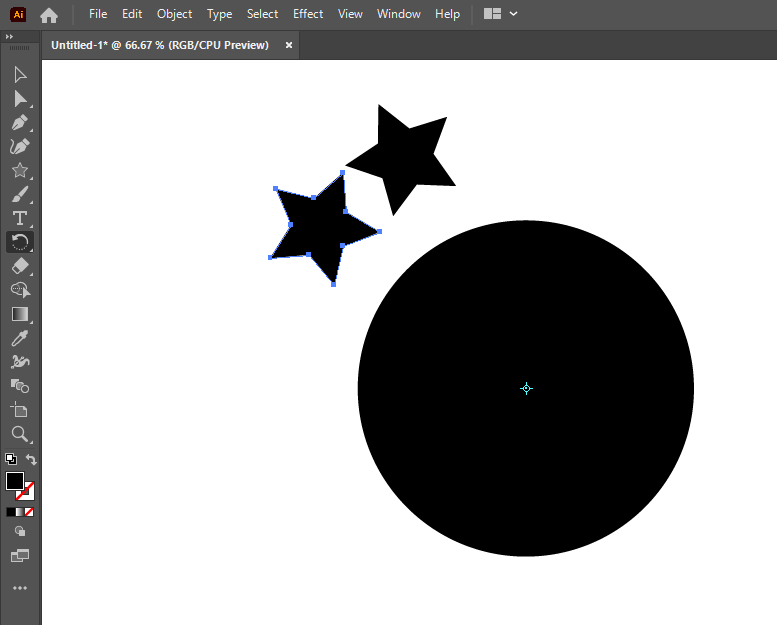
Make another copy of the document by hitting Control D.
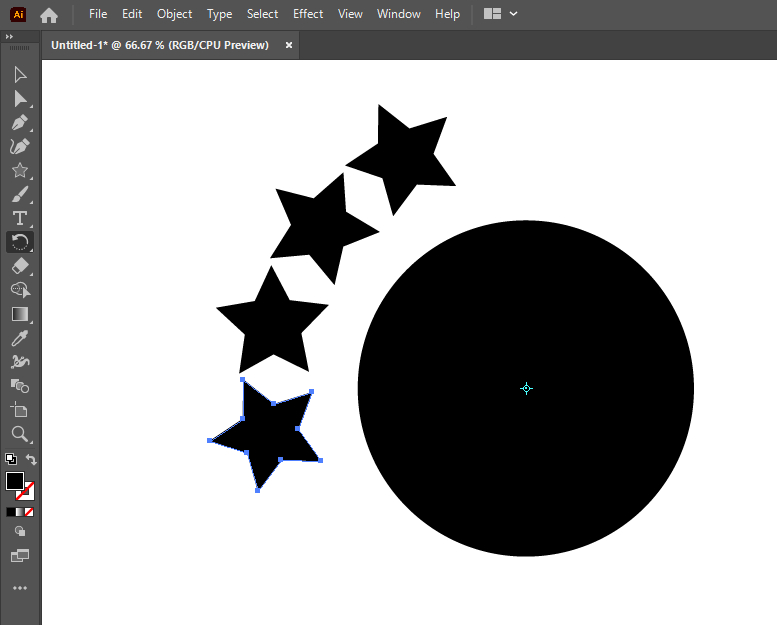
Just hold down Control D and it will automatically copy for you instead of hitting Ctrl D a bunch of times.
In case you have any suggestions for future tutorials, just let me know in the comments! Hope you are well, and I hope you have a great weekend.
Conclusion
Rotating an object around a circle in Illustrator is a powerful technique that can enhance your designs and add an element of movement. By following the steps outlined in this article, you can experiment with rotation effects and create visually captivating artwork.
Frequently Asked Questions (FAQs)
Can I rotate multiple objects around a circle simultaneously?
Yes, you can. Select all the objects you want to rotate and group them together using the “Group” option in the “Object” menu. Then, follow the same steps mentioned above to rotate the grouped objects around the circle.
How can I change the direction of rotation?
To change the direction of rotation, simply enter a positive angle value for clockwise rotation or a negative angle value for counterclockwise rotation in the Rotate dialog box.
Can I resize the circle after rotating the object?
Yes, you can resize the circle at any time. Select the circle using the Selection Tool, and then click and drag any of the anchor points to adjust its size. The rotated object will continue to rotate around the modified circle.
Can I animate the rotation effect in Illustrator?
While Illustrator is primarily a vector-based design software, you can export your artwork to Adobe After Effects or other animation software to create animated rotation effects.
Is it possible to rotate an object around an ellipse instead of a circle?
Yes, you can follow a similar process to rotate an object around an ellipse in Illustrator. Instead of using the Ellipse Tool to create a circle, use it to draw an ellipse with the desired proportions.


Leave a Reply