
Adobe Illustrator provides the facility for Screen Printing. With the help of screen printing, design can be printed on fabrics and t-shirts. Color separation is used to prepare artwork for screen printing. Adobe Illustrator provides the best tools to separate colors in illustrator for screen printing. It’s the most common method for the design before screen printing.
Table of Contents
Color Separation
It is a process to separate the colors of any design into different layers. Each color will have separate layers for screen printing.
If you want to print a design on t-shirts or other fabrics, we recommend you separate colors before printing. Colors are divided into 4 palettes. When the separate colors are printed, the design combines again and the original design is produced.
You can also read:
- Create a Color Palette in Illustrator
- Change Background Color in Illustrator
- Change the color of an Image in Illustrator
- Change the color of an Artboard in Illustrator
- Select all objects of the Same color in Illustrator
If you don’t have any idea how to separate colors in Illustrator for screen printing then you are in right place. In this tutorial, we are going to mention step by step method to separate colors in Illustrator for screen printing.
Let’s Start.
(Quick & Easy)Separate Colors into layers in Illustrator for Screen Printing
This is a quick tutorial for all those who are beginners and are passionate to learn the basic and advanced features of Adobe Illustrator. We have provided easy-to-understand tutorials for everyone.
Step 1: Open Design
First of all, you need to open the design that you want to use to separate colors into layers in Illustrator for screen printing.

Note: If you have an image and you want to separate the colors of an image then first trace the image.
Step 2: Open Layer panel
Now it’s the time to open the layer panel which will be used to place all colors into different layers.
In the main menu bar go to Window > Layer.
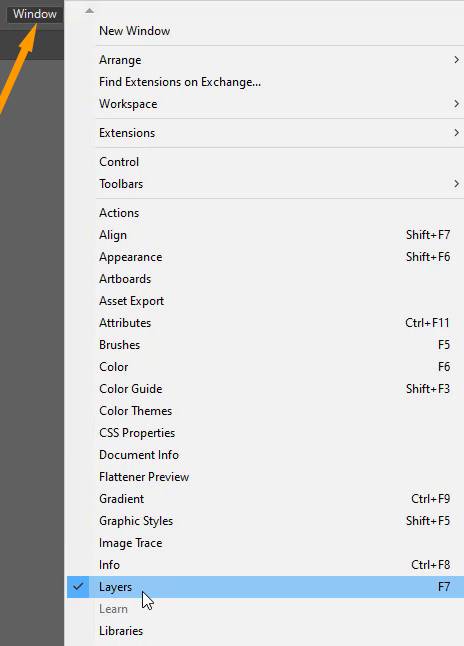
The Layer panel will appear.
Note: You can also find the Layer panel on the right side of the workspace.


Preparing Artwork for Screen Printing in Adobe Illustrator
Step 3: Select Color
Now select any color from the design according to your choice.

Press Ctrl + C from the keyboard to select the color.
Step 4: Create New Layer
Now create a New Layer from the Layer panel.

Step 5: Separate color in the new layer
Select the new layer and press Ctrl + V from the keyboard to paste the color into the new layer.
The color will be added to the new layer that we have created.

For the remaining color in the design repeat the same steps from Step 3 to Step 6.

Step 6: Name the color
We recommend you add the name of the color in the Layer panel. Double click on the name of the layer and add the name of the color in it.

Step 7: Arrange the artwork
After separating colors in Illustrator, the design might not be in the exact position.

Bring the design back into position, and arrange the layers into the correct position through the Layer panel.

Step 8: Delete the original layer
Now as you can see, all colors are separated into different layers for screen printing in Illustrator.

Select the layer that is original name Layer 1. To delete the layer select the layer from the layer panel. Click on Delete Selection at the bottom of the Layer panel.
It’s Easy to Learn How to Separate Colors in Illustrator for Screen Printing.
Now you know How to Separate Colors in Illustrator for Screen Printing. The steps are easy to follow, the only need for perfection is to follow all the steps without any mistakes. This technique and steps can be followed even in the future if you need to separate colors in Illustrator.
All Done! Enjoy.


Leave a Reply