
Wrapping an image around an object in Adobe Illustrator CC isn’t quite the same as wrapping text around an object. An image wrap forces image to wrap around an abject figure. This feature can add a bit of creativity to any design you create and make it realistic. This can be done using the Perspective Grid tool in Adobe Illustrator. That can help you create any design that you need.
So let’s start from the given steps:
Start by opening your Illustrator and place your image on the artboard.

(You can simply drag it from the location to your artboard)
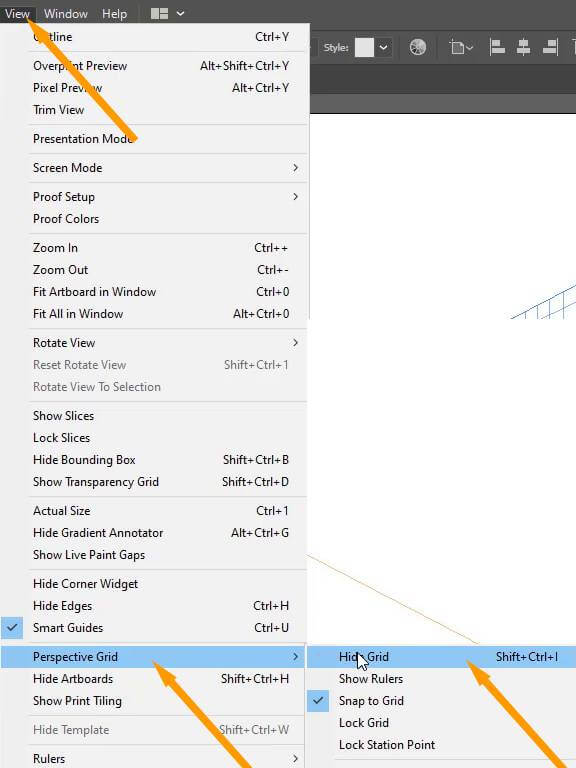
Then go to view the menu from the list click on the perspective grid and then choose show grid or press Ctrl+Shift+I.

(Perspective Grid will appear on your artboard, this will help you to wrap your image around any object.)
Place your other image on the artboard that you want to use to wrap around your object.

(You can simply drag it from the location to your artboard)
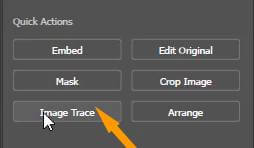
In the Properties Panel, go to image trace and click and select High Fidelity Photo.

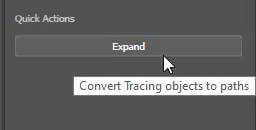
Click on Expand from Quick Access, which will expand your image.
Ungroup your image.

Select the white area or anything that you don’t want to use from the image.

Now Delete it, by pressing the Delete button from your keyboard.

After deleting the unwanted area, select the full image again and then group it.

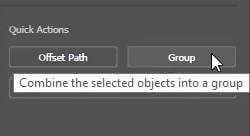
(The ungrouped image will become a complete image again that would be easy to move from one place to another on your artboard.)
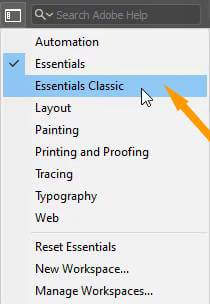
(Now click on the switch workspace option on the top right corner with the search button, and choose Essential Classic. Enabling this option will give you more tools option in your left toolbar)
Now go to the perspective grid tool Shift+P.

Now select the location according to how you want to place your image around the object. You can select one option from four given options; left grid, right grid, Horizontal grid, or no active grid.

(You can also use short keys for it:
For the left grid press 1.
Right grid press 3.
Horizontal grid press 2.
For no grid press 4.)
Here we selected a horizontal grid according to our object style.
Click and drag your image with the Perspective Selection tool or press Shift+V.

Drag your image where you want to place it when you move the image in the direction of the perspective grid it will automatically change its style.

Adjust the size as needed.
After adjusting the image, hide the perspective grid by clicking on the View menu, choose perspective grid and then Hide grid or simply press Ctrl+Shift+I. This will hide the grid from your artboard.
Final-Click on the selection tool or press V from the keyboard and adjust the size of your image on the object and it will be wrapped around your object.


Leave a Reply