
Fonts may not be according to your choice every time. It can happen a lot that you cannot find a perfect font for your design which is why you want to edit the existing font to make one perfect for your upcoming project.
You can watch below video tutorial to learn how to edit the font in Adobe Illustrator.
The edited font can be used easily for any of your work and designs. You can edit any font by using its anchor point and make it different.
You can also learn:
If you are new or don’t have any idea to edit the font in Illustrator, then you are in the right place. In this tutorial, you will learn how to edit the font in Adobe Illustrator.
So let’s start.
How to Edit Font in Adobe Illustrator
To Edit font, select the font, right-click and select Create Outlines, then select Ungroup. Now grab the Direct Selection Tool, and select the font. A little circle will appear, click and drag to edit the font. You can also use the pen tool to cut out some areas of the font to make it look more stylish.
Now we will discuss the detailed step-by-step guide to editing the font in Adobe Illustrator.
1st Method: Edit Font using Twirl Tool
Step 1: Add text using the Type Tool. You can type any required text that you want for your design.
Here we are adding a single character by using the Type Tool.

Step 2: Select the text using the Selection Tool.

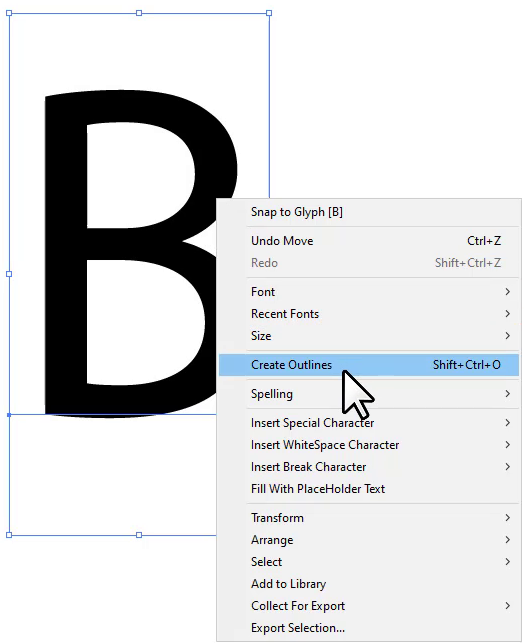
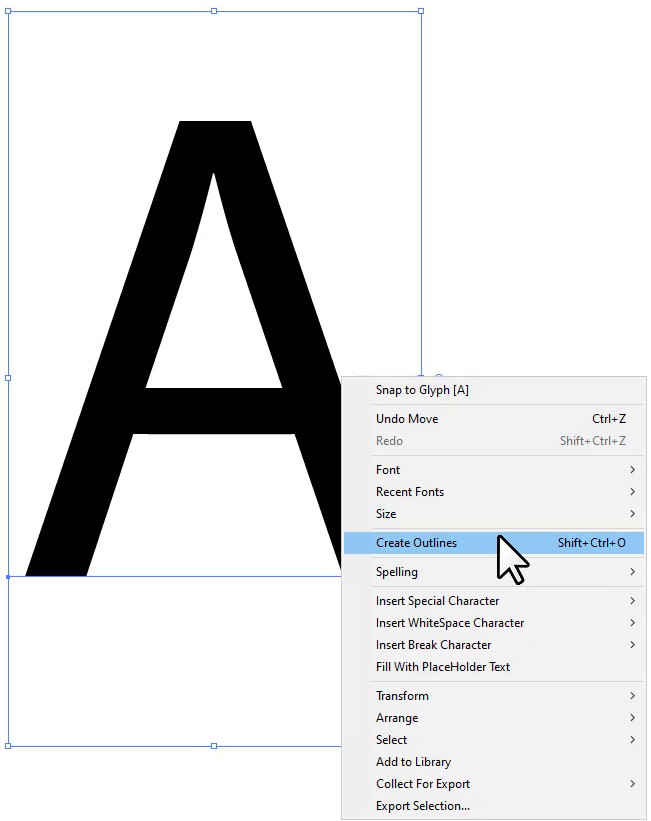
Step 3: To edit the font, first of all, create outlines of the text or character. right click on the text and from the drop-down list select Create Outlines.
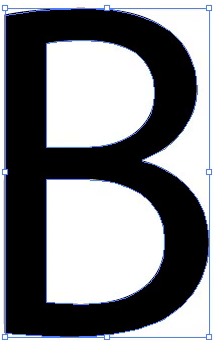
The outlines of the selected characters are created.
Step 4: Now we will edit the font using the Twirl Tool. To select the Twirl Tool, first of all, switch the toolbar because if you are in the basic toolbar you will not find the Twirl Tool. Go to Window > Toolbar > Advance.
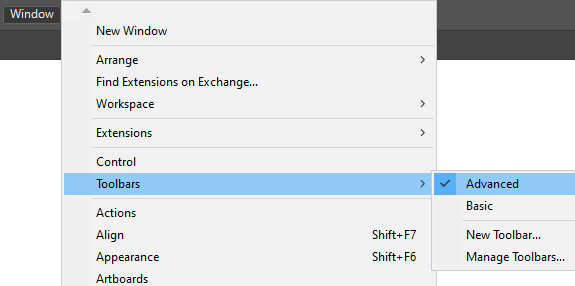
Now the toolbar has more tools in the Advance Toolbar.

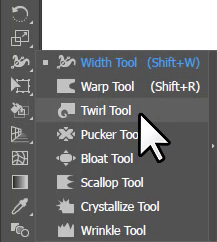
Step 5: Select the Twirl Tool that is located under the Width Tool.
Step 6: Bring the Twirl Tool pointer on the text and press & hold the left click, you will see the text will start twirling from the position where you have the pointer.

Here is the character after using the Twirl Tool on it. You can use any word or text to edit its font using the Twirl Tool.

2nd Method: Direct Selection Tool
The other easiest and quick way to edit the font in Adobe Illustrator is by using the Direct Selection Tool.
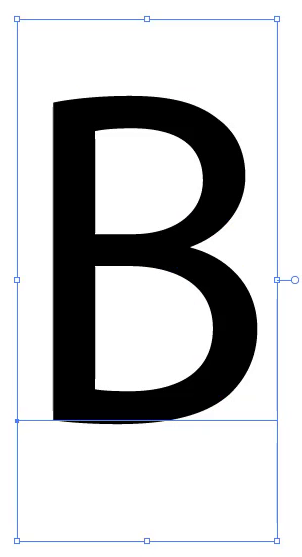
Step 1: Add text using the Type Tool. Here we have a single character and will edit its font.

Select the text using the Selection Tool.
Step 2: Right-click on the text and select Create Outlines.
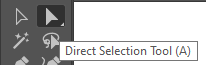
Step 3: Grab the Direct Selection Tool from the left toolbar.
Step 4: Select the text using the Direct Selection Tool.

As you select the text using the Direct Selection Tool, you will see that little circular handles appear on the text.
Step 5: Click once on the circular handle, and it will be selected.

Note: The selected circular handle will turn blue.
Step 6: Now click and drag the circular handle to make the side round.

In this way repeat for any corner that you want to round.
If you want to round all sides then no need to select the circular handle, just click and drag one and all will be round.
Here is the font after making it round.

You have learned to edit the font in Adobe Illustrator.
In this tutorial, you have learned to edit font using two different methods in Adobe Illustrator. You can use any font to edit using the above methods. The twirl tool helps to make the font more stylish, you can use the twirl tool to make the twirl font for birthday cards, or any wishing card design.
You can also liquify tools to edit the font in more amazing ways.

Have More Questions?
If you have any questions related to editing font in Adobe Illustrator, you can ask in the comment section below. We have also answered some most frequently asked questions below.
Fonts in Illustrator
Adobe Illustrator has many fonts, that can be used by the Character panel. To use the font you can also use the Type menu, go to Type > Font. You will see a lot of fonts appearing in the form of a list.
Free fonts for Illustrator
You can download multiple free fonts for Illustrator at the “Adobe Fonts” and “Font Space”.
All Done! Enjoy.
Leave a Reply