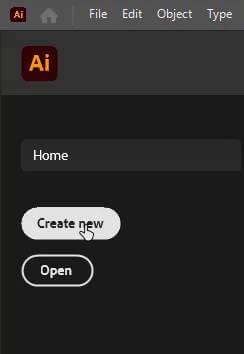
Today, you will learn how to create a flip text effect in Adobe Illustrator. This is an easy and quick tutorial to learn. Create a new document as under:
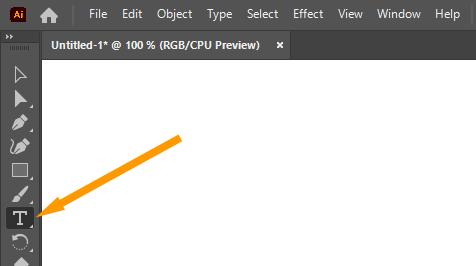
Choose your desired document size and go to the left side toolbar. Click on the Type Tool or press “T” from your keyboard to select the Type Tool.
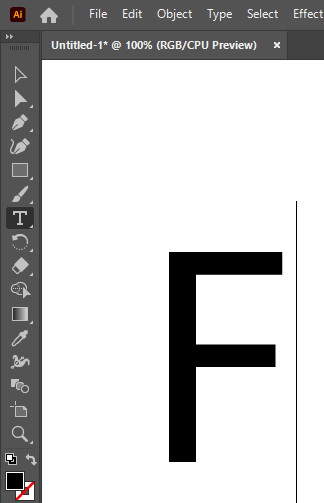
Now type the first character of the word you want. In this post, I want to type the word “FLIP”. So, I will just type “F” first.
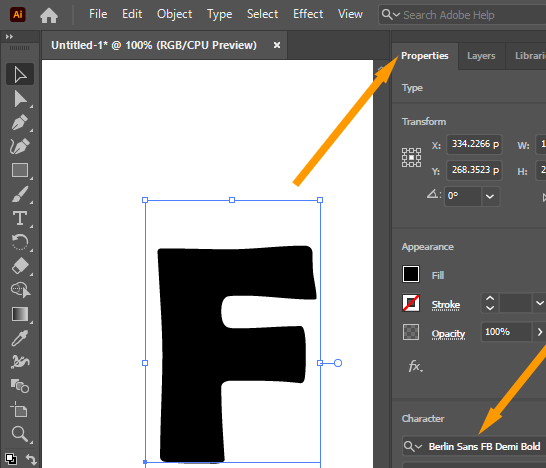
Now, go to the right side “Properties” panel, and under the “Character” section, try to choose a bold font. I am choosing “Berlin Sans FB Demi Bold”.
Now select the “F” by “Selection Tool” and press “Ctrl + C” to copy and then paste by pressing “Ctrl+V”.

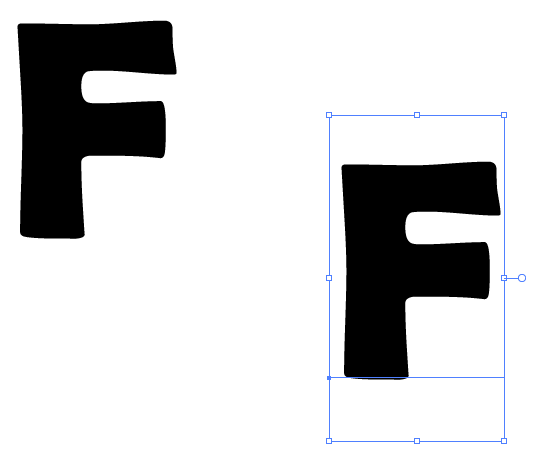
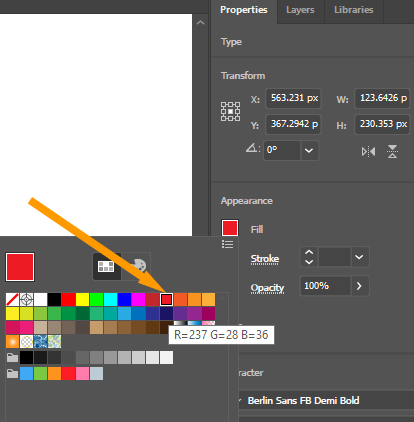
Now Change the second copy color to your choice. Go to the right side “Properties” panel and under the “Appearance” section, click on the box next to the “Fill” option. I am choosing red.
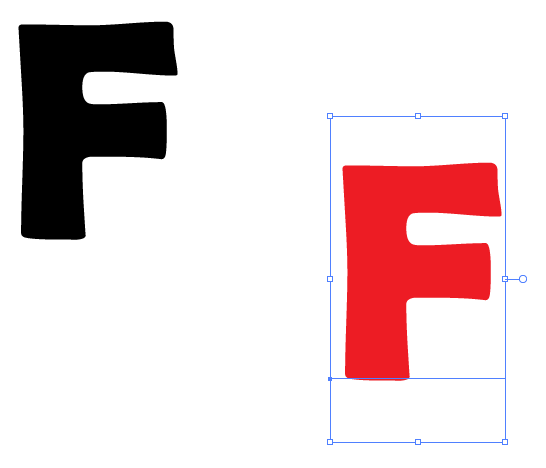
Now, select both texts by using “Selection Tool”.

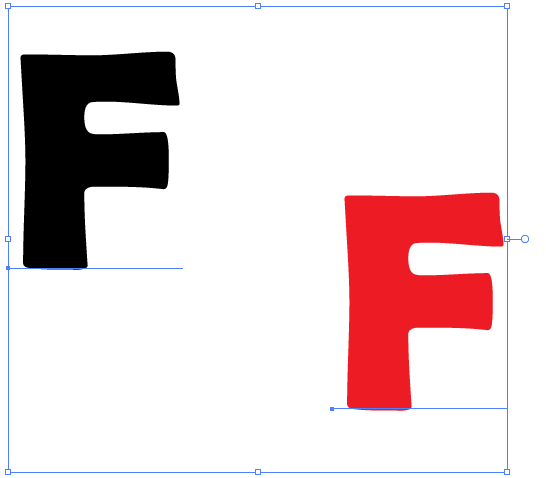
Go to top menu and click on “Object” >> “Blend” >> “Make”.
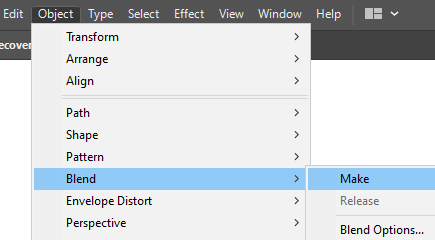
Then, again go to “Object” >> “Blend” >> this time press “Blend Options”
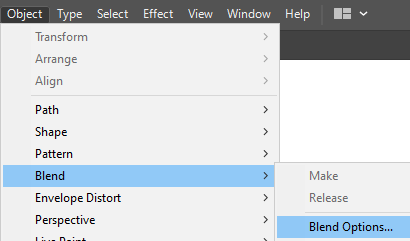
Now, choose the settings as written below.
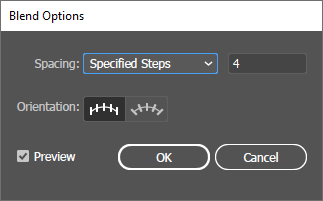
Press OK. Your text will look something like this.
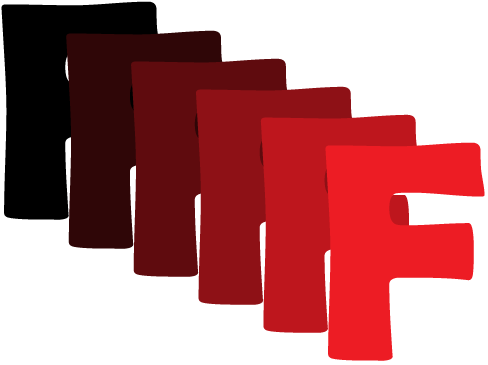
Now, double click on the red color “F” and move this on the top of “black F”.
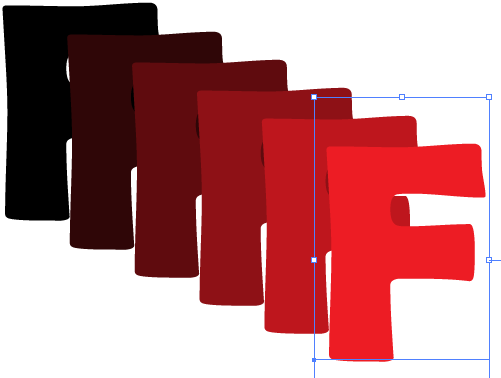
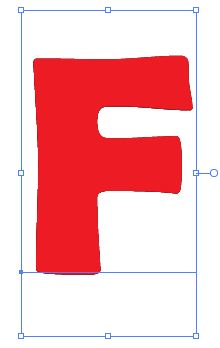
Now, go to left side toolbar and choose “Free Transform Tool” or press “E” from your keyboard.
Click on the right centered point and drag it to upward left.
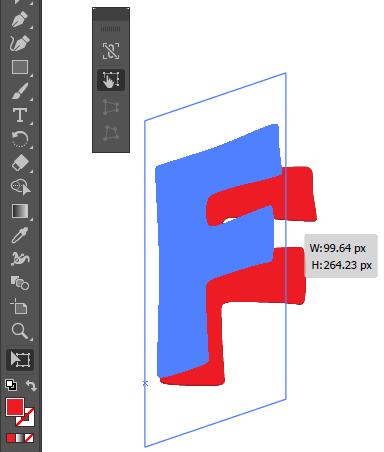
Your flip text effect is ready.

To enter more words, you can choose “Type Tool” and type the words.

First edit the bottom layer and then, edit the front layer for easily changing the text.

You can also copy and paste the characters separately by copy pasting and then, changing the characters. You can also check the below image for reference.

Click here to download the files used in this tutorial.

Leave a Reply