Strokes can be added to any shape, or text to make them look more attractive. You can add different colors of stroke whenever you want to. Strokes are easy to apply and can make your designs more interesting and amazing. You can easily increase or decrease the thickness of the stroke.
You can also watch below video tutorial to learn how to add strokes in Adobe Illustrator.
You can also learn:
So let’s start.
There are two very easy ways that you can use to add stroke to any object in Adobe Illustrator. You can either use the Appearance panel under the Properties or the Stroke that is in the left toolbar.
How to Add Stroke to Text in Illustrator
To add stroke to any text or shape, select it first, and go to Properties > Appearance > Stroke. Select any stroke color and then increase the stroke size as well. The selected stroke will be added to the text.
Here are the detailed steps to add strokes to text in Adobe Illustrator.
1st Method: Appearance panel
Step 1: Add any text by using the Type Tool from the toolbar. So here is the text that we are using.
Step 2: Select the text by using the Selection Tool.

Step 3: Go to Properties > Appearance > Stroke.
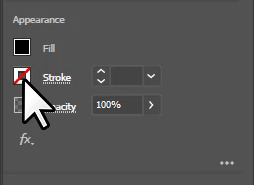
Step 4: Select any stroke color that you want to apply to the selected text.
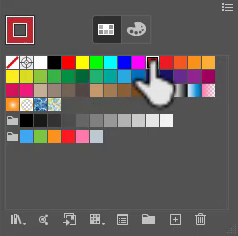
Here you can see that the selected stroke is applied to the text.

2nd Method: Stroke under the toolsbar
The other easiest way to add a stroke is by using the stroke tool that is in the left toolbar.
Step 1: Select the text to add a stroke to it. You can use any object or shape to add the stroke easily through this method.
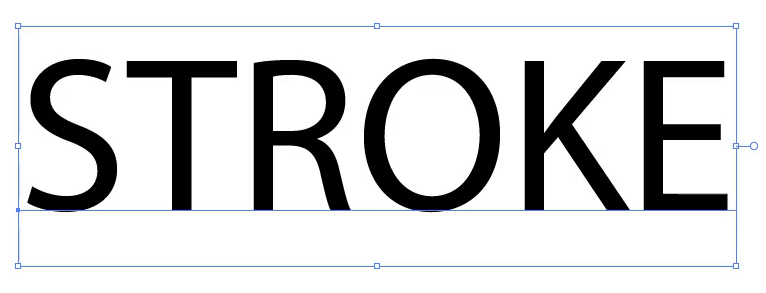
Step 2: Click on the Stroke that is available under the Left toolbar.

Step 3: As you click on the Stroke the Color panel appears.
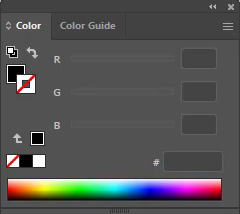
Step 4: Select any required color that you want to apply as a stroke.
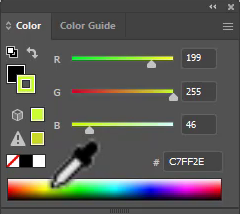
The stroke is applied.

How to Change Stroke Size in Illustrator
In case you want to increase the stroke size then use the stroke pt option to change it that is available under the Properties > Appearance > Stroke.
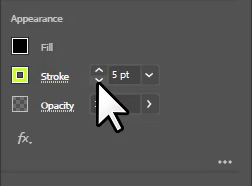
You have learned to add strokes to any object in Adobe Illustrator.
In this tutorial, you have learned to add stroke to any object that is text or shape using the above two quick and easy methods. You can easily change stroke color or size using the Stroke panel in Adobe Illustrator.
Have More Questions?
If you have any questions related to stroke in Adobe Illustrator, you can ask in the comment section below. We have also answered some most frequently asked questions below.
Outline Stroke Illustrator
To add outline stroke to any object like shape or text in Illustrator, select it first, go to Object > Path > Outline Stroke. Now select the stroke from the Stroke Tool or from the Appearance panel.
Dashed Stroke Illustrator
To add a dashed stroke, go to Appearance > Stroke. As you click on Stroke, you will see more tools. Select Dashed Line and the dashed stroke will be applied to the selected object.
Add Stroke to Shape Illustrator
To add stroke to the shape, select the shape, go to Properties > Appearance > Stroke. Select any stroke color and it will be applied to the shape.
How to Add a Stroke to a Stroke in Illustrator
To add a stroke to a stroke, click on Open the Appearance panel under the Properties > Appearance section. The appearance panel will appear. Click on Add new stroke. The new stroke will be added to the selected object. You can also change the color and size of that new stroke as well.
Illustrator Stroke Options Missing
Make sure to select the object first, and then you will see the Stroke option appears under the Properties in the Appearance section.
How to Create Outline in Illustrator
To create Outline in Illustrator, select the text, and go to Object > Create Outlines. Or you can also right-click on the text and select Create Outlines.
All Done! Enjoy.

Leave a Reply