You may have gotten bored with the colors in the text and wanted to add something new to the text. Using colors again and again sometimes looks irritating, and also no color is matching with your design. Designs always need new ideas to be implemented.
Being a designer I also have gone through this couple of times while creating my designs. So an idea appeared in my mind to use Textures instead of coloring text every time. The idea was great and it can be used for any type of design from banners to logos. The texture goes perfectly with any design. The main interesting quality of textures in the text is that it gives life to your designs.
A perfect logo design with a texture is just what everyone wants. You can add any type of Illustrator texture to your text, it’s all up to you and the text requirements. The most important thing is to choose the right texture for your text in your design. There are multiple types of illustrator textures, that can be used.
If you are thinking about adding texture to text in Illustrator, then you are at the right spot. In this tutorial, we are going to give you step-by-step instructions to add texture to text in Adobe Illustrator. So let’s start.
Add Texture to Text In Adobe Illustrator (4 Easy Ways)
Every method to add texture to text in Adobe Illustrator is easy. It all depends on you, which method attracts you most, and you would love to use that specific method in the future.
Creating a New Document
First of all, we will start by creating a new document in Adobe Illustrator.
Create a New File by using “File Menu” > New.
Select the “Common” Document from the “New Document” window.
Adjust Preset Details according to your choice and click “Create”.
1st Method: Clipping Mask
In this method, we are going to add texture to text in Illustrator by using Clipping Mask.
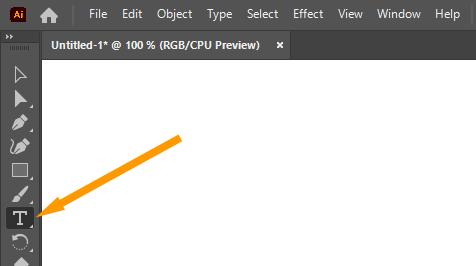
Step1: Select the Type Tool from the left toolbar. You can also press T from the keyboard to use the Type Tool in Adobe Illustrator.
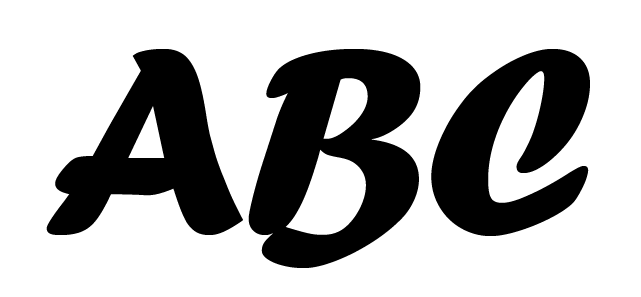
Step 2: Type any word on the artboard, which will be used to add texture.
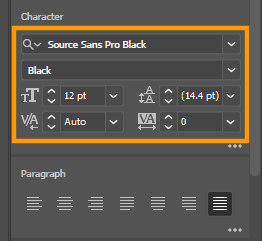
Step 3: Increase the size of the text and change the font style if you want by, Properties > Character.
Now, place the texture that you want to use in the text on the artboard.
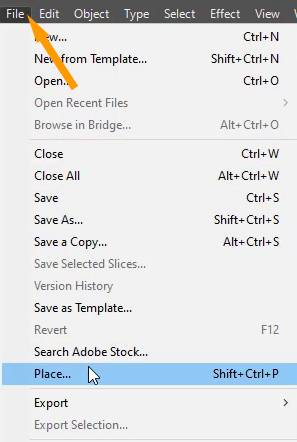
Step 4: Go to the File > Place. You can also press Shift + Ctrl + P from the keyboard to place an image on the Adobe Illustrator artboard.
Step 5: Place window will appear.
Step 6: Select the texture that you want to use from its location and click on Place.
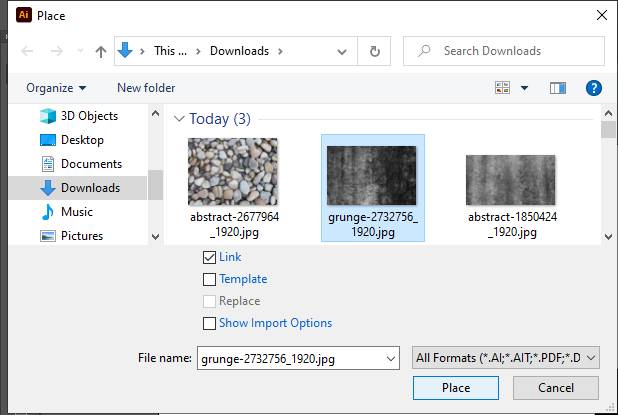
Step 7: Place it on the top of the text on the artboard with a click.
Step 8: Adjust the size of the texture according to the text, so that all text is covered with the texture.
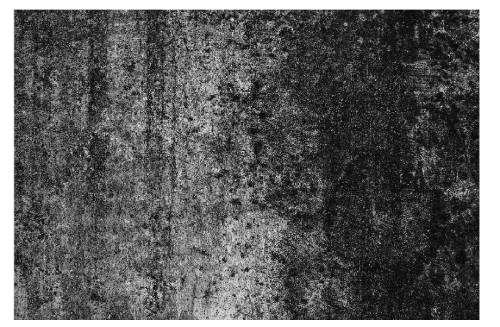
Step 9: You can use Shift+Alt+Right Click and then resize the image from its anchor point. It will resize the image from all sides.
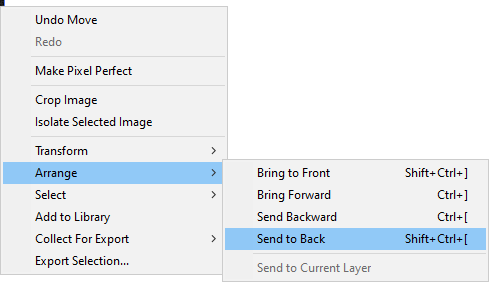
Step 10: Right-click on the image.
Step 11: A menu will appear. Select Arrange > Send to Back. You can also press Shift+Ctrl+[ from the keyboard to send the image to the back of the text.
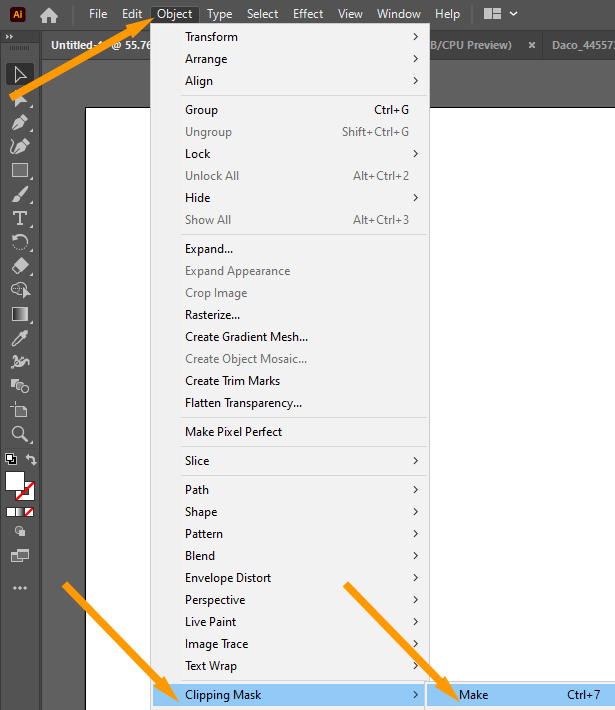
Step 12: Now select the texture/image and the text with the Selection Tool. You can also press Ctrl+A from the keyboard to select both.


Step 13: Go to Object > Clipping Mask > Make. You can also press Ctrl+7 from the keyboard to make a Clipping Mask. The other way is to go to Properties > Quick Actions > Make Clipping Mask.
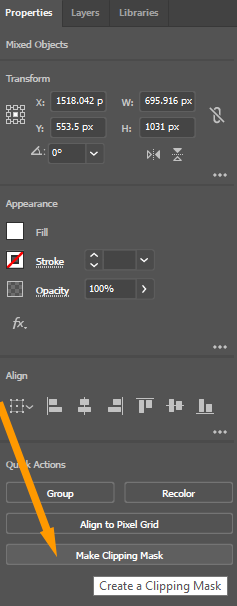
Now, as you can see that the texture is added to the text in Illustrator.

2nd Method: Transparency
We can also add texture to the text in Adobe Illustrator by Transparency. Follow the given steps to do the task.
Step 1: Select the Type Tool from the left toolbar.

Step 2: Type some text to apply texture to it.

You can also resize the text and change the font style by Properties > Character panel.
Step 3: Select the text with the Selection Tool.
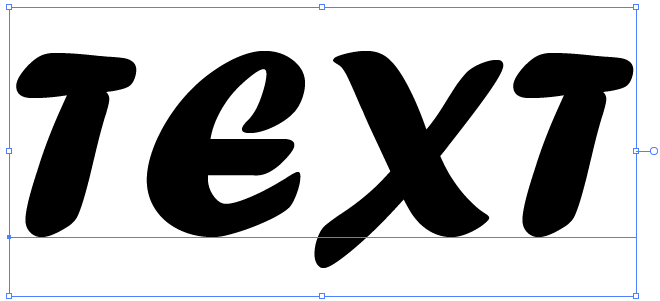
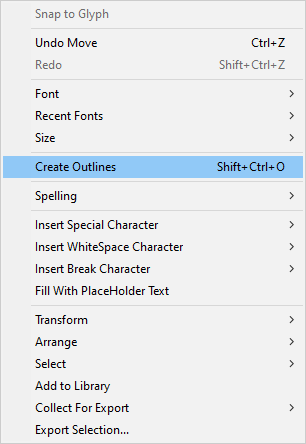
Step 4: Right-click on the text and you will see different options appear.
Step 5: Click on Create Outlines or press Shift+Ctrl+O from the keyboard.
Step 6: Text is now outlined.
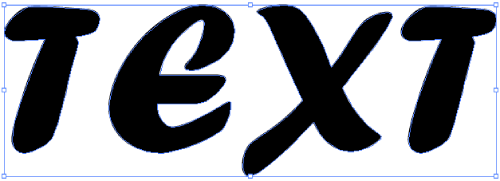
Step 7: Now Ungroup the text by right click on the text and selecting Ungroup.
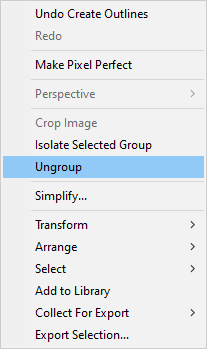
The text is now Ungroup, you can change the single character and move it anywhere.

Step 8: Go to Window > Transparency.
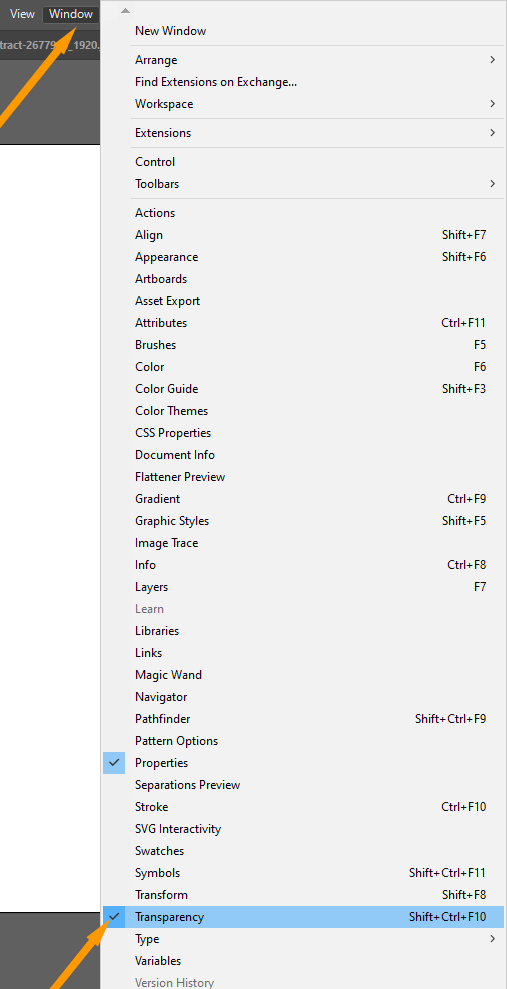
Step 9: The Transparency panel will appear.
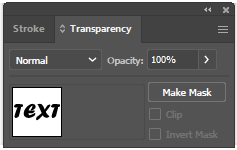
Step 10: Select the text with the Selection tool.

Step 11: Click on Make Mask in the Transparency panel.

The Text will be masked.
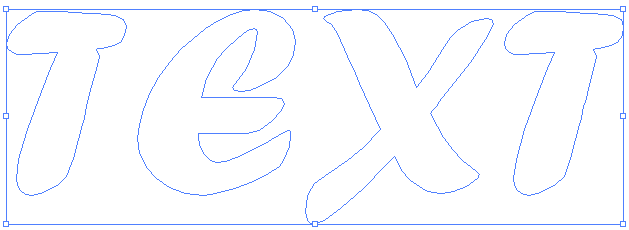
Note: If any character disappears. Click on Release in the Transparency panel. When you release and open the layers, you will see that one character that disappeared is shifted outside of the text layer. Click and drag it to the text layer. Click again on Make Mask in the Transparency panel.
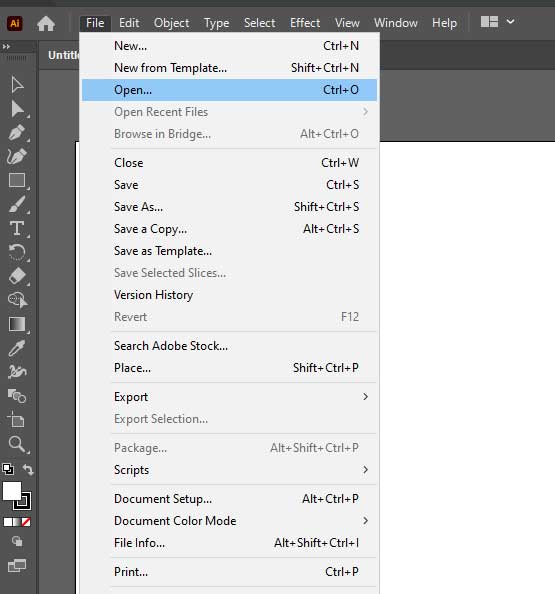
Step 8: Now Open the image/ texture to apply to the text in Adobe Illustrator by going to File > Open.
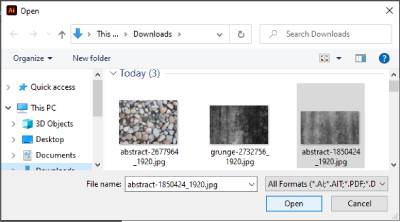
Step 9: Open window will appear.
Step 10: Select the image from its location and click Open.
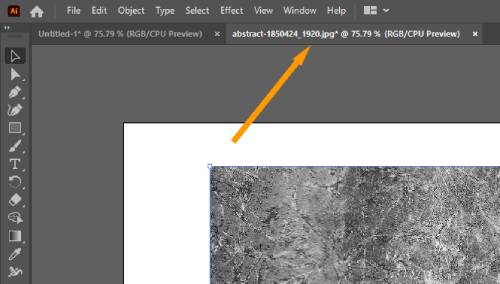
Step 11: The image will be Open in a new tab.
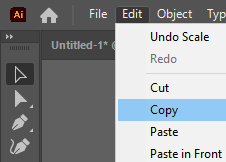
Step 12: Copy the image by pressing Ctrl+C on the keyboard. You can also copy the image by Edit > Copy.
Step 13: In the Transparency panel, click on the Opacity Mask.
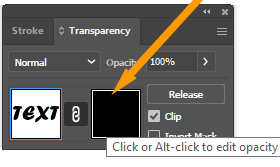
Step 14: Press Ctrl+V from the keyboard or go to Edit > Paste.
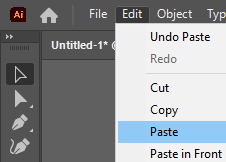
You will see that the texture is added to the text. If the texture is not equally visible on the text, resize the texture through the visible outline.

3rd Method: Use the Fill panel to add Texture
The easiest and less time-consuming process of adding texture to the text is by using Fill. You can add by default textures present inside the fill. Follow the below given step-by-step guide.
Step 1: Select the Type Tool from the left toolbar.

Step 2: Type any text on the artboard.
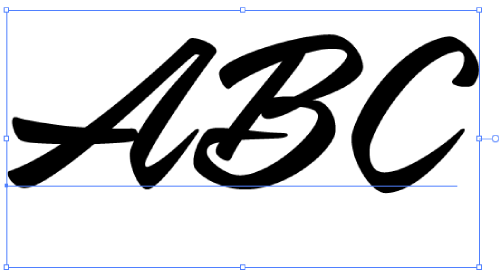
Step 3: In the Properties > Appearance > Fill.
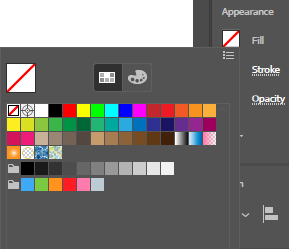
Illustrator Texture
Step 4: As you click on the fill, you can see different fills are available, among them you will also see some textured fill.
Step 5: Select any Textured fill to apply to the text.
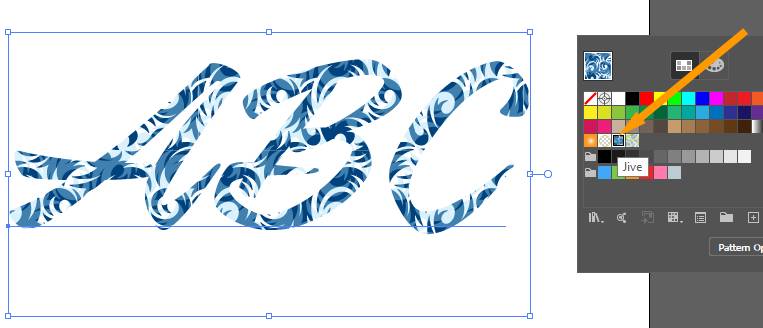
Texture to text is applied in Adobe Illustrator.
4th Method: Texture
You can add texture to the text or any shape using this method.
Step 1: Type any text with the Type Tool.

Adobe Illustrator textures free
Step 2: Go to Effect > Texture.
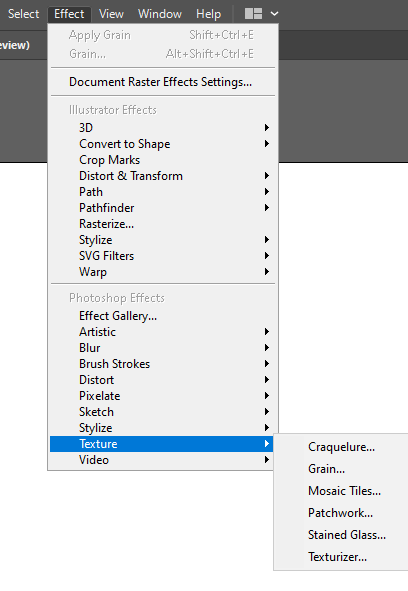
Step 3: Choose any from the Texture list.
Step 4: After selecting Texture its panel will appear.
Step 5: Now select from the Texture, that you like.
Step 6: You can change the settings here as well.
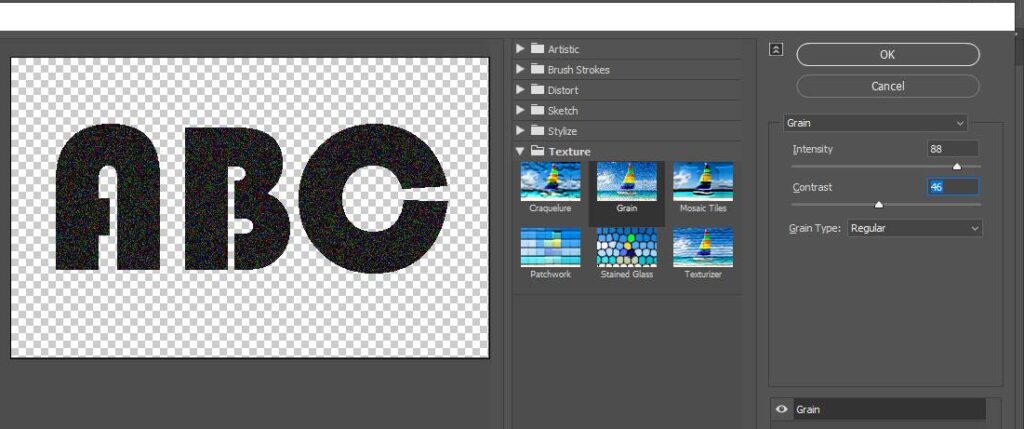
Step 7: Click OK to save the texture for text.
The Texture will be applied to the text. That’s all using the Texture Tool in Adobe Illustrator.

How to Add Texture to a Line in Illustrator?
You can add texture to a line in Adobe Illustrator by Effect > Texture > Choose any.

From the panel select Texture and if you want to change the appearance of the texture you can change it here. Click OK to save the texture to a line.

Any type of image/texture can be applied to the text using the above-given methods. You can pick any method that suits you more. Textures added to the text can make any design more unique and perfect. If you found these methods helpful don’t forget to comment below about your experience with the texture effects.
All Done! Enjoy.

Leave a Reply