Occasionally, we are inspired to create a clipping mask. In a literal sense, clipping masks are just windows in a house. So you can see everything inside the window frame. the clipping mask is just that.
We have two objects. Clipping the tree image inside the ellipse is what we want.
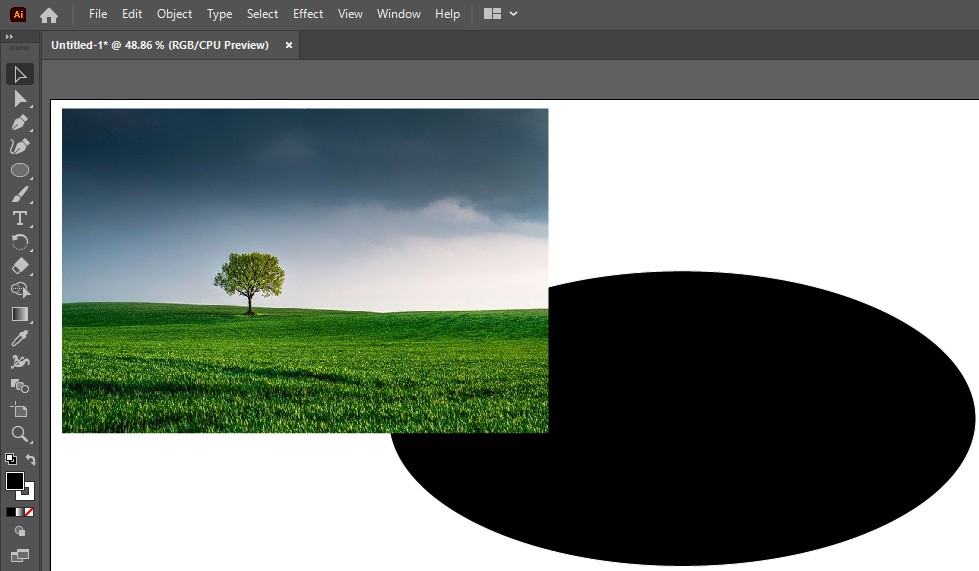
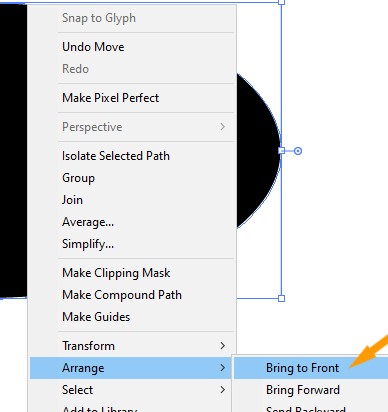
This is crucial because the object where you are going to clip into must be positioned on top. Here, the tree image is above the ellipse. Therefore it is not going to work. Hence, select the ellipse. Right-click on it, go to Arrange >> Bring to front.
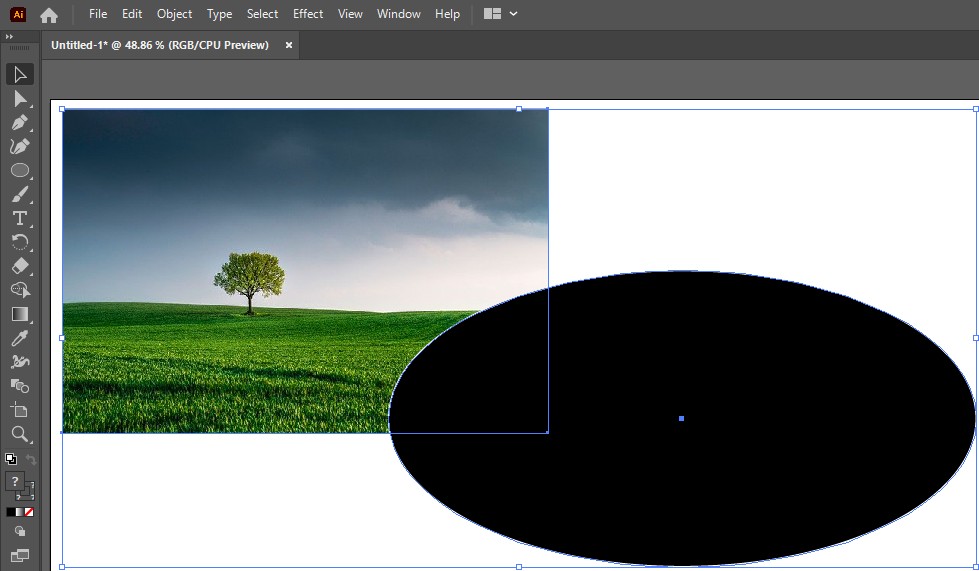
It’s on top right now. So there is now a step where we need to clip the pattern inside the circle. so first of all select both things by pressing the Shift key from the keyboard.
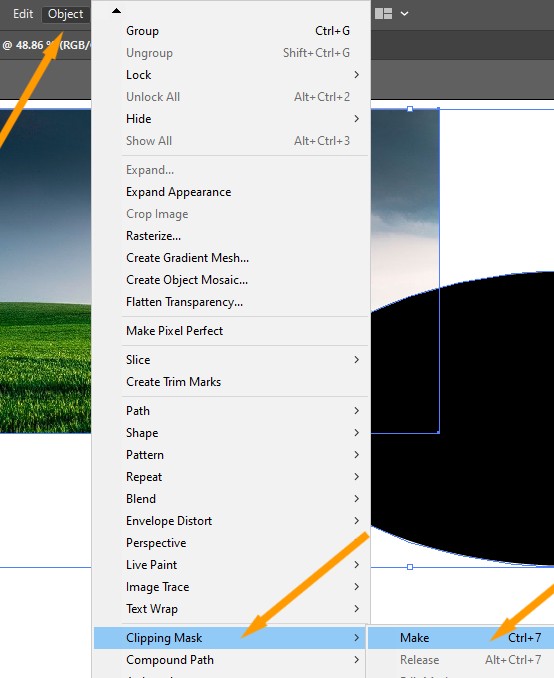
These are the two ways to do this.
1. The first step is to go to the Object Menu and go to the clipping mask option.
OR
2. Another shortcut I like to use is Command or Control + 7.
Tree image is clipped inside of ellipse.
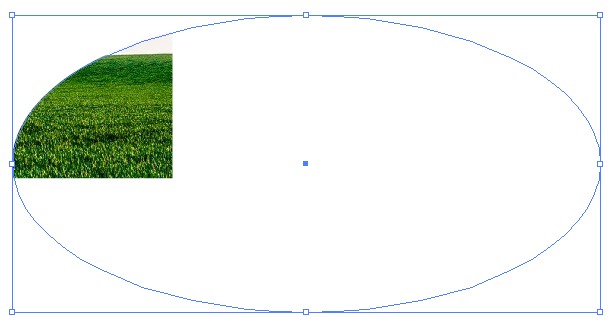
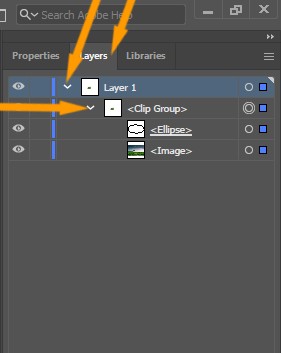
The color of the circle is gone as you can see in the image. We are going to bring back that. The Layers panel can be accessed on the right. A clip group can be seen on the right sidebar. The ellipse and tree image are still visible if you open up that arrow.
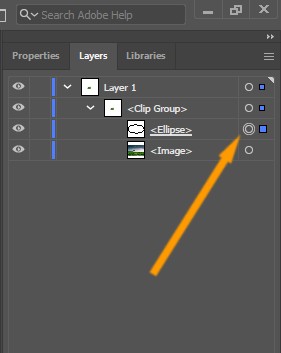
The ellipse will be selected if you click the dot at the end. It’s selected by now.
Bring the colors back to life now. Go to fill option and double click on it. Choose your desired color.
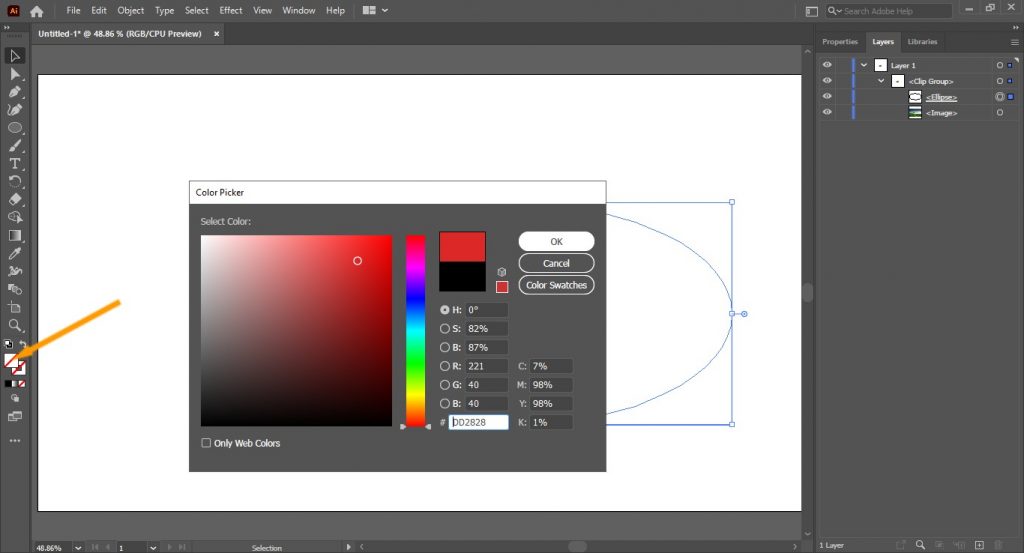
You can now see color has returned.
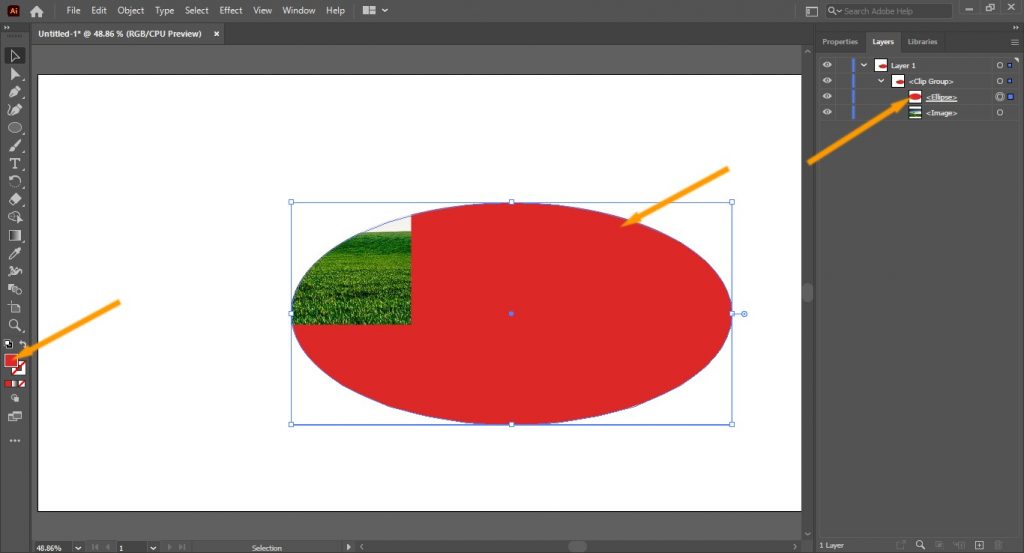
Now we need to adjust the tree image within the ellipse. It is easy to select from the Layers Panel.
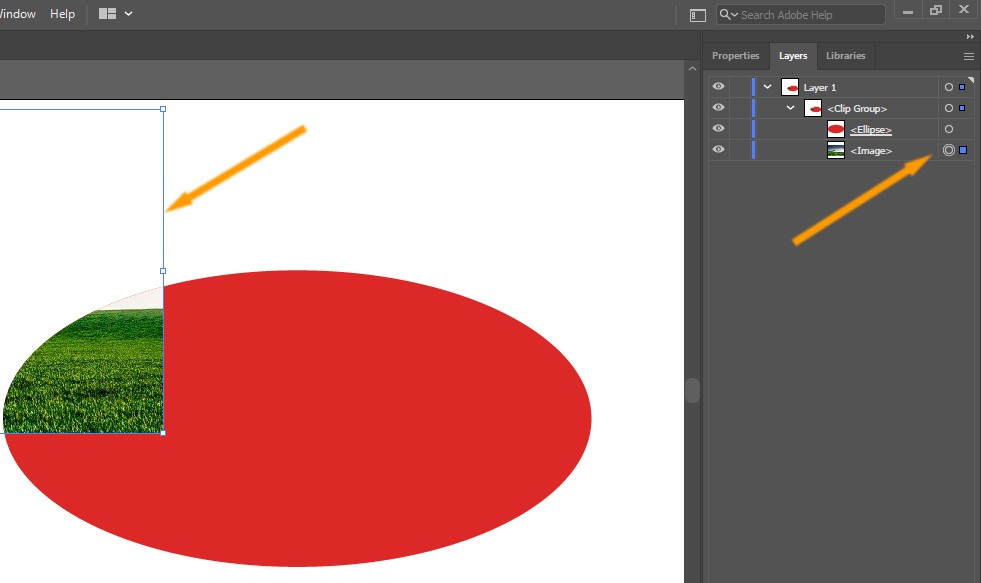
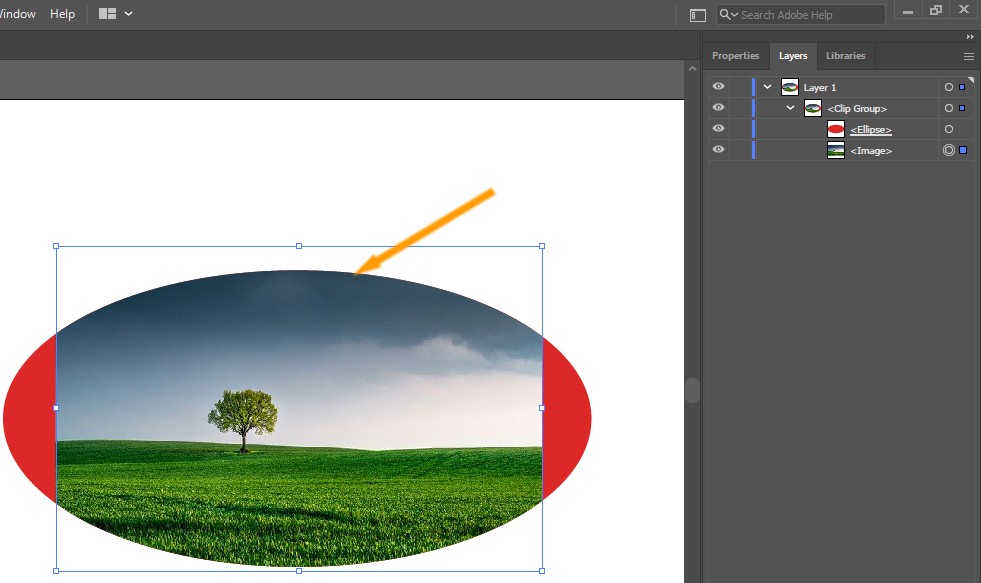
It can be moved around both in size and in position.
We can add a few more clips to our clip group. I will create a circle, for example.
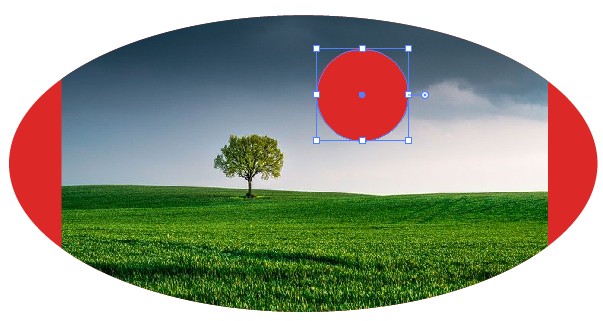
Drag the circle layer to the clip group.


It is just a matter of repositioning inside the clip group. It’s done.
Here is how to make a clipping mask in Adobe Illustrator. If you have any questions, let me know in the comment section below.

Leave a Reply