
Do you want only some part of the image and want to skip the rest? Well, you must cut out the part that you don’t need anymore. Here, in this tutorial, we are going to show you the easiest way to cut out part of any image or crop your favorite part of any image.
Note: The easiest way to cut out part of an image is by using the Crop method. But if you need some specific area then you must use a pen tool.
Drop your image on Artboard in Adobe Illustrator
Step 1:First of all drop your image on the artboard by going to File Menu > Open > Select image > Click Open.
The image will appear on the artboard.
Step 2:You can also simply drag the image from its location and then place it on the artboard.
Step 3:Resize the image if your image appears bigger on the artboard.
Following are given different methods to cut out any part of an image in Adobe Illustrator:
1st Method:
By Using the Crop tool:
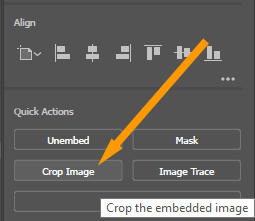
Step 1: After opening the image in Adobe Illustrator, Go to the Properties panel.
Step 2: Under the Quick Action, select “Crop Image”.
Step 3: Some parts of the image will be covered with a crop frame.
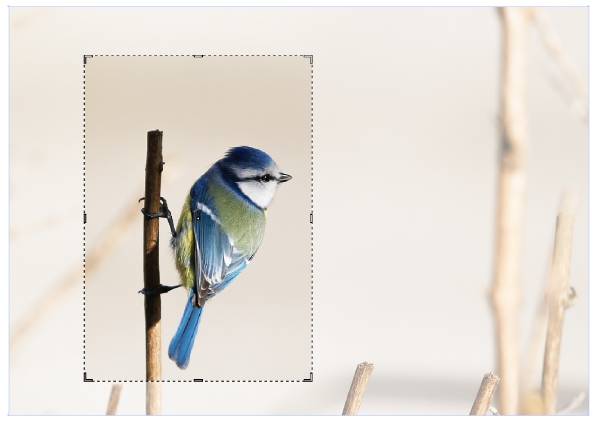
Step 4: Adjust According to your need.
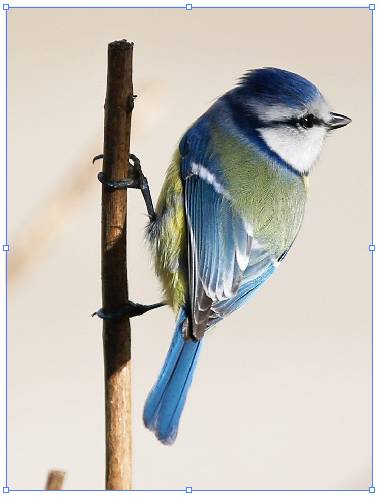
Step 5: Press “Enter” from the keyboard or click on “Apply” in Quick actions.
Here you will get the cropped part of your image.
2nd Method:
By Using Pen tool:
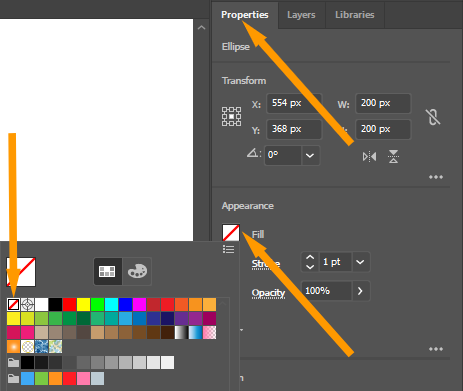
Step 1: In the Properties panel, set Fill and Stroke to none.
Step 2: Select the Pen tool.
Step 3: Select the area that you need.
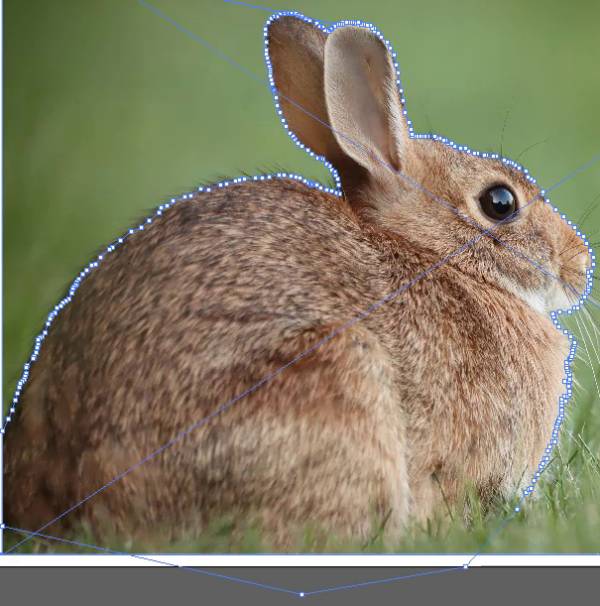
Step 4: After selecting the area with the pen tool. Select the image and the area selected with the pen.
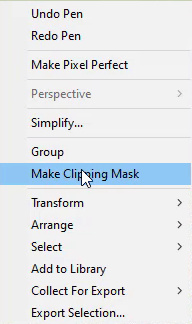
Step 5: Right-click on the screen and select make clipping mask from the list.
Step 6: The part that you needed will be cut out of the image.
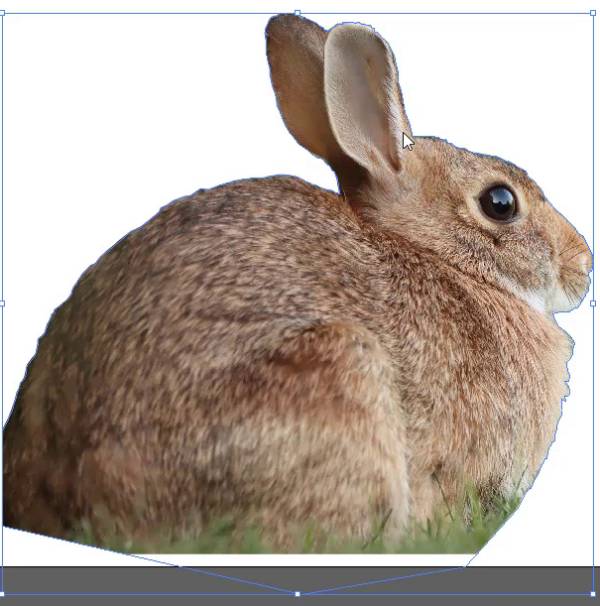
Step 7: Drag it to any location, Resize it according to your choice.
All done. Enjoy!
Leave a Reply