
Working in Adobe Illustrator means creating art and design for different projects, clients, or any ad or banner. The design, shapes, and images can be out of the artboard, which looks irritating after the design on the artboard is complete.
Delete Everything Outside the Artboard in Illustrator – Video Tutorial
Everyone has gone through the same issue in their design career. Whether you are a student learning to design on Adobe Illustrator or you are an expert designer, you don’t want a clean workspace out of the artboard. So that’s why there is the need to Delete all objects, and shapes everything outside the artboard in Illustrator.
Read Also:
- How to Add a New Artboard in Illustrator
- How to Change the Color of an Artboard in Illustrator
- How to Change Artboard Size in Illustrator
How do You Delete Everything OutSide of the Canvas in Illustrator?
Well, there are multiple ways to Delete or hide everything outside of the canvas, like Make a Clipping Mask or Trim View Tool in Adobe Illustrator.
Trim View Tool in Illustrator
Trim View Tool is available in the Illustrator which helps to hide everything outside of the Illustrator.
If you don’t have an idea how to delete everything outside the artboard in Illustrator then you are in right place. In this tutorial, we are going to give you the step-by-step method to delete everything outside of the artboard in Adobe Illustrator.
2 Methods to Delete Everything Outside the Artboard in Illustrator(Easy & Quick)
- By Trim View
- By Clipping Mask
There are two methods available, but we want to clarify to you that Trim View helps to hide the Objects, shapes, or any design out of the artboard in Illustrator. Whereas Clipping Mask permanently deletes everything out of the artboard in Illustrator.
Let’s start with the first method.
1st Method: By Trim View
First of all, we will delete or hide everything outside of the artboard in Illustrator using Trim View. The steps are easy to follow. Let’s see the steps.
Open the Design of the Artboard in Adobe Illustrator
Step 1: Open the design that you have created, which you want to use to hide everything outside of the artboard in Illustrator.

Show Trim View
As we want to hide everything outside of the artboard and show the design only on the artboard. So the following task needs to perform.
Step 2: In the main menu bar go to View > Trim View.
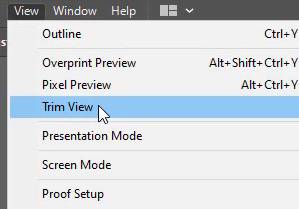
How to Trim Artboard in Illustrator
Step 3: Select the Trim View. After selecting the Trim View it will be marked.
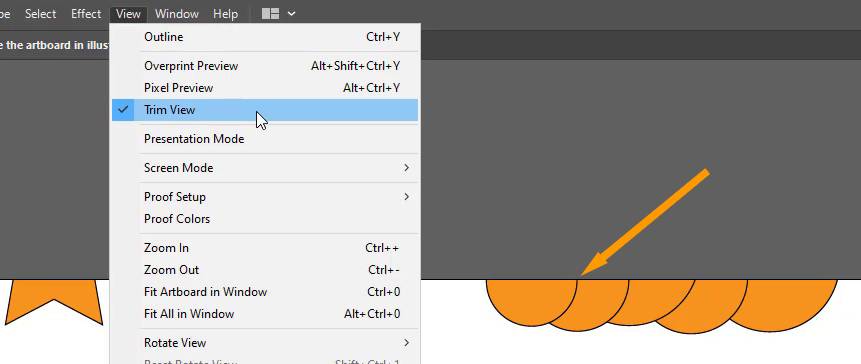
As you can see here, after setting the view to Trim View everything outside of the artboard is hidden. In other words, it is deleted. But not permanently. We can still move the objects freely and adjust their position.
Step 4: If you want to get out of the Trim View, go to View and unselect the Trim View.
All the shapes and designs will appear again outside the artboard. The trim View tool provides the flexibility to show or hide everything outside of the artboard. It’s a great feature for the user of Adobe Illustrator to hide unwanted objects outside of the artboard.
So the Trim view method is easy to use and can be used further for future designs and artwork easily.
2nd Method: Clipping Mask
Clipping Mask with the help of the rectangle tool helps to delete everything outside the artboard in Illustrator. All the designs will be permanently deleted by Clipping Mask. Let’s see the steps below.
Step 1: Open the design that you have created, which you want to use to hide everything outside of the artboard in Illustrator.
Create a Rectangle on the Artboard
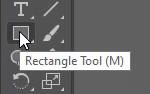
Step 2: To create a rectangle on the artboard, select the Rectangle Tool from the left toolbar in Illustrator.
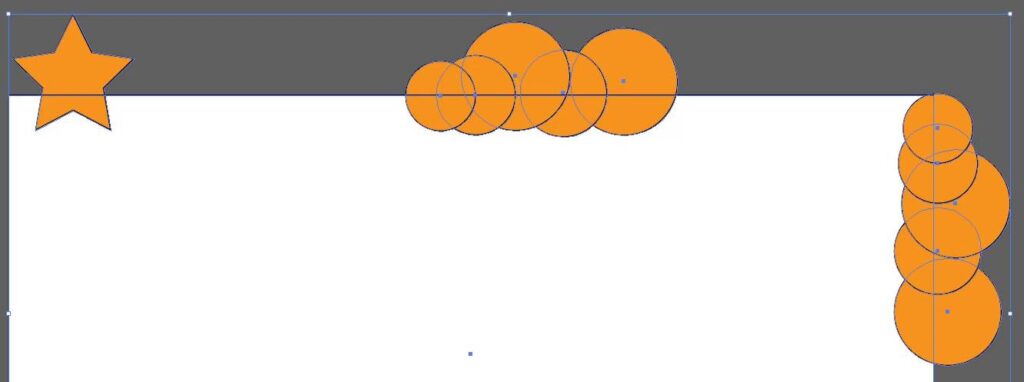
Step 3: Draw a rectangle of the size of the artboard on top of the artboard.
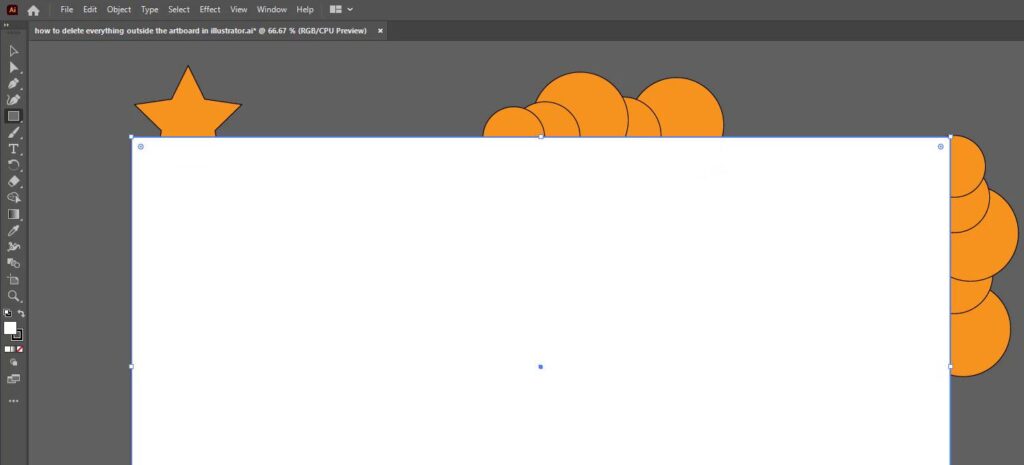
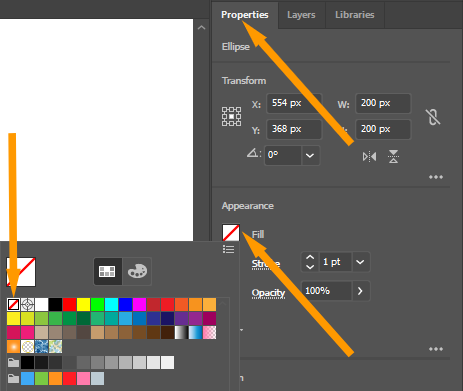
Note: Keep in mind that the rectangle shouldn’t have any color or stroke. Because we want to create a clipping mask with the help of a rectangle to delete everything outside the artboard in Illustrator.
Make a Clipping Mask delete Everything outside the artboard in Illustrator
Step 4: Grab the Selection tool from the left toolbar or press V from the keyboard to use the Selection Tool.

Step 5: Select Rectangle and everything on the artboard. You can also press Ctrl + A short key to select everything on the artboard.
Step 6: In the main menu bar go to Object > Clipping Mask > Make.
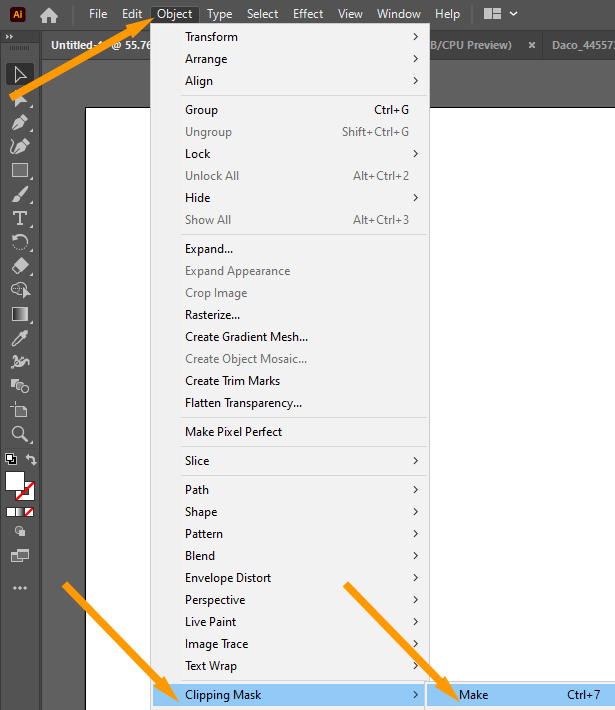
You can also keyboard short cut key Ctrl + 7 to make a Clipping Mask.
Another way to use Make Clipping Mask is by going to Properties > Quick Actions > Make Clipping Mask.
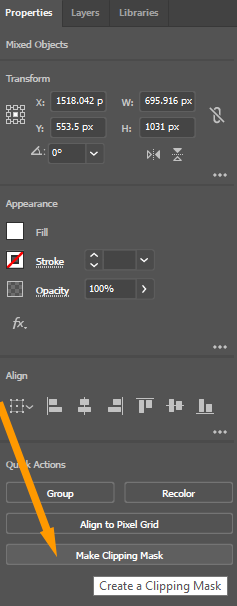
You can also right-click on the artboard and from the list of options, select Make Clipping Mask.
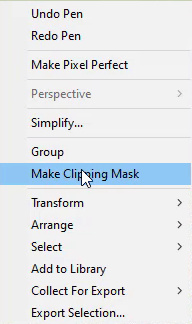
Note: In Step 6, All the given methods are used to Make a Clipping Mask. You can select any according to your choice.
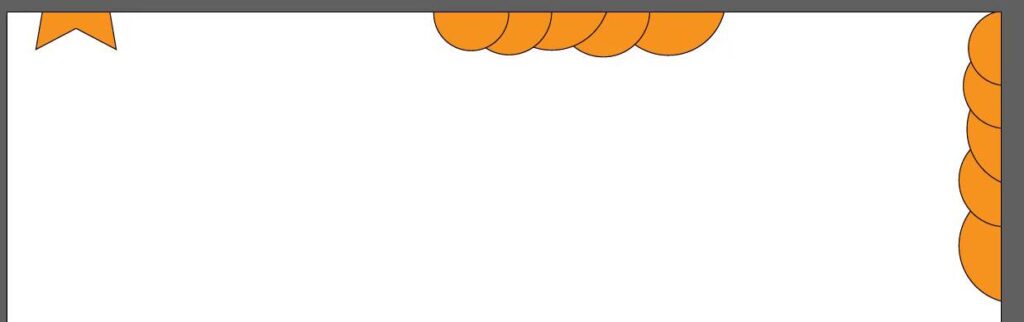
You can see after using the Make Clipping Mask option, everything outside of the artboard is deleted in Illustrator.
3rd Method: Save the File as a pdf
In Adobe Illustrator, if you save the file as a pdf that is having design out of the artboard in Illustrator will hide and delete everything outside of the artboard in Illustrator.
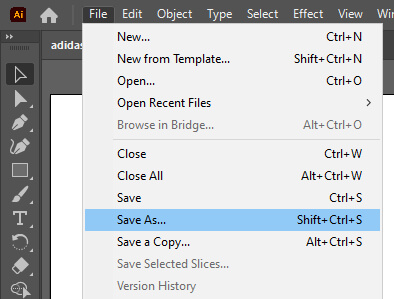
Step 1: To save a file as a pdf in Illustrator, go to File > Save As.
Step 2: Save As dialog box will appear.
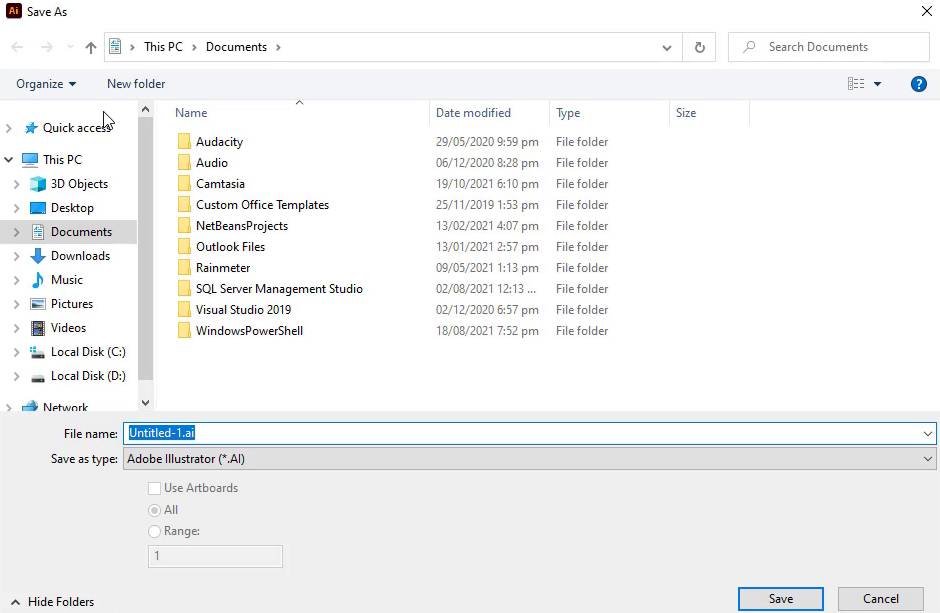
Step 3: Give the name to the file.

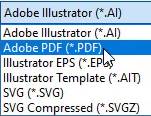
Step 4: From Save as type select Adobe PDF (*.PDF).
Step 5: Select the location where you want to save the file as a pdf.
Step 6: Click Save.

Step 7: Save Adobe PDF panel will appear, click on Save PDF.
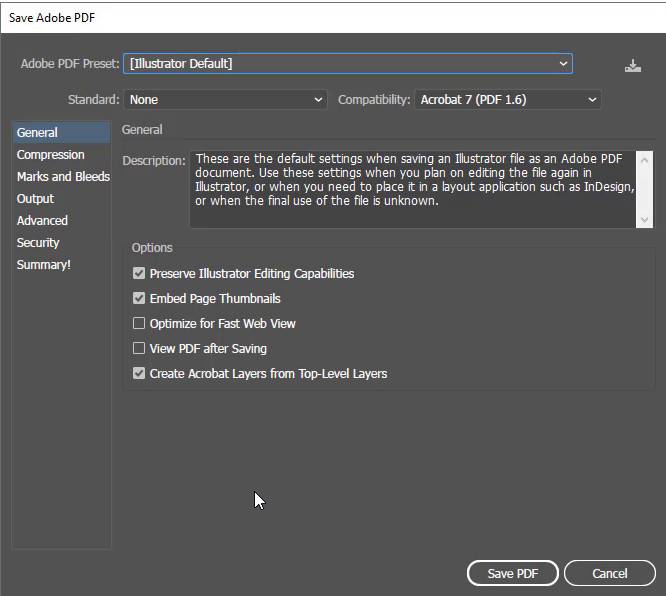
The file will be saved as pdf and when you open it you can see that only the design on the artboard is visible. All the design that was outside of the artboard is now deleted.
4th Method: Export as a jpeg
If you don’t want to see design and shapes outside of the artboard in Illustrator, then you can export it as JPG as well. So let’s see the steps below.
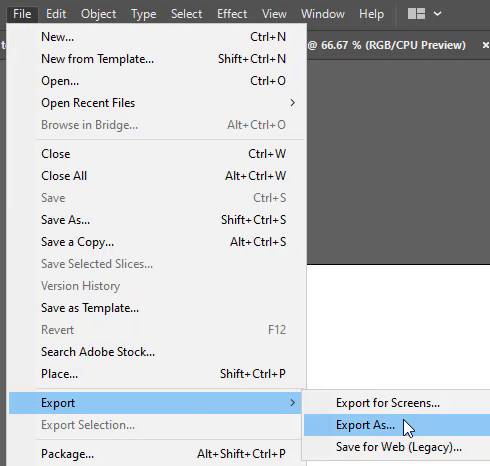
Step 1: Go to File > Export > Export As.
Step 2: The Export panel will appear.
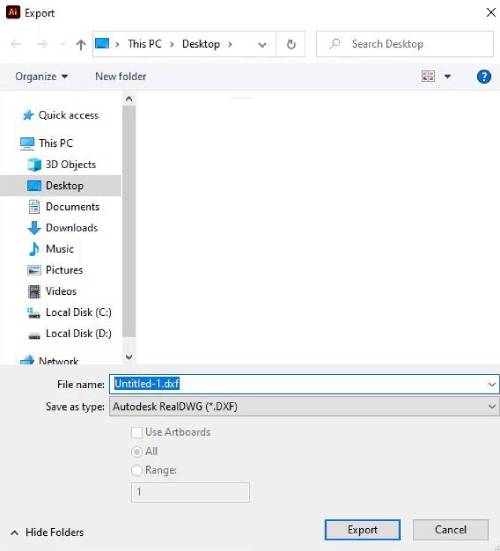
Step 3: Add the name of the file in File Name.
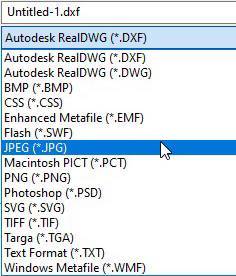
Step 4: From Save as type select JPEG (*.JPG).
Step 5: Select the location where you want to save the file.
Step 6: Check Use Artboards. (this option will only display the design of the artboard)

Step 7: Click on Export.
Step 8: JPEG Options will appear, click on OK.
The file will be exported, and as you can see only the design of the artboard is displayed. Everything outside of the artboard is deleted.
How do I Hide Everything Outside the Artboard in Illustrator?
A tool is available in the Adobe Illustrator that can hide everything Outside the artboard in Illustrator. The tool is called Trim View. It helps to hide Everything outside of the artboard in Illustrator.
It’s Easy to Learn How to delete everything outside the artboard in Adobe Illustrator.
Now you know different methods to delete objects outside of the artboard in Illustrator. You can easily perform these steps in the future as well if needed.
Have More Questions?
If you have any questions related to deleting designs outside of the artboard, you can ask in the comment section below.
All Done! Enjoy.
Leave a Reply