
When you use Adobe Illustrator to fill a shape with an image, you may expand the possibilities of your graphic design. This approach allows you to generate images or textures that are unique. Illustrator’s vector-drawing environment enables you to create complicated visuals by applying simple techniques. With the help of the draw inside tool in Adobe Illustrator, you may fill any shape you have drawn with a photograph or image.
Fill a Shape with an image in Illustrator – Video Tutorial
You can also watch the video tutorial below to learn how to fill a shape with an image in Adobe Illustrator.
If you are new or don’t have any idea to add an image inside a shape then you are in the right place. In this tutorial, you will learn how to fill a shape with an image in illustrator.
You can also learn:
So let’s start.
How to Fill a Shape with an Image in Illustrator
To fill a shape with an image in Illustrator, first, draw the shape using the Shape Tool and then select Draw inside that is available under the Fill Tool in the left toolbar. Now place the image by using File > Place. Drag the image to the shape and it will be filled inside the shape.
Follow are the detailed steps to understand how it works:
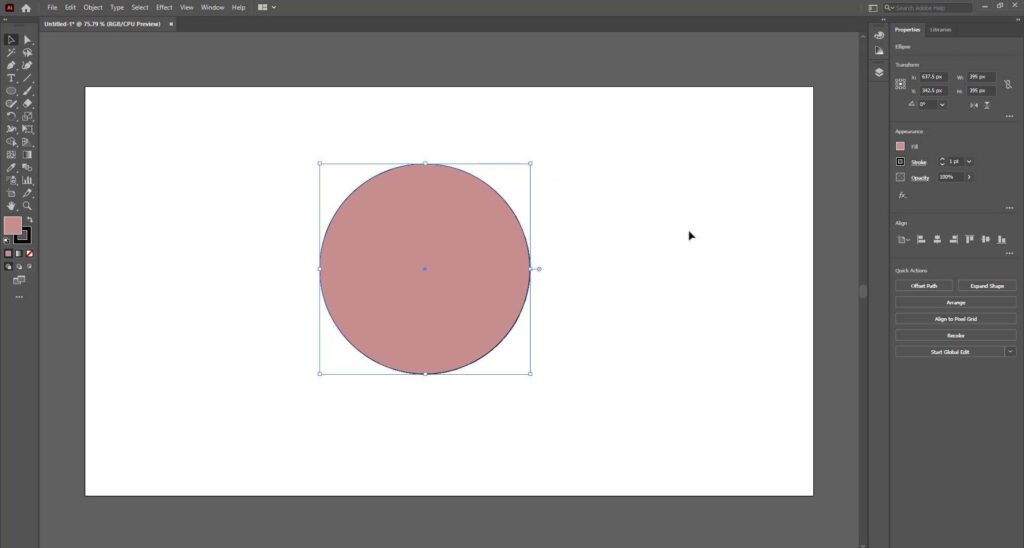
Step 1: Start by drawing a circle or any shape you want to use. To make a circle you need to use the Ellipse Tool that is available under the Rectangle Tool in the left toolbar.
Step 2: You can fill the color in the shape with the Fill Tool if you want so that it is visible to you.
Draw Inside Illustrator
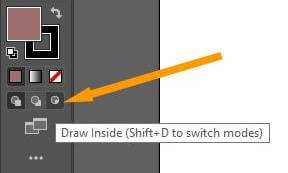
Step 3: Select the shape and then select Draw Inside or you can also press Shift + D and switch between the given three options and choose to Draw inside as we want the image to be inside the shape.
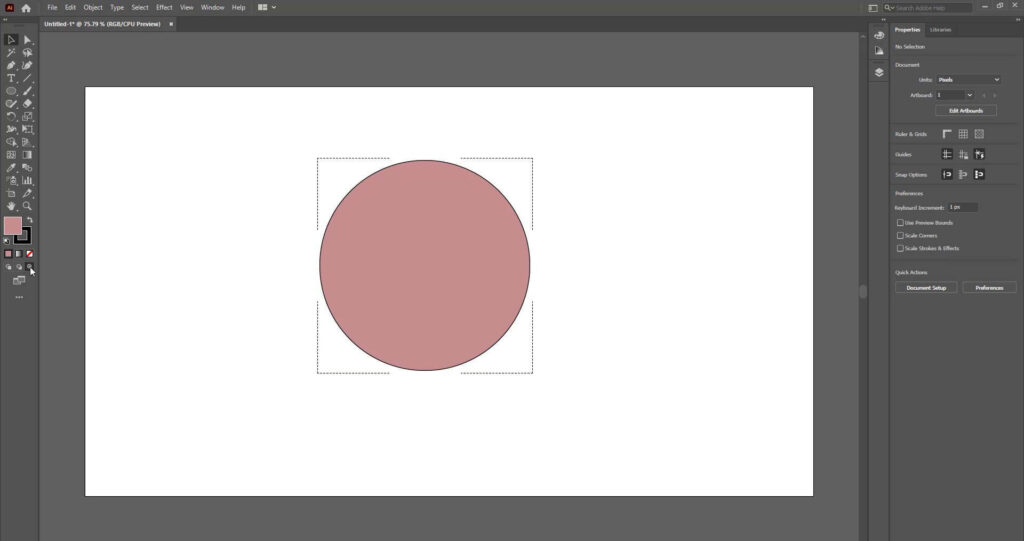
Step 4: The image will be selected and surrounded with dotted lines as you can see in the image below.
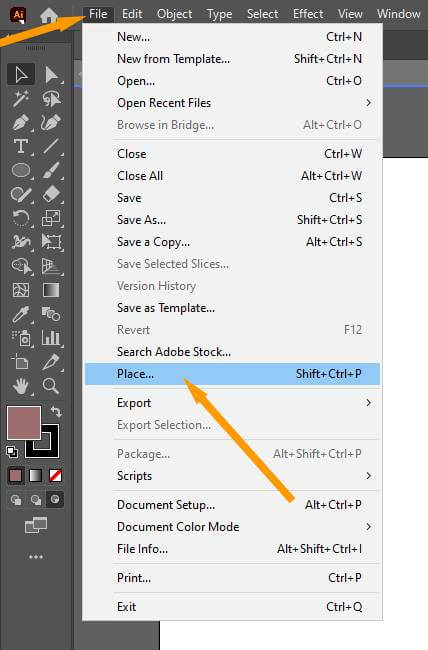
Step 5: Now go to the File menu and select the Place option from the drop-down list or simply press Shift+Ctrl+P to place the image.
Step 6: Select the image you wish to use from the Place panel and then position it anywhere within the circle by dragging it towards the circle.

Step 7: Resize the image according to your need by pressing Shift+drag, and adjusting it.
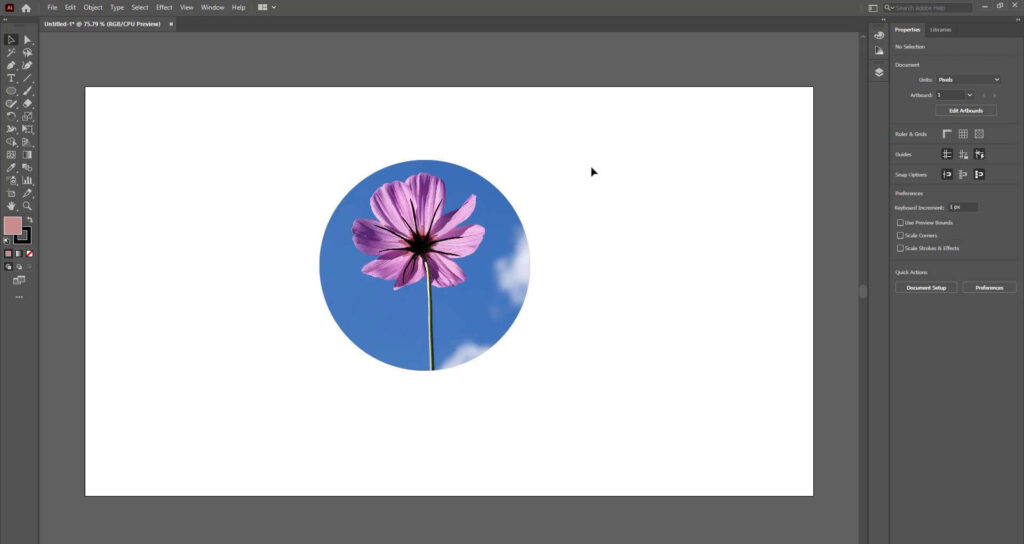
Here is the image in the shape in Illustrator. We have selected the desired area to be placed within the shape.
You have learned to add an image inside a shape in Illustrator.
In this tutorial, you have learned to Fill a shape with an image in Adobe Illustrator. You can use any shape and fill it with your desired image in Adobe Illustrator.
Have More Questions?
If you have any questions related to filling a shape with any image in Adobe Illustrator, you can ask in the comment section below.
All Done! Enjoy.
Leave a Reply