Flattening an image or Flatten Transparency helps to reduce the size of the file in Adobe Illustrator by merging them. It combines all the work into one single background layer.
According to the designers working in Adobe Illustrator, Flatten images helps to reduce the size of the file as well as it is easy to share it and it takes a very short time to upload and download it while sharing and receiving.
Also, printing the file with multiple layers costs more time. So when you flatten the image, it saves you a lot of time and effort.
In this tutorial, we are going to give you a brief introduction and a step-by-step guide to Flatten an image using Adobe Illustrator. Let’s start.
What is Flattening an Image?
Flattening an Image merges all the layers into the background layer to help reduce the size of the file.
It can also help in printing flattening files faster than other files. Easy sharing and easy receiving as it consumes less time than the other AI files because the size of the file is reduced.
Flatten images helps to print the exact work that you have created. It does not replace or displace or remove any of the font or design while printing.
Always keep in mind that you cannot edit or make any changes to the flattened images so keep a copy of your work before flattening it. So that you can change or make any edits easily, without getting into trouble.
Creating Layers of design
We will start by creating our design by placing images, some text, and shapes, after that we will Flatten all the layers into one single layer.
Let’s create our design first.
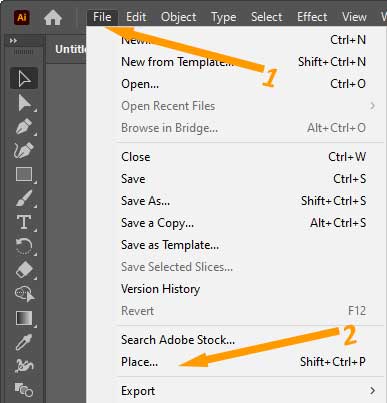
Step 1: Click on the File menu
Step 2: A dropdown menu will appear.
Step 3: Click on Place from the drop-down menu. (You can also use the short key Shift+Ctrl+P from your keyboard)
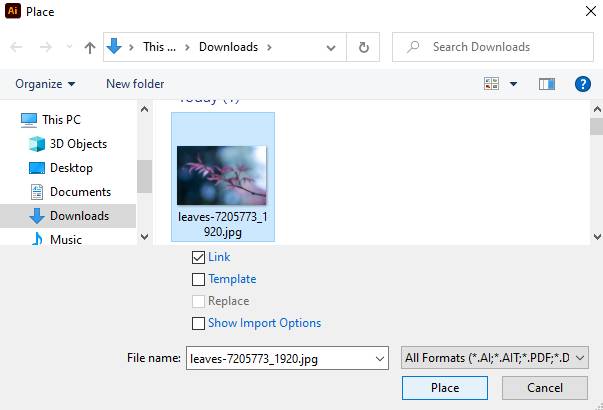
Step 4: Place window will appear.
Step 5: Select an image from its location and then click Place.
Step 6: Click anywhere on the artboard to place your image.
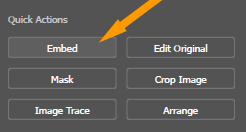
Step 7: Embed your image from Properties > Embed.
Step 8: Resize it according to your requirements. (Here we are resizing it according to our artboard size.)
Step 9: Draw any shape.
Step 10: Click on Rectangle Tool which is located on the left toolbar.

Step 11: Draw a rectangle.
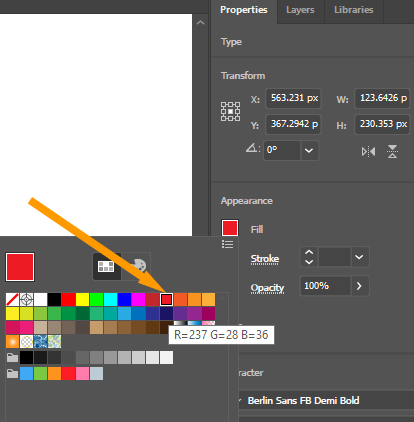
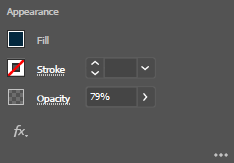
Step 12: Fill any color from Properties > Appearance > Fill.
Step 13: Choose any color.
Step 14: Reduce the Opacity to 79% to make our design more attractive.
Step 15: Go to Properties > Appearance > Opacity.
Step 16: Select Type Tool from the left toolbar.
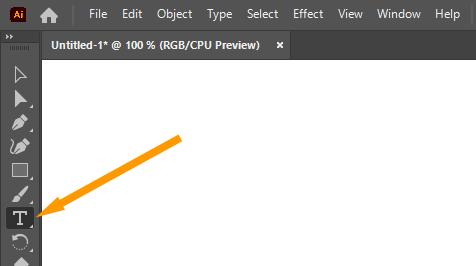
Step 17: Type some words on the Rectangle.

Now our design is ready, we have made three layers. We will Flatten the Image by using Flatten Transparency.
Steps to Flatten an Image or Flatten Transparency in Adobe Illustrator
Following are the easiest steps to Flatten an Image or Flatten Transparency in Adobe Illustrator:
Step 1: Select all the layers by pressing Ctrl+A from the keyboard or using Selection Tool(V) from the left toolbar.

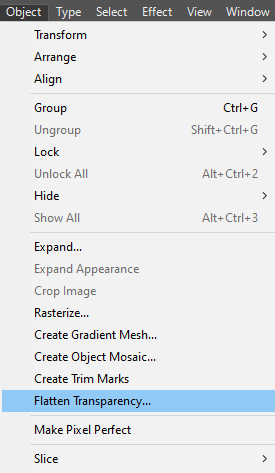
Step 2: Click on Object located on the top menu bar.
Step 3: A drop-down list with multiple options will appear.
Step 4: Click on Flatten Transparency.
Step 5: Flatten Transparency dialog box will appear.
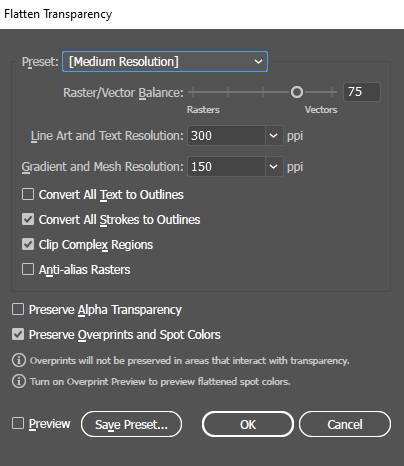
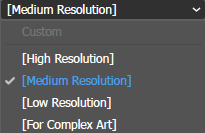
Step 6: From the Preset select Resolution that you want to apply to your image.
Step 7: Click OK.
You will see that all your work is merged into one single layer.
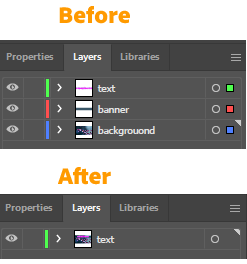
Everything is outlined and all the other layers are empty. When you expand the layer you can see all your work is combined in it.
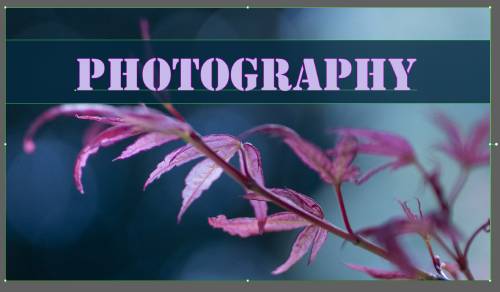
This is the easiest and quick way to Flatten an Image in Illustrator.
How to edit Flatten image in illustrator?
Editing the Flatten image is not possible, as you cannot edit it. If you try to edit it your design will not remain as it was before.
So, That’s why we recommend you save a copy of the file before you Flatten it, otherwise, you cannot edit the image.
Flattening an image helps you to save your design into one single layer. It becomes easy to share the flattened image as its size reduces and the quality does not change.
All Done! Enjoy.

Leave a Reply