
Creating a business card in Adobe Illustrator is a straightforward process. Here’s a step-by-step guide to help you design a professional business card:
Step 1: Create a new document
Open Adobe Illustrator.
Go to File > New.
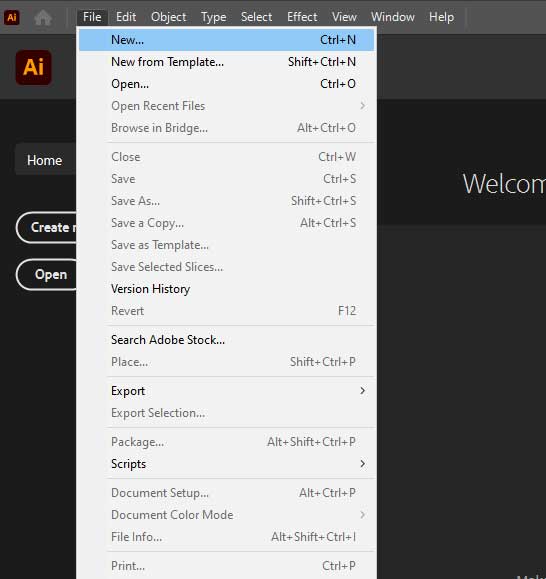
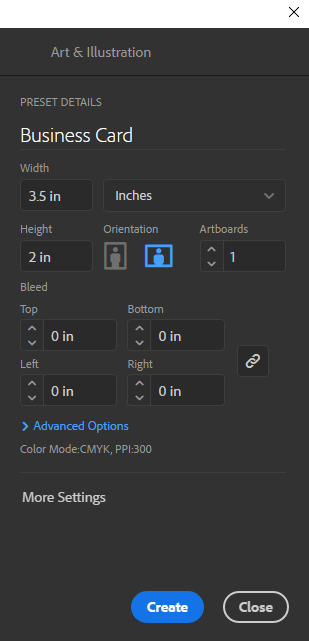
In the New Document dialog box, set the following:
- Name: Enter a name for your business card file.
- Width: 3.5 inches (standard US business card width).
- Height: 2 inches (standard US business card height).
- Units: Inches.
- Color Mode: CMYK (for print).
- Resolution: 300 PPI (pixels per inch).
Click “Create.”
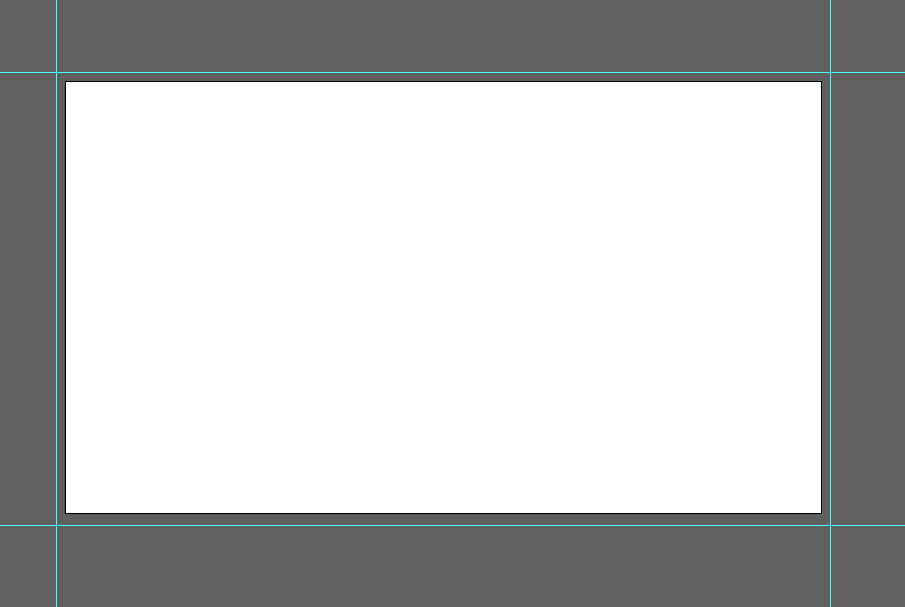
Step 2: Set up guides and margins
Go to View > Rulers > Show Rulers (or press Ctrl+R / Cmd+R) to display the rulers.

Click and drag from the top ruler to create a horizontal guide at 0.125 inches and another at 1.875 inches.
Click and drag from the left ruler to create a vertical guide at 0.125 inches and another at 3.375 inches.
- These guides represent a safe margin area where important information should be placed to avoid being cut off during printing.
Step 3: Design your business card
Use the Type Tool (T) to add text elements like your name, title, company name, phone number, email, and website.

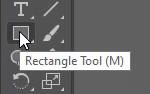
Use the Rectangle Tool (M) to create shapes or backgrounds.
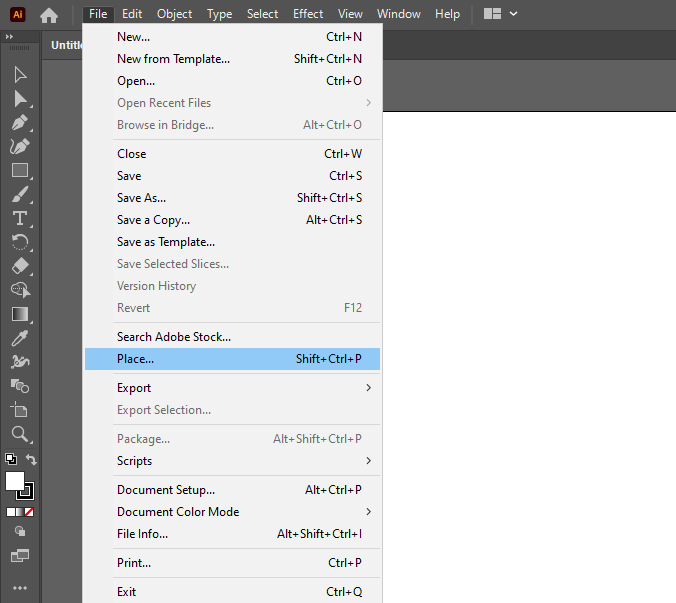
Import your logo or other graphics by going to File > Place and selecting the appropriate file.
Use the Selection Tool (V) to move, resize, and align elements on your business card.

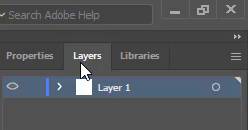
Utilize the Layers panel to organize your design elements and maintain a clean workflow.
Step 4: Apply color and typography
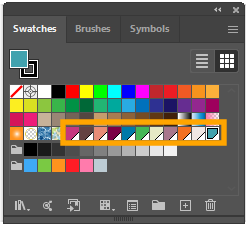
Select text or shapes and use the Color panel or Swatches panel to apply colors.
Use the Character and Paragraph panels to adjust the font, size, and spacing of your text.

Step 5: Save your business card
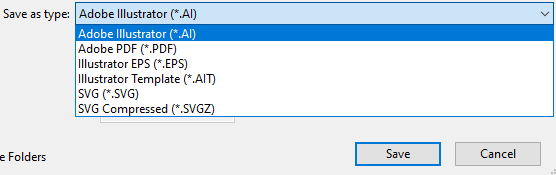
Go to File > Save As and choose a location to save your file.
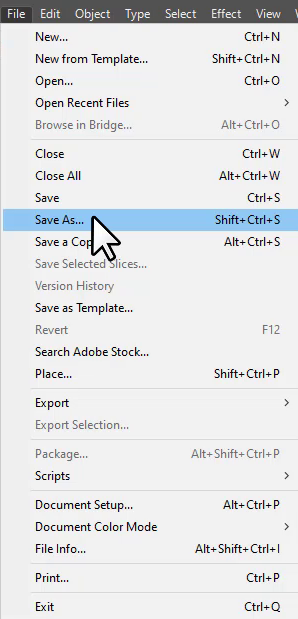
Select “Adobe Illustrator (AI)” as the file format and click “Save.”
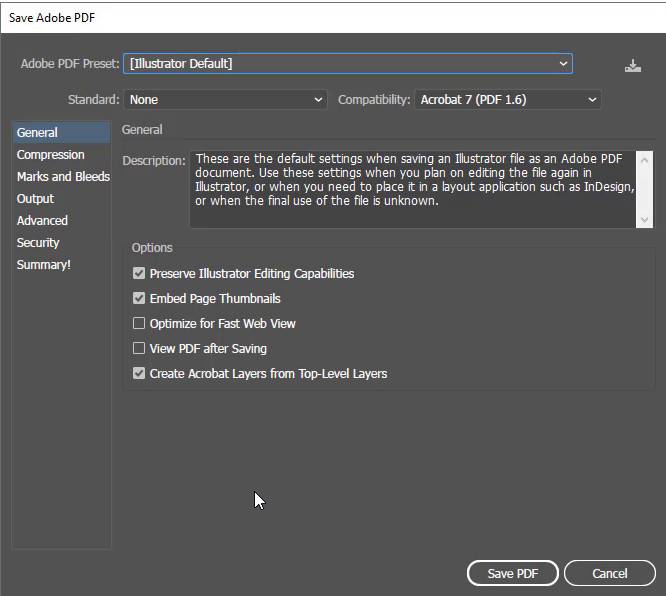
Step 6: Export your business card for print
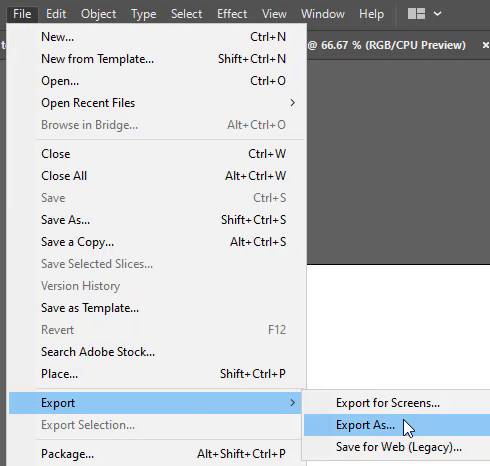
Go to File > Export > Export As.
Choose a location to save your file.
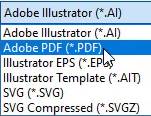
Select “Adobe PDF (pdf)” as the file format.
Click “Save.”

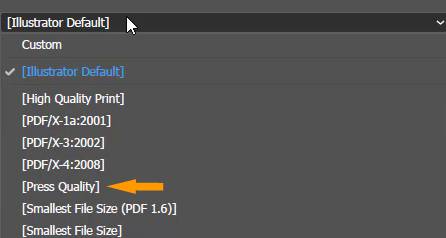
In the Adobe PDF dialog box, choose “Press Quality” as the preset.
Check the “Trim Marks” and “Use Document Bleed Settings” options under the “Marks and Bleeds” tab.
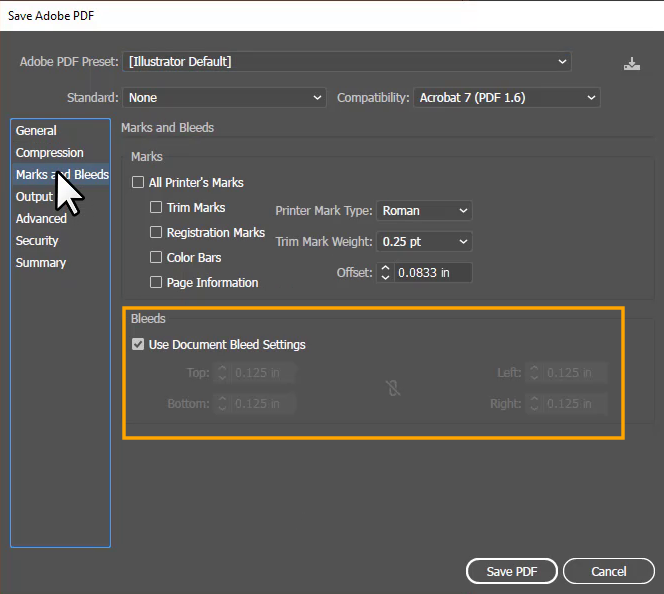
Click “Save PDF.”
Now you have a professionally designed business card in Adobe Illustrator, ready for printing. Remember to consult with your printer for any specific requirements they may have.

Leave a Reply