
Creating a teardrop shape in Adobe Illustrator is very easy. You can use the same drop as raindrops. In Adobe Illustrator, you can easily make custom shapes of other styles as well like a starburst.
You can also watch the detailed video tutorial to learn how to make a teardrop in Adobe Illustrator.
You can start drawing teardrop by following the below tutorial.
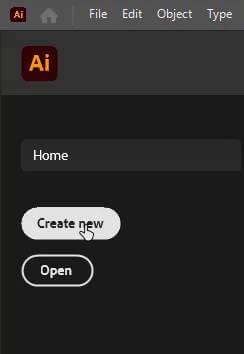
Open the Adobe Illustrator and Click Create New.
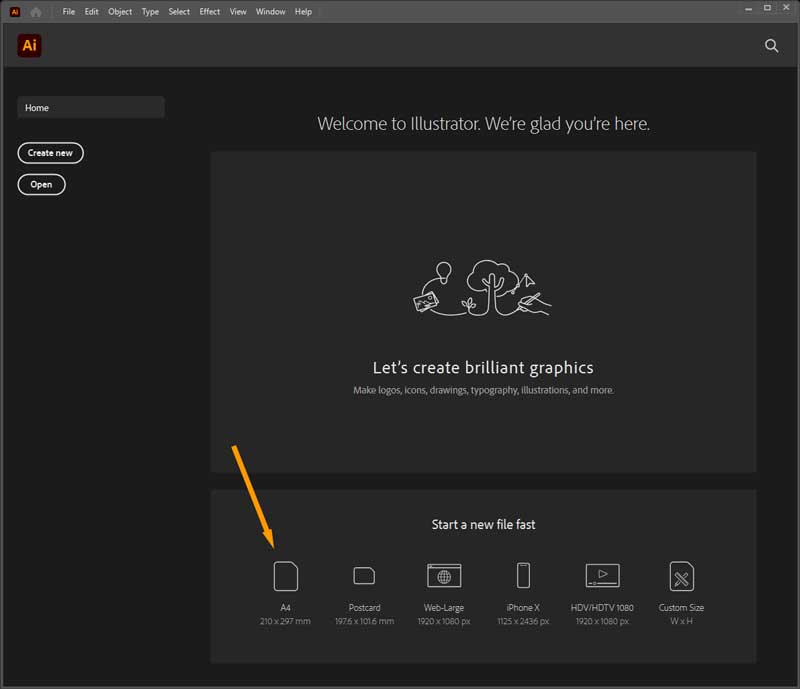
Select your artboard size. I am selecting an artboard of A4 size.
Now I want to draw a simple circle shape. To do this, I will right click the “Rectangle Tool” and select the “Ellipse Tool” from left side toolbar.
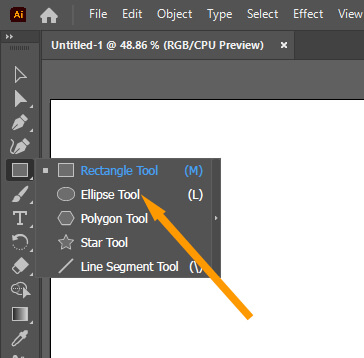
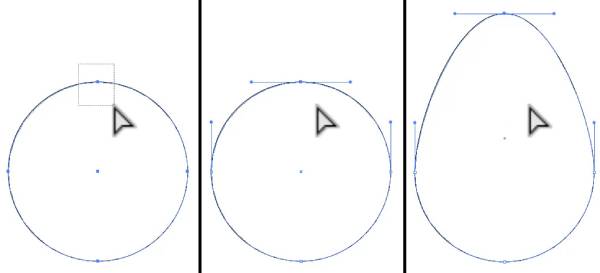
By default Ellipse Tool draw the ellipse shape but If I left click and drag the mouse by pressing the “Shift” key from my keyboard. A perfect circle will be drawn.

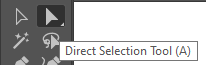
Now select the “Direct Selection Tool”.
Select the upper corner of the circle and drag it upward.
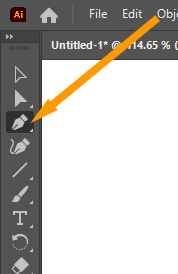
Now go to left toolbar, right click the “Pen Tool” under “Direct Selection Tool” and select the “Anchor Point Tool”.

Now, simply click on this.

Our basic shape is complete, but we will make it look professional.
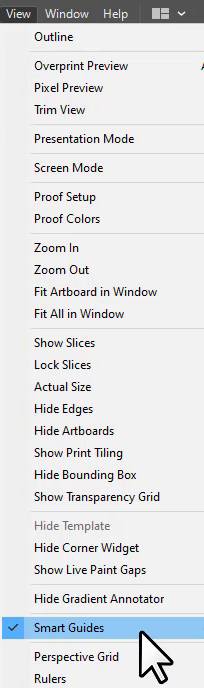
Now, Go to the “View” menu, make sure that “Smart Guides” option is checked.
Select the “Pen Tool” by pressing “P” from your keyboard.
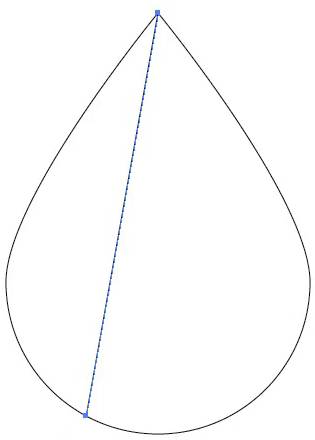
click on the shape’s “Anchor Point” on the top. Then click on the Path in the bottom area as shown in the below image.
Now select the shape and line both using “Selection Tool”.

After selecting both, choose “Shape Builder Tool” from left side toolbar.

Single click on the left side area.
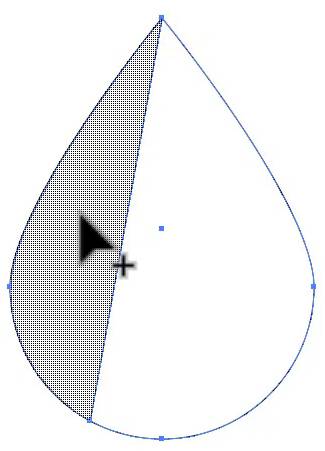
Left side area will be parted away.
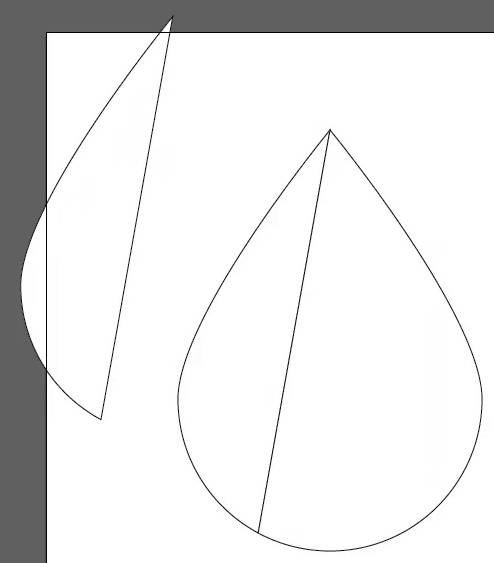
Now select the left area and make copy by pressing “Ctrl+C” and paste by pressing “Ctrl+V”.
Now move the pasted shape away from the teardrop shape.
Now again select the teardrop two parts.
Select the “Shape Builder Tool” from left toolbar.
Now, I will make them again one shape by moving the cursor on these shapes.

Congratulation to you, you have passed the difficult part.
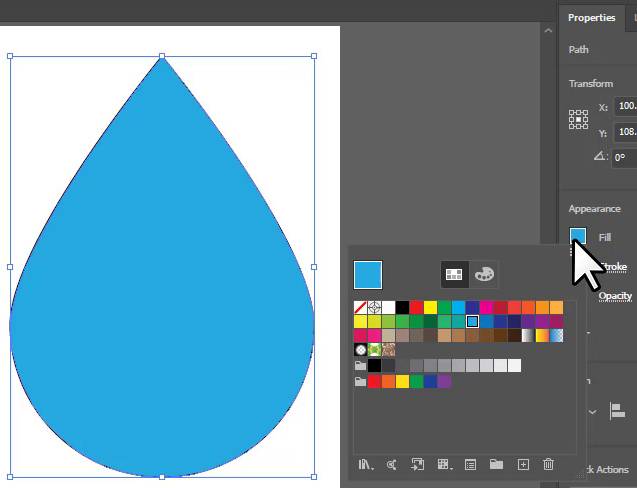
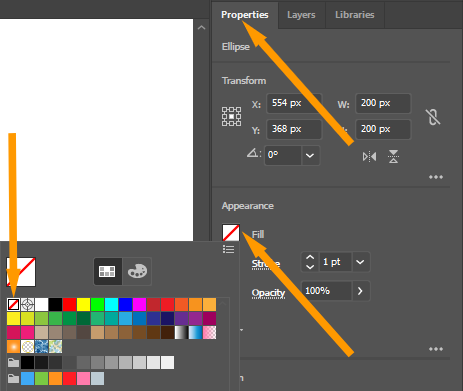
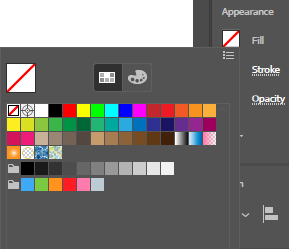
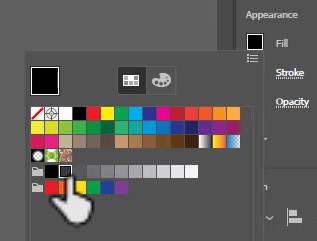
Now simply fill the color of teardrop by going to the “Properties” panel >> “Fill” >> Select your desired color. I am choosing blue color.
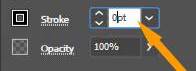
Remove the stroke by entering the “0” value next to “Stroke” option under “Fill” option.
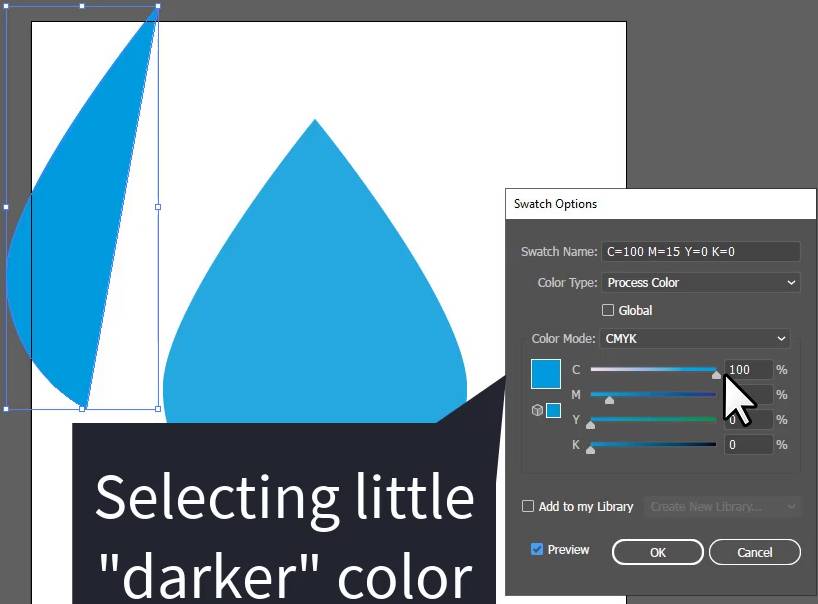
Also fill the color of the left side separated part. I am selecting a little bit darker color then tear drop shape.
Also remove its stroke.
Place it over the teardrop shape and also make it smaller.

To make it equally smaller, select one of its handle and press “Shift” key will decreasing its size.
Select the “Anchor Point Tool”.
Move the right side to the left to make it symmetrical.

Now select the “Pen Tool” and draw a curved line in the right bottom side.

Choose Fill Color None.
Increase the “Stroke” to 18 pt.
Click on the “Stroke” text and from the appeared box, choose “Round Cap” next to “Cap:” option.

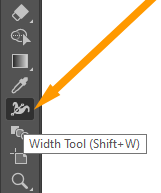
Choose “Width Tool” from left side Toolbar.
A new section of “Width Profile:” will appear under “Appearance” section in “Properties” panel.

Choose “Width Profile 4”. Click on “Flip Along” option next to “Width Profile:” option.

Choose “Stroke” color white.
Now we will draw the shadow of this teardrop shape.
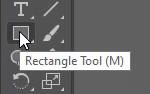
Select the Rectangle Tool from Left side toolbar.
Thanks to the “Smart Guides” option, when you will place cursor on top anchor pint of shape, a text “anchor” will appear.
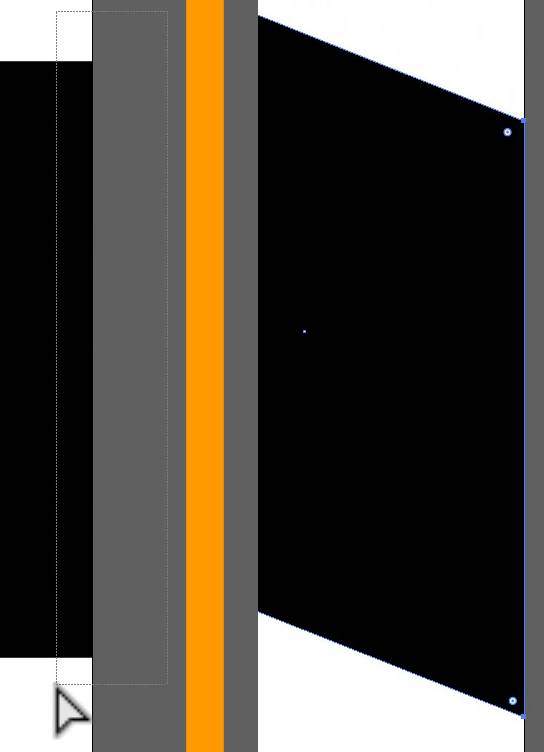
Draw a rectangle from anchor pint to bottom line.

Fill the rectangle with black color and remove the stroke.
Select “Direct Selection Tool” and select right side of rectangle.
Now, drag right side to bottom.
Change the opacity to “40%”.

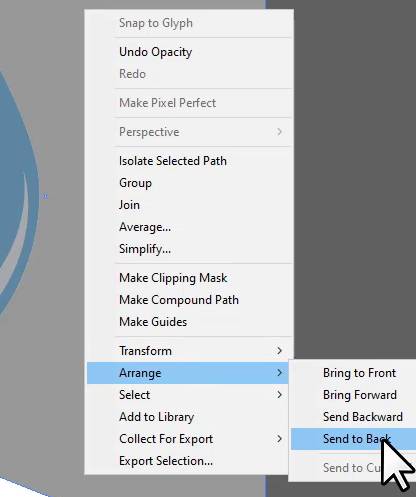
Select the shadow and Right Click >> “Arrange” >> “Send to Back”.
Now to add background, Select “Rectangle Tool” or press “M” from your keyboard.
Draw a rectangle on entire artboard.
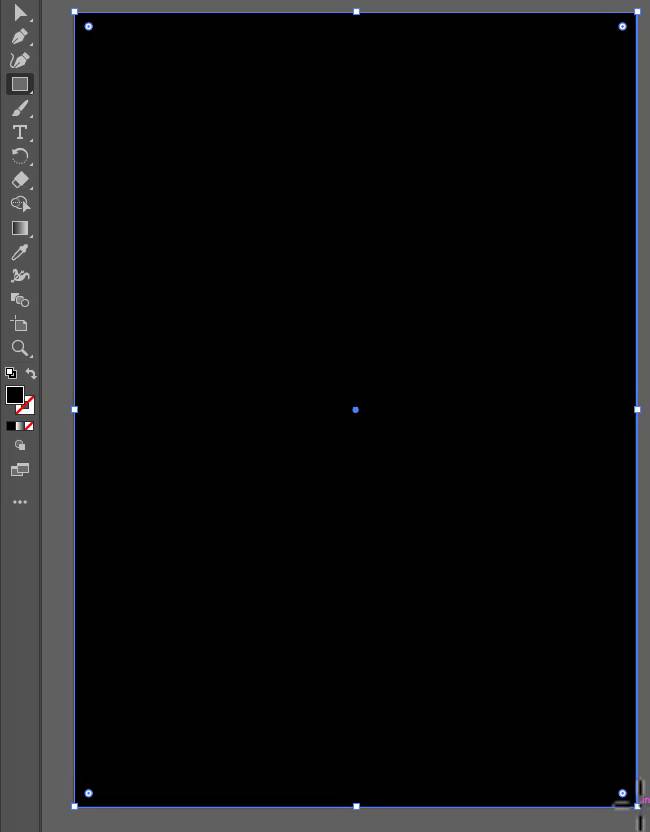
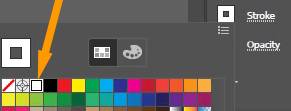
and fill with darker color.
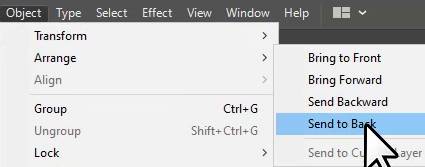
Go to “Object” Menu >> “Arrange” >> “Send to Back”.
Our teardrop shape is ready.

Bonus: You can also download the Adobe Illustrator file I used in this tutorial here.
Leave a Reply