
You may have seen different types of text logos. We all usually see them on a daily basis. Being a designer, I am inspired by different companies’ text logos. The biggest example of a text logo is Google. You will see the use of the text logos everywhere.
So we will also create a text logo to see how amazing it turns out. You will also love to create different types of text logos in your design career.
You can also learn:
If you are new or you don’t know how to make a text logo in Illustrator, then you are in the right place. This tutorial will teach you how to make a text logo using Adobe Illustrator.
So Let’s start.
Make a Text logo in Illustrator
Choose the desired word that you want to use in your logo.
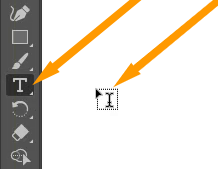
Step 1: Grab the Type Tool from the left toolbar.
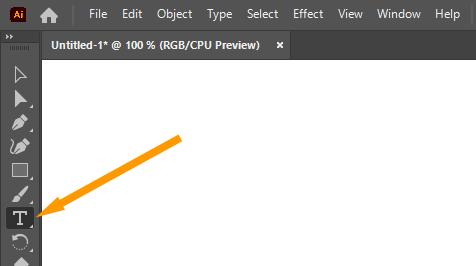
You can also press T from your keyboard to use Type Tool.
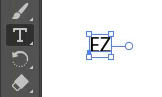
Step 2: Type in your desired word. You can use any text like a company name or brand name.
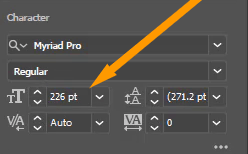
Step 3: Resize the text if you want to. We are resizing the text that we’ll use in the logo by Properties > Character > Set the Font Size.
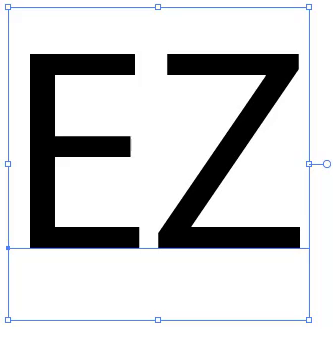
Here is the text after enlarging it.
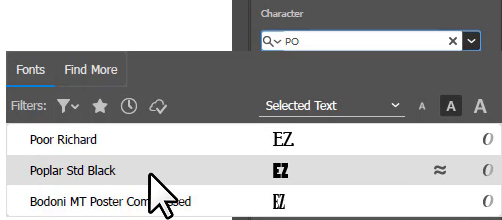
Step 4: Select your desired font from the font family in the “Character” panel. We have selected the “Poplar Std Black” font from the font family.
Here is the text after applying the font style.

Step 5: Right-click on the text and select “Create Outlines”.
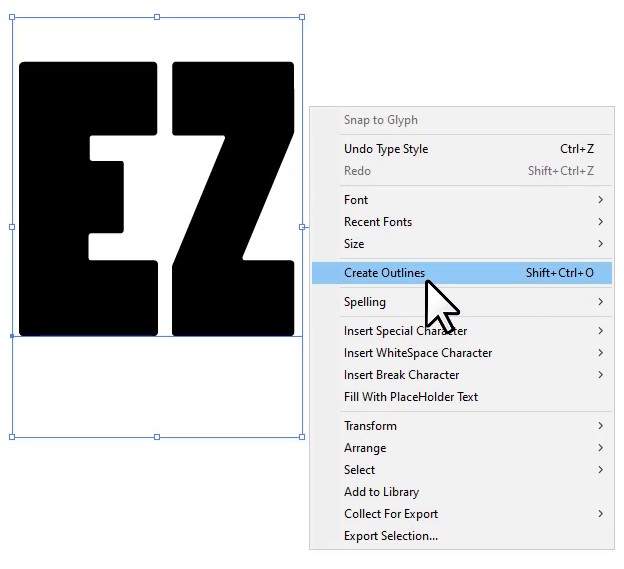
The outlines of the text are created.

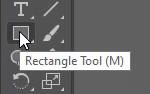
Step 6: Right-click on the “Rectangle Tool” and grab the Line Segment Tool from the list.
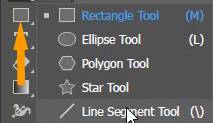
If you are using Essential Classic Layout, then you can find the “Line Segment Tool” near the “Type Tool”.

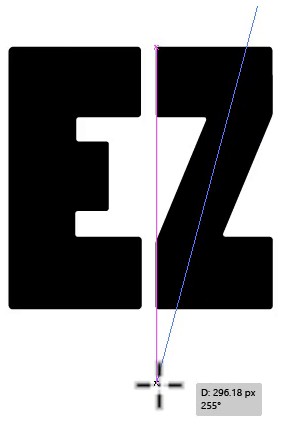
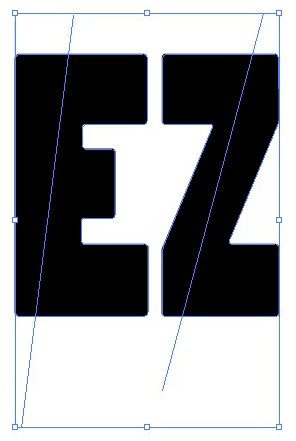
Step 7: Draw lines on the text, just like we did here.

Step 8: Grab the Selection Tool from the left toolbar.

Step 9: Select lines and the text.
Step 10: From your right workplace, go to Properties > Pathfinder > More Options > Divide.
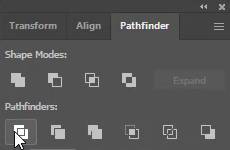
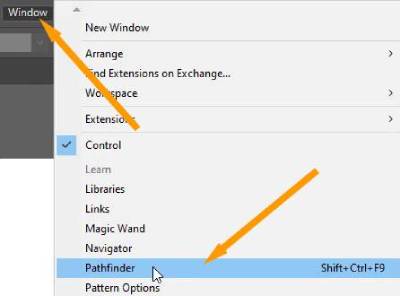
If you can’t find pathfinder in Properties in your right-side panel, then go to Window > Pathfinder. A Pathfinder panel will appear. Select Divide.
Step 11: The shapes will be divided.

As the objects are still grouped so, first of all, you need to ungroup them.
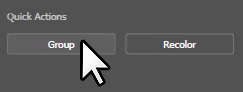
Step 12: Keep all the objects selected, go to Properties > Quick Actions > Ungroup.
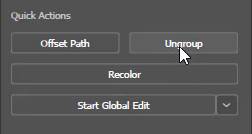
You can also ungroup objects by right click and then select Ungroup.
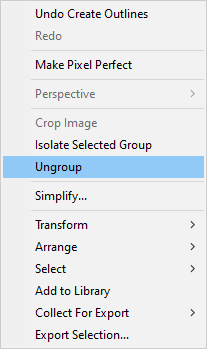
The text is now ungrouped.

Step 13: Select the part of the text and separate them, just like we did here.

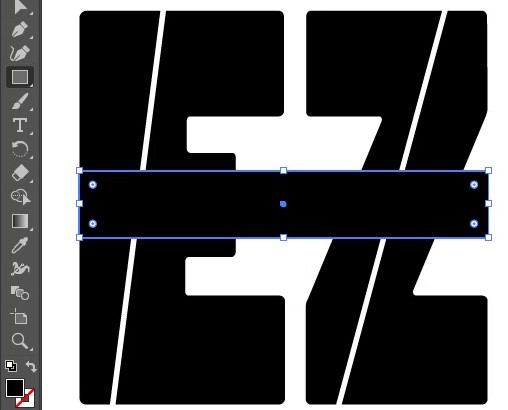
Step 14: Grab the Rectangle Tool from the left toolbar. You can also use Rectangle Tool by pressing M from the keyboard.
Step 15: Draw a rectangle on top of the text and place it just like we did here.
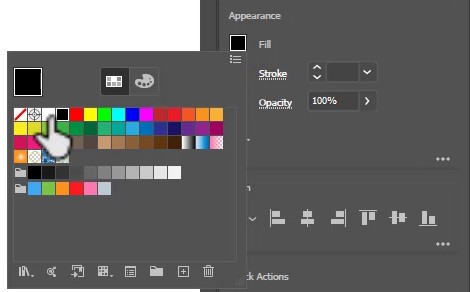
Fill the background color with white in the rectangle by going to “Properties” >> “Appearance” >> “Fill”.

Step 16: Grab the Type Tool from the left toolbar.
Step 17: Add some text on top of it.

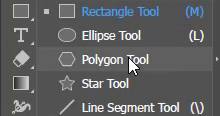
Step 18: Grab the Polygon Tool from the left toolbar by right-clicking or long-pressing on the Rectangle Tool.
Step 19: Draw a polygon on top of the text with no fill and a black stroke, as you can see we have drawn here.

Step 20: Duplicate the shape, enlarge it a bit, and place it just like this.
Step 21: Select both polygons and make them a group by right-clicking; from the list, select Group or go to “Properties” >> “Quick Actions”.
Step 22: Make a duplicate, rotate them, and place them on top just like this.

Step 23: Select all the polygon shapes with the help of the Selection Tool.
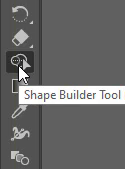
Step 24: Grab the Shape Builder Tool from the left toolbar. You can also press Shift+M from the keyboard to use the Shape Builder Tool.
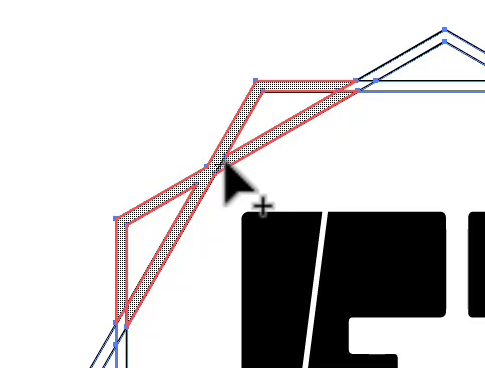
Step 25: Bring the pointer on top of the polygon and select the line where they intersect each other.
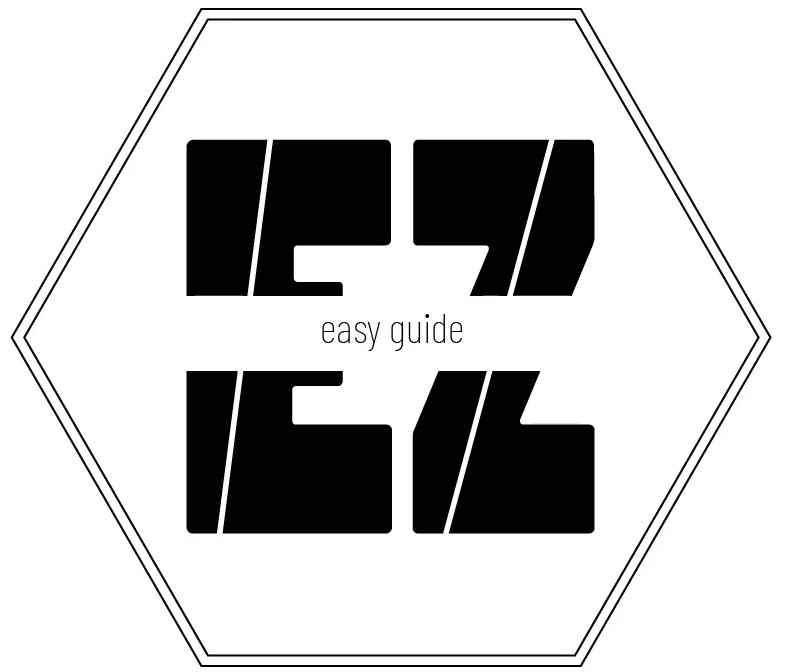
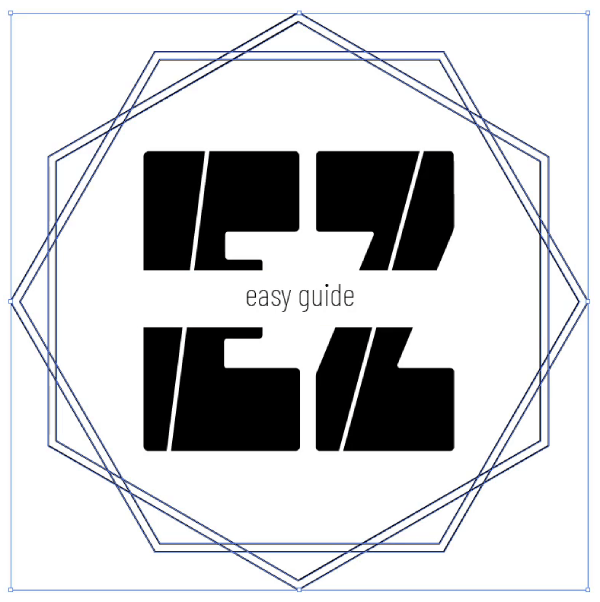
Here is the final look of the text logo.
Add Colors to Logo
You can also add colors to the logo to make it look more attractive.
Add Shadow to Logo
Shadows can play a significant role in making the text look more amazing sometimes. So here is the look of the logo with shadow.

You have learned to make a Text logo in Illustrator.
In this tutorial, you have learned a complete step-by-step guide to making a text logo in Illustrator. Now you can make a text logo easily.
You can also watch a complete video tutorial to learn how to make a text logo in Illustrator.
Have More Questions?
If you have any questions related to making a text logo, you can ask them in the comment section below.
Download the Text Logo template for free
You can also download the text logo for free.
Leave a Reply