
Are you looking to add some fun and whimsy to your designs? Look no further than bubbles! Bubbles can add a playful touch to a variety of designs, from children’s book illustrations to product packaging.
How to Make 3D Bubbles in Illustrator
How do you make a transparent bubble in illustrator?
In this article, we’ll guide you through the process of creating bubbles in Adobe Illustrator, and provide tips for making your bubble designs stand out. Let’s dive in!
Setting up Your Document Before you start creating bubbles, it’s important to set up your document properly. Choose the appropriate size and resolution for your design, and make sure you’re working in the appropriate color mode (RGB or CMYK). You may also want to create a new layer specifically for your bubbles, so they can be easily edited or manipulated later on.
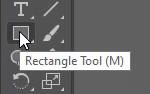
First of all, change the background color to your desired one, so that you can easily notice the changes. To do the task, click Rectangle Tool and draw a rectangle on the complete artboard.
Fill the rectangle with your desired color.
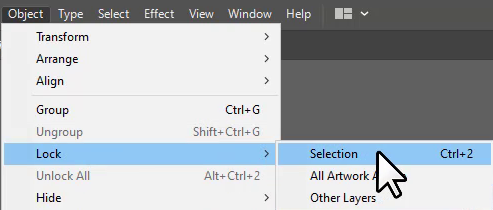
Now lock the rectangle, so it does not move as you work on this.
Read here: How to Change Background Color in Illustrator
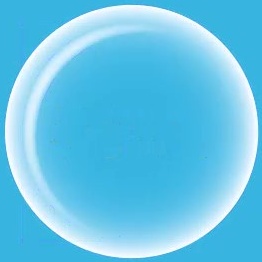
Now, to create a basic bubble shape, start by using the Ellipse Tool (shortcut key: L) to draw a circle.
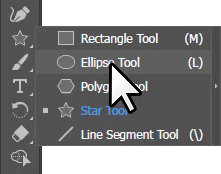
Hold down the Shift key as you draw to ensure a perfect circle.
Once you have your circle shape, it’s time to add some color!
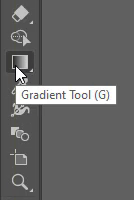
You can use the Gradient Tool (shortcut key: G) to create a gradient fill for your bubble.
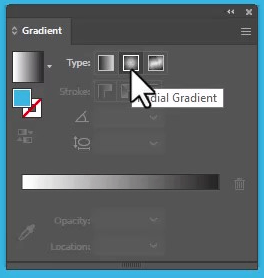
Double Click on Gradient Tool.
Choose Radial Gradient.
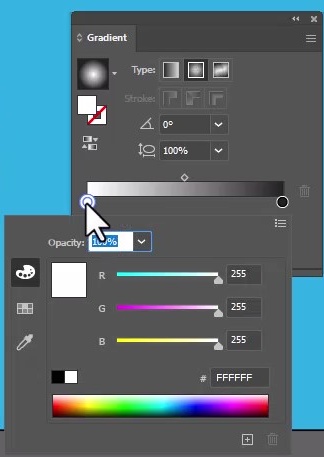
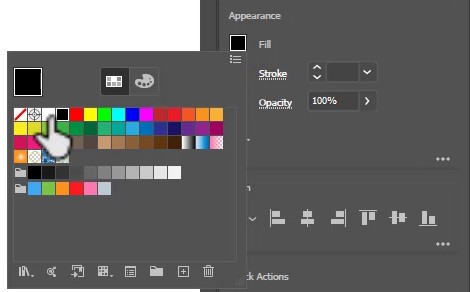
On the slider, double-click on the left white dot and choose the desired bubble color.
Double-click on the right block dot and choose the white color.
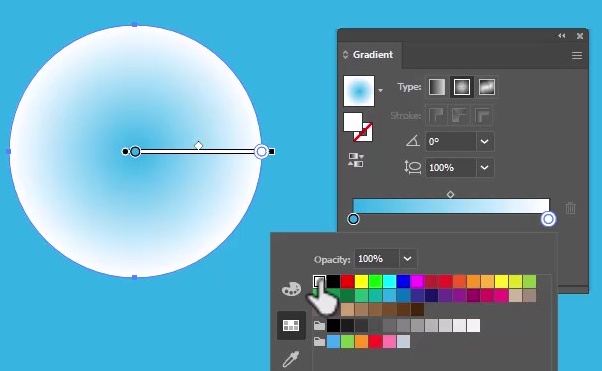
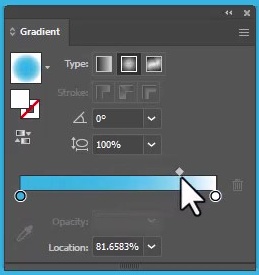
Drag the upper dot to the right side.
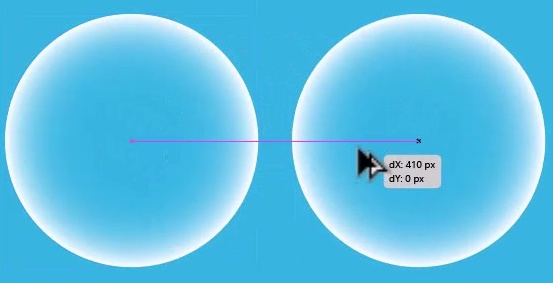
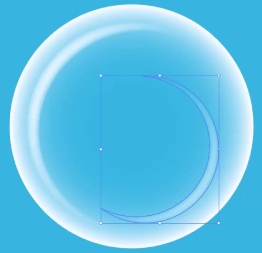
Now make a duplicate circle by pressing the alt key and left click +drag the mouse.
Fill the second circle with white.
Now, duplicate the white circle by pressing alt + left click.
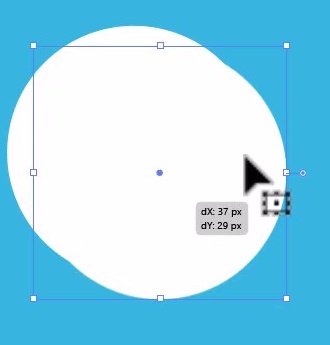
Add 1pt stroke to duplicated circle to differentiate between both circles. Resize and position the above circle as shown in the image.
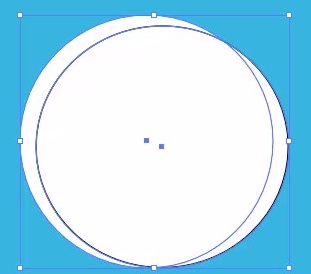
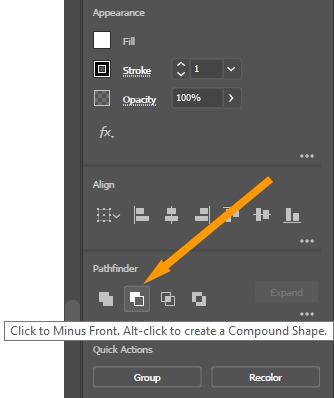
Go to the Pathfinder panel and click on Minus Front.
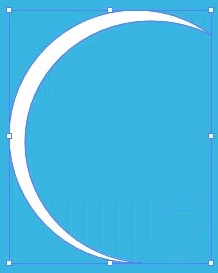
Place the shape on the bubble circle. if your shape is larger than the below one circle, then resize it as shown in the below image.
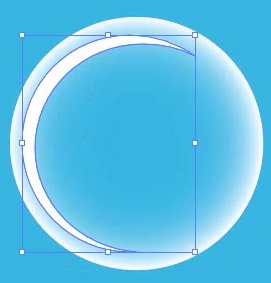
Select the above moon-like shape and go to Effect > Stylize > Feather…
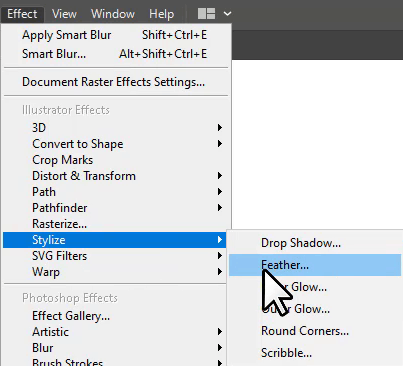
Select the Feather Radius equal to 10px.
Duplicate the blurred object. After duplicating, resize and position the object as shown below.
Now make three different-sized circles at various points and also blur them by using the Feather option in the Effect menu. Your final shape will look like this.

How do you make a gradient bubble in illustrator?
Tips for Making Your Bubble Designs Stand Out
- Use complementary colors to make your bubbles pop.
- Vary the size and shape of your bubbles to create visual interest.
- Add highlights and shadows to give your bubbles depth.
- Experiment with textures to make your bubbles look more realistic.
- Use bubble brushes to create designs with lots of bubbles quickly and easily.
Conclusion: Bubbles can be a fun and playful addition to various designs. By following these tips and tricks, you can create bubble designs that stand out and capture your audience’s attention. With a little creativity and experimentation, the possibilities are endless!
Leave a Reply