
In Illustrator, you can learn how to make letters look 3D in Illustrator in a variety of methods. We’ll teach you how to make a 3D effect with Illustrator’s basic tools and capabilities in this post.
Click here to download the file used in this video. Download
Make Letter Look 3D in Adobe Illustrator
Learn how to make basic 3D letters without using any 3D effects with this new short tip. We’ll start with a simple typeface and, after a few tweaks, we’ll be ready to use the Blend Tool and a few shape alterations to create a 3D effect. After that, you may paint the 3D letters whatever you like. Let’s get started!
Create New Document
Launch Adobe Illustrator and select your desired size for the document.
I am choosing 1366×768 px.
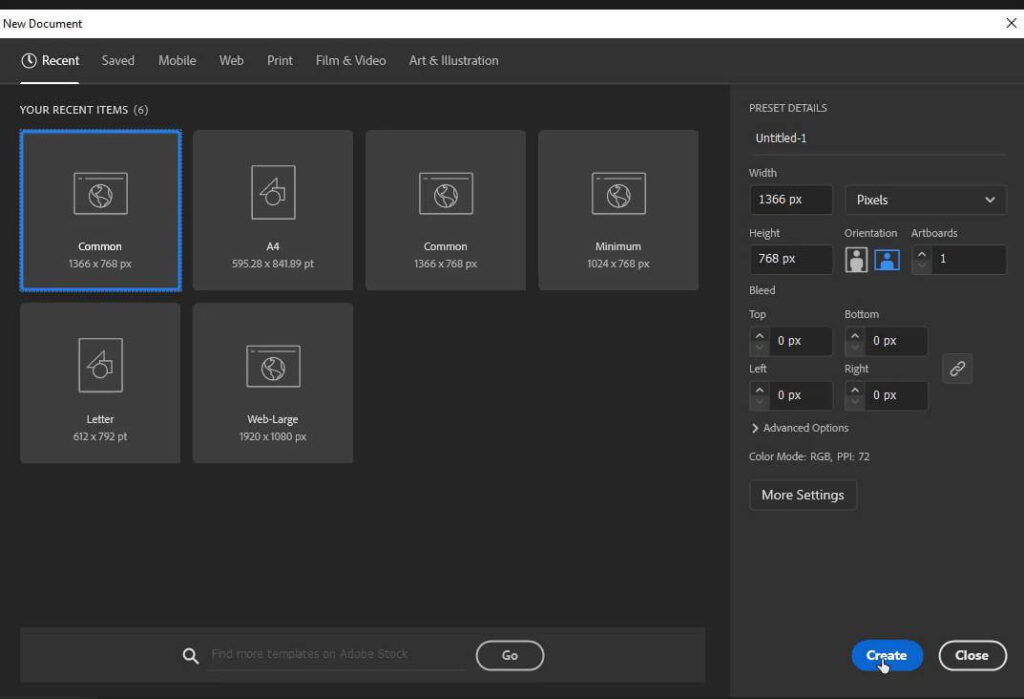
After choosing your desired size, click Create.
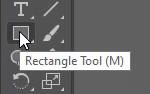
Now go to the left side toolbar and choose “Rectangle Tool” or press the “M” key from y our keyboard. Rectangle Tool will be selected.
Now draw a rectangle on your entire board to make a background, then we will fill the color to make the artwork attractive.
Now go to your right-hand side “Properties” panel and under the “Appearance” section, click on the “Fill” option.

Choose your desired color, I am choosing the orange color.
Now go to the left-hand side toolbar and choose “Type Tool” or simply press the “T” key on your keyboard, Type Tool will be selected automatically.
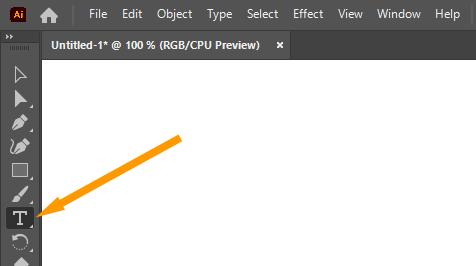
Click on the artboard and type your desired text.
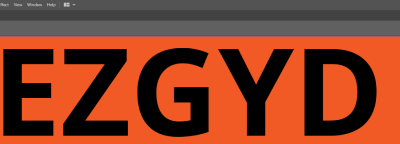
Now again, go to the “Properties” panel, and under the “Appearance” section, click on the fill color option and choose white. we will adjust it later.
Under the Appearance section, there will be another option Character section. Choose your desired Font Family and increase the Font Size, try to choose the BOLD version.
Now choose the Selection Tool or press “V” from your keyboard to choose “Selection Tool”.

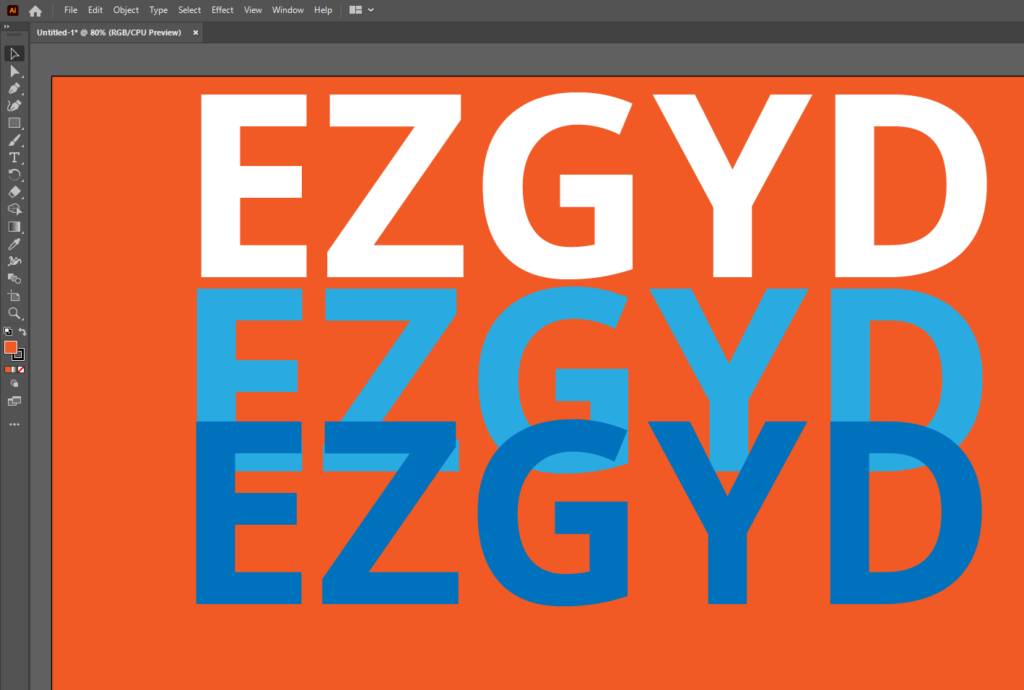
We will make 2 other copies of our text. To do this, press and hold the “Alt” key from your keyboard, left-click, and drag the text below.
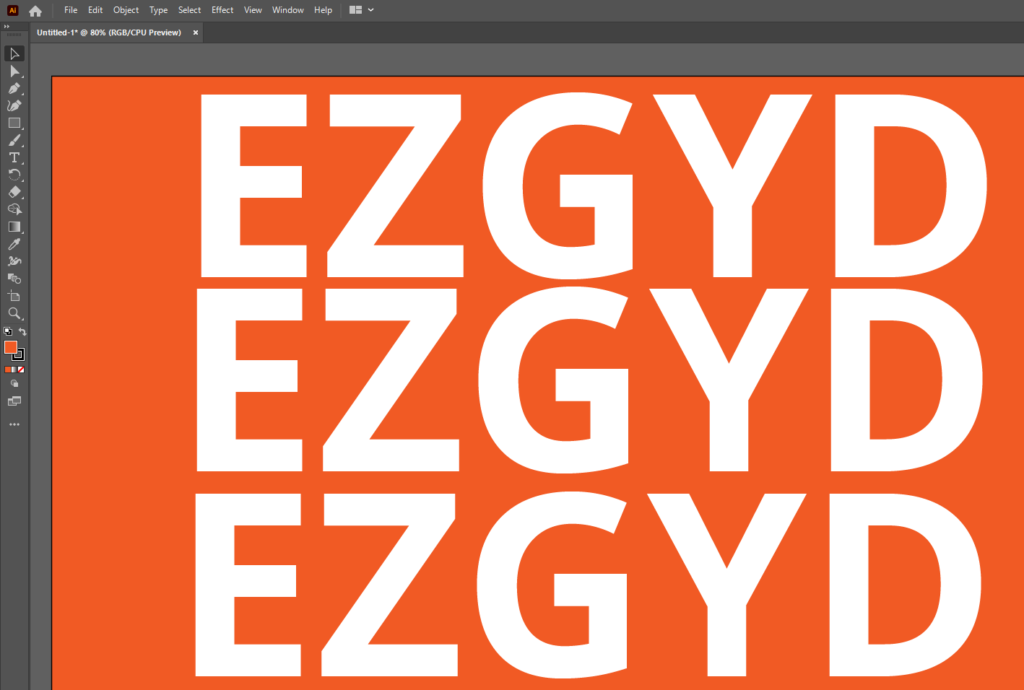
Select the 2nd row of text and choose your desired color of the shadow. To do this go to your right-hand side “Properties” panel and under the “Appearance” section, click on the “Fill” option.
I am choosing the light blue color.
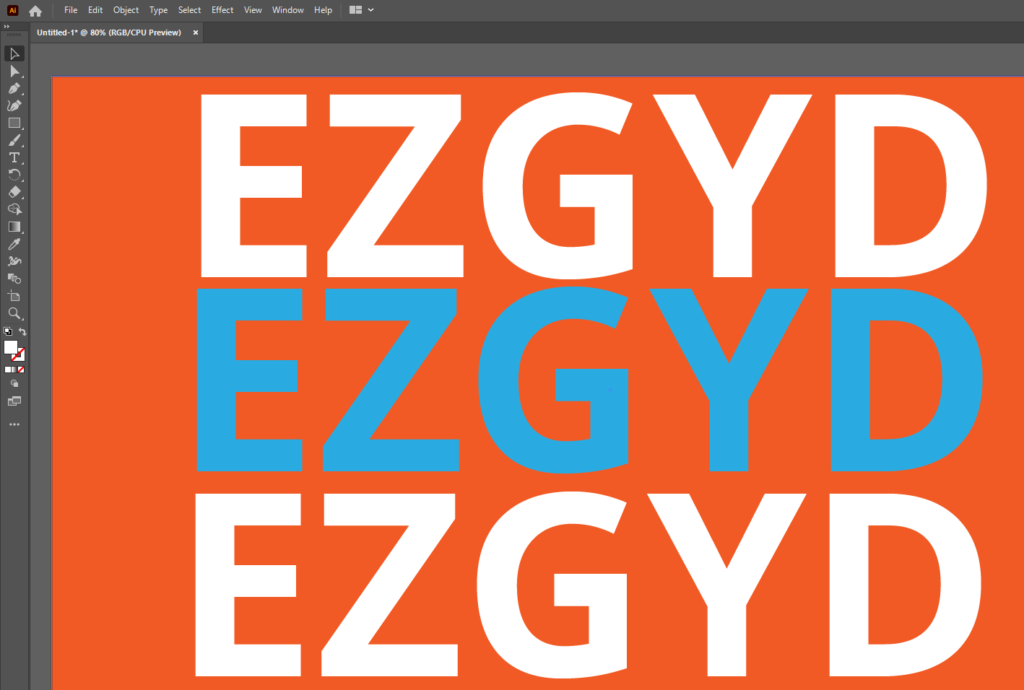
Now select the 3rd row of text and choose the darker version of the desired color you have already chosen.
Now select and move the 3rd row to the bottom of the 2nd row as shown in the below image.
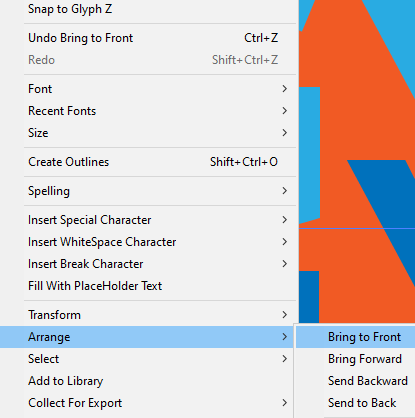
Choose the second row and right-click. Select “Arrange” >> “Bring to Front”.
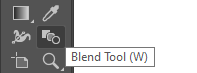
Focus on the left side toolbar and choose “Blend Tool”.
First of all, click on the 2nd row of text and then the 3rd row.
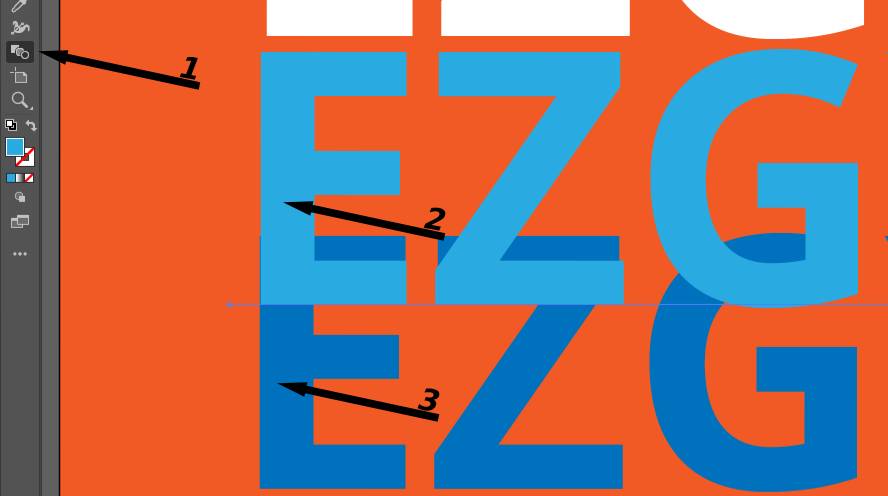
A blend will be made by showing another layer of text between them.
Now, double-click on the “Blend Tool” in the left toolbar.
The Blend Options box will appear.
Set the first option “Spacing” to “Specified Distance” and enter the value of “1”.
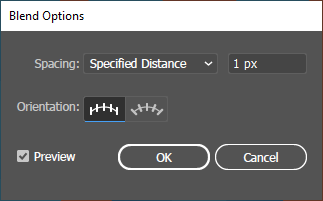
Press OK.
Must watch:
Now right-click on the first layer and go to arrange >> Bring to Front.
Now place the first layer on the top of all the layers.

Now double-click on the layers which we blended recently.
Select the bottom text and make it smaller.

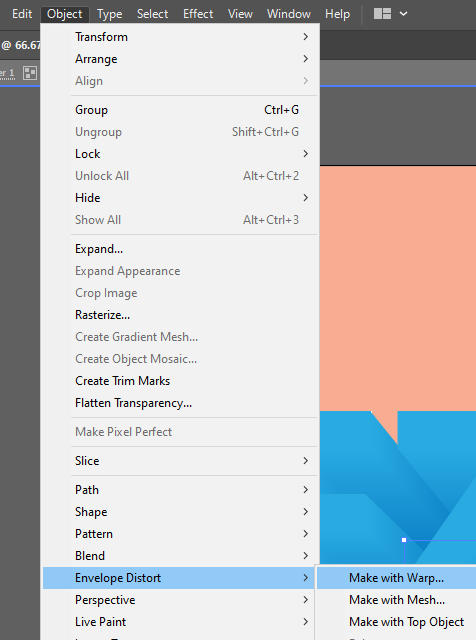
Now, go to the top menu bar and go to “Object” >> Envelope Distort >> Make with Warp.
The Warp Options box will appear.
In the Bend option, set the value “15%”.
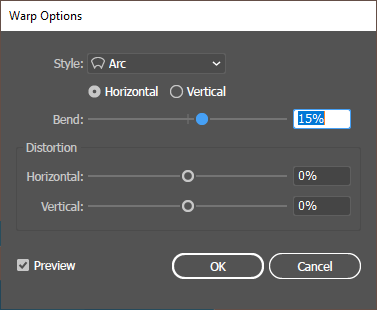
Keep the Distortion as zero.
Press the OK button.
Our 3d Text Effect is ready.

3D Text Effect Illustrator Free Download
You can download the 3D Text Effect file used in this tutorial here.
Leave a Reply