
Have you seen instead of any color, the image is added in the text and in any shape? That is a Clipping Mask. You can also call in the Mask only. It’s the most amazing and unique style that is a must to learn.
Many designers are using Mask for designing different banner headings and many other designs to make it look more interesting. You can crop the image according to your choice by using Clipping Mask.
What is a Clipping Mask?
First of all, you should know about Clipping Mask.
Clipping Mask makes the part of the image visible that is on top of it and adds it to the background or fill of the top object.
Take an example of text and image. If the image is under the text and you create a Mask of them, only the part of the image where the text is will appear in the text as a Mask.
Not only text, but you can also use any shape of your choice to make a Mask.
Note: You must keep in mind that the Clipping Path should always be on top of the image.
Why is a clipping mask used?
Mask is a great graphic design effect. You can use it to make:
- The perfect use of a mask is to make a collage effect. Collage is the best way for multiple images to appear within a design.
- You love patterns to be added to your text. That’s the best way to make a mask. Your favorite pattern will be applied to the text, and you’ll achieve the best design of your favorite patterns.
- Boost your design by using Clipping Mask on text for brochures, magazines, banners, and much more.
If you are new or you don’t have an idea about How to Mask in Illustrator then you are in right place. In this tutorial, you will learn a step-by-step guide on How to Mask in Adobe Illustrator.
So let’s start.
Mask in Illustrator (Easy & Quick)
In Adobe Illustrator, you can make a Mask using 4 different methods.
To make a mask, place the image on the artboard first.
Place Image on Artboard
Step 1: Go to File > Place.
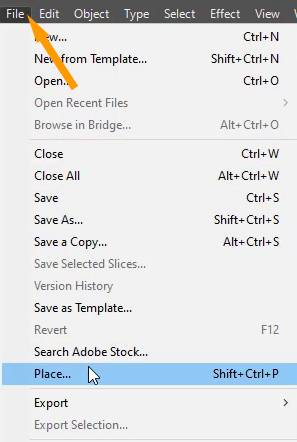
You can also press Shift+Ctrl+P from the keyboard to place an image in Illustrator.
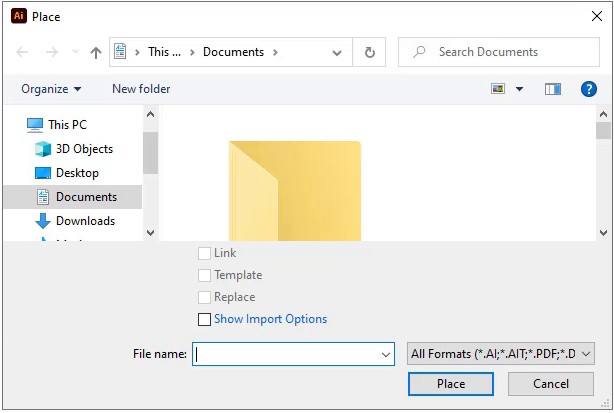
Place panel will appear.
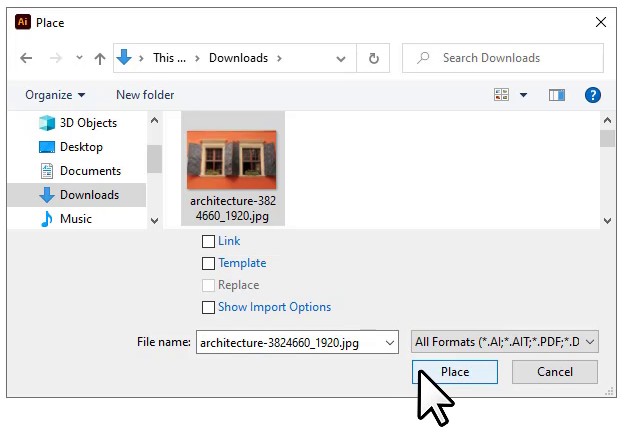
Step 3: Select the image from its location, uncheck “Link” (if selected), and click on “Place”.
The image will appear with the pointer.
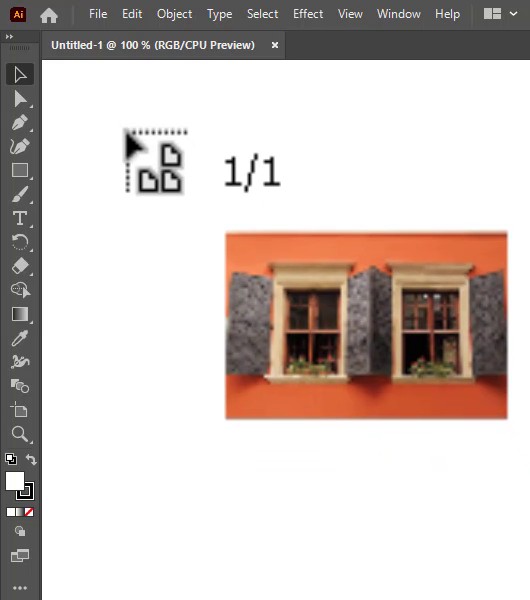
Step 4: Left click once anywhere on the artboard and the image will appear.
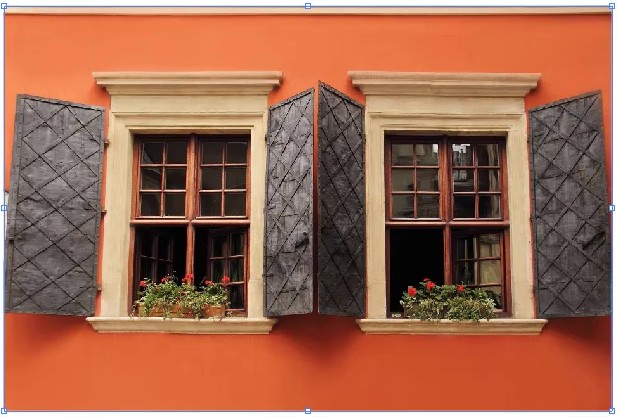
If you want to resize the image then:
Step 5: Bring the pointer to any corner of the image and it will be changed to the resizing tool.
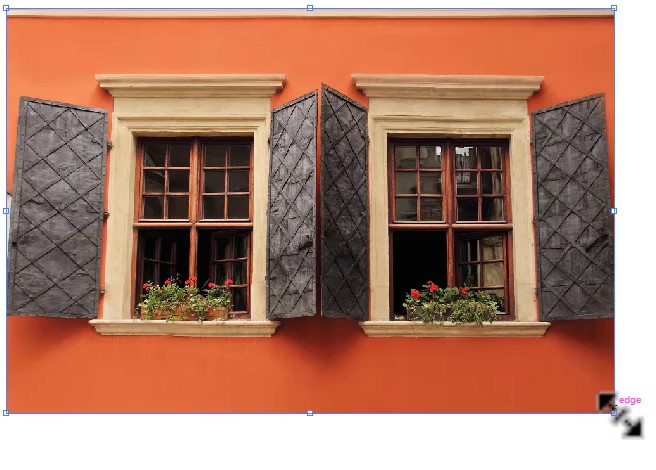
Step 6: Press & hold Shift+Alt from the keyboard and then click on any corner of the image and start dragging the pointer to the inner or outer part of the image, depending on whether you want to make it bigger or smaller than the actual size. Image size will start changing from all sides equally.
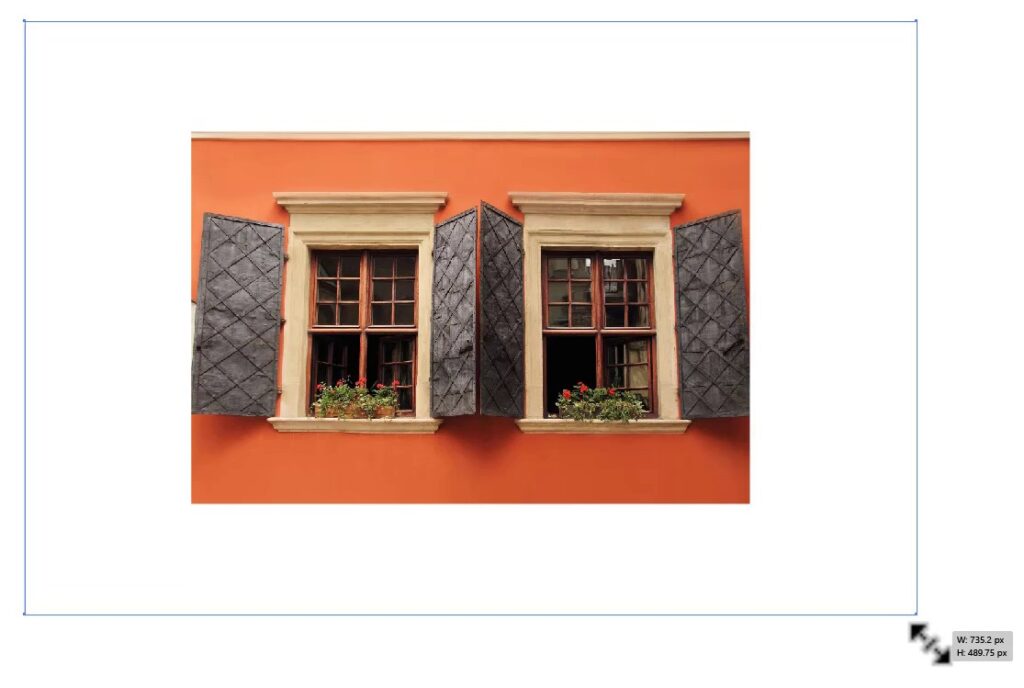
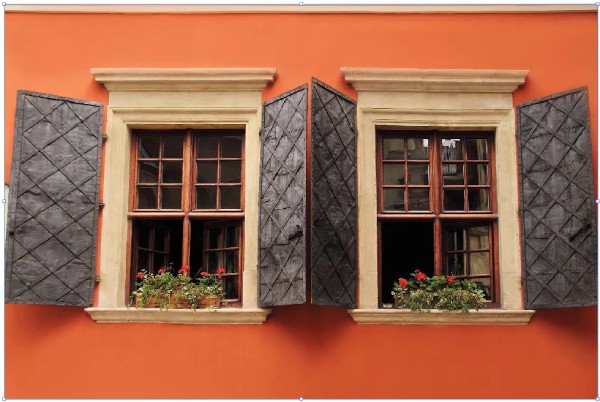
Step 7: The image is resized.
Add Text on Artboard:
As we want to create a clipping mask for text, so we will type some words by using Type Tool.
Step 8: Grab the Type Tool from the left toolbar.
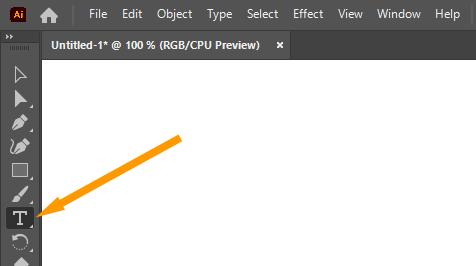
You can also press T from the keyboard to use Type Tool and type any text.
Step 9: Left click once on top of the image to add text. You will see a text appear.

Step 10: Type words or text that you want to use.

The text is small and difficult to read. Change its size to make it look visible and clear.
Step 11: Grab the Selection Tool from the left toolbar.

Step 12: Select text by using Selection Tool.

Step 13: Add text size in Properties > Character > Set the Font Size.
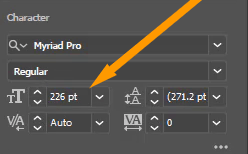
The font is enlarged.

Step 14: Select a font style from Properties > Character > Set the Font Family.
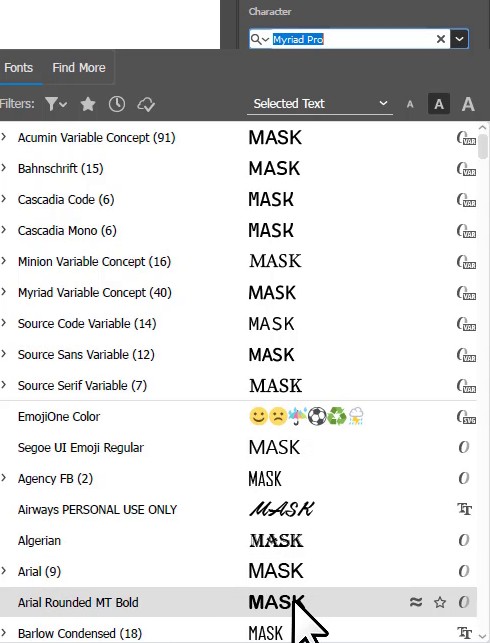
Selected font style is applied to the text.
Make a Clipping Mask (5 Methods)
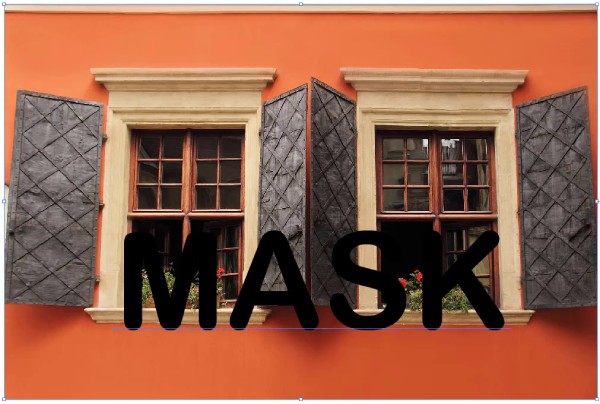
Now create a mask by using the Clipping Mask effect. Place the text at the location on the area that you want to Mask.
Step 15: Grab Selection Tool from the left toolbar.
Step 16: Select both the image and the text from the artboard.
Now here is the step to use the Clipping mask option. There are different methods that you can choose. We are describing all methods here. You can choose anyone that you find easy and comfortable to use.
1st Method: Shortcut Key
The easiest and quick method is by using the Shortcut key.
Clipping Mask in Illustrator Shortcut
The shortcut key to make a Clipping Mask is Ctrl+7 in Adobe Illustrator.
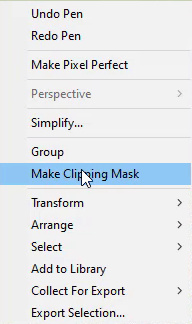
2nd Method: Right Click
The other quick method is by selecting an option from the list that appears.
Right-click on the artboard after selecting both image and text. From the list appeared select Make Clipping Mask.
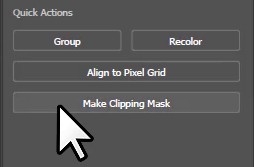
3rd Method: Quick Actions
You can also select the option available in Quick Actions.
In your right workspace, go to Properties > Quick Actions > Make Clipping Mask.
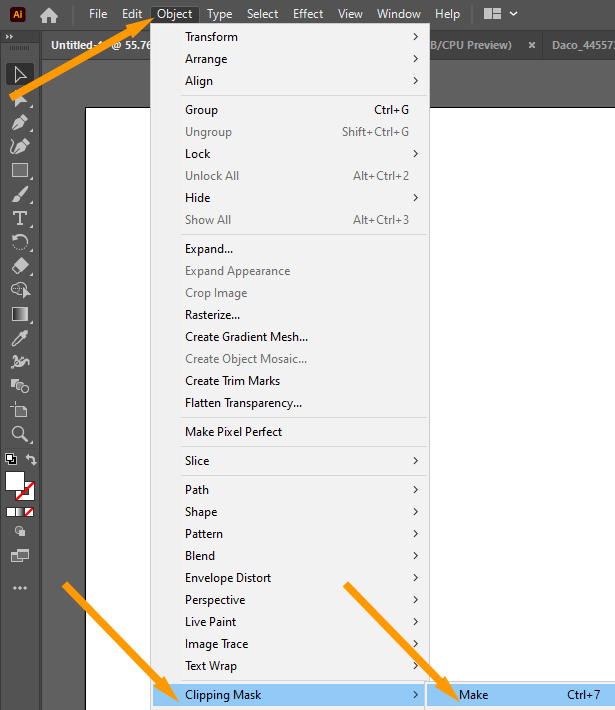
4th Method: Object Menu
The Clipping Mask option is also available in the Object menu.
Go to Object > Clipping Mask > Make.
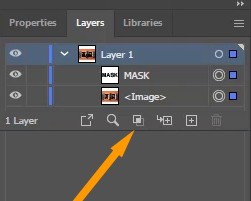
5th Method: Layers panel
Make sure to add text and images in the same layer.
Select the layer and then select Make/Release Clipping Mask at the bottom of the Layers panel.
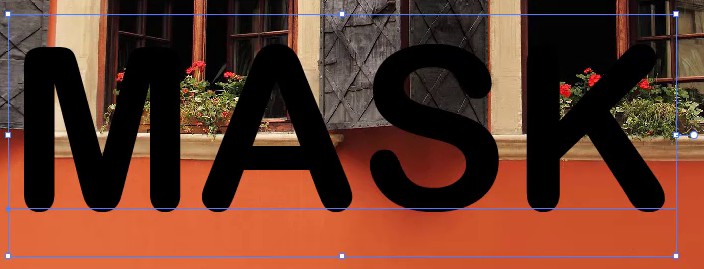
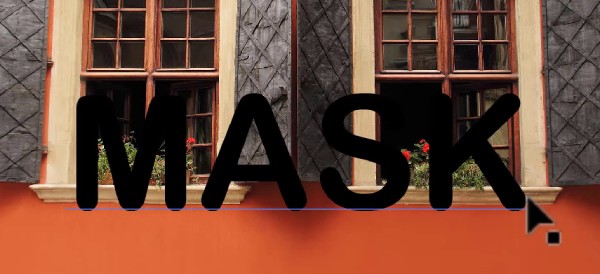
As you can see, Clipping Mask is applied to Text.

Apply Mask on Shape
You can also create Mask for Objects in Illustrator as well.
Place the image on the artboard first by following all the steps from 1 to 7 given above.
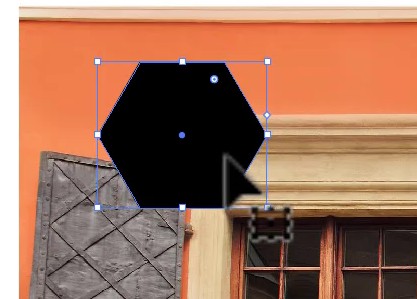
From the left toolbar, select any shape. Here we are using a polygon shape.
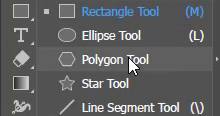
Draw the shape on the artboard.
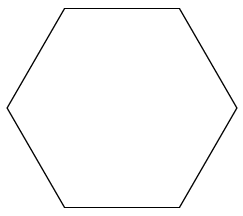
Place the shape on top of the image.
Select both the shape and image.
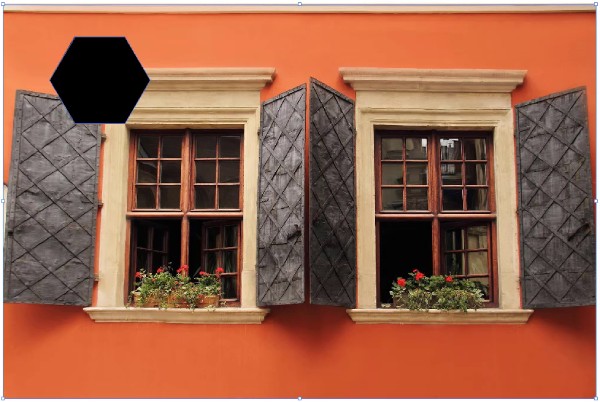
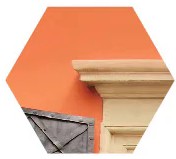
Press Ctrl+7 from the keyboard to make a mask.
The mask is created.
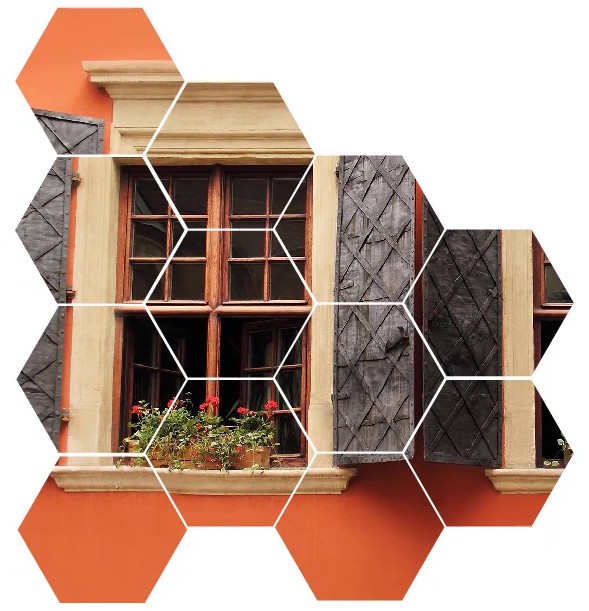
How to Make a Clipping Mask in Illustrator with Multiple Shapes
If you want to create a design by adding different shapes and then applying a mask, then you should copy the shape and image first, then paste them after every mask, hide the image from the panel, set the position of the shape, unhide the image, select the image and shape, and apply the mask. Repeat to achieve a perfect design.
Apply Mask of shapes onto other Shapes
You can also make multiple shapes and then apply the mask to another shape as well.
Here we have created multiple zigzag lines, then a triangle, and made a mask. Here is what it looks like.

You have Learned to Make a Clipping Mask in Illustrator.
In this tutorial, you have learned 5 different ways to Make a Clipping Mask in Adobe Illustrator. You can choose and apply any method to make a Mask. Every method is easy but the easiest way is by using the Shortcut key.
You can also watch a detailed video tutorial to learn How to Make a Mask in Illustrator.
Have More Questions?
If you have any questions related to making a Mask in Illustrator, you can ask in the comment section below.
Leave a Reply