
“Outlining an image” in Adobe Illustrator refers to converting the text or an object with a fill color into a path or vector shape. Outlining an object ensures that the text or object will maintain its shape and quality, even if the original font or graphic is not available on another computer. This process is also called “converting to outlines” or “vectorizing.”
You can also learn:
- How to Fill Image in Illustrator
- How to Mirror Image in Illustrator
- How to Vectorize an Image in Illustrator
- How to Trace Image in Illustrator
- How to Resize Image in Illustrator
If you are new or don’t have any idea how to outline an image in Adobe Illustrator then you are at the right place. In this tutorial, you will learn how to outline an image in Adobe Illustrator.
So let’s start.
How to Outline an Image in Adobe Illustrator
To outline an image in Illustrator, select it and then go to “Type” > “Create Outlines” in the top menu.
Following are the detailed steps to outline an image in Adobe Illustrator:
Step 1: Open your image in Illustrator
Start by opening your image in Illustrator.
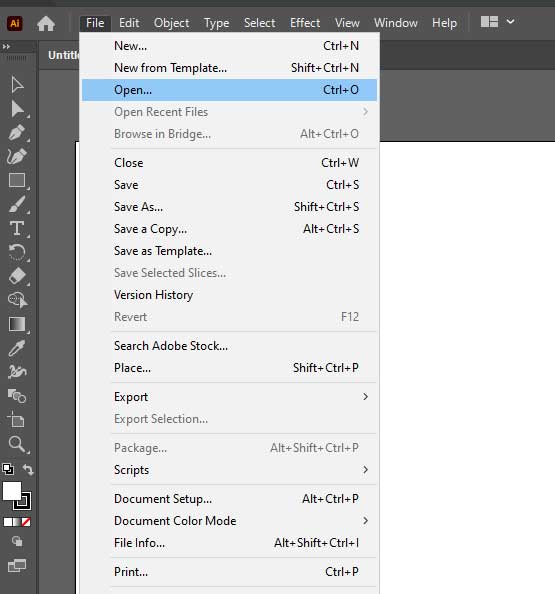
If you have not yet created your image, you can create a new document in Illustrator and import your image.
Step 2: Select the object or text you want to outline
Use the selection tool to select the object or text that you want to outline.

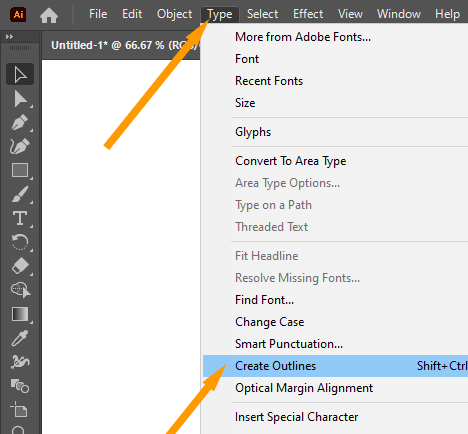
Step 3: Go to “Type” menu
Once you have selected your object or text, go to the “Type” menu at the top of the Illustrator window.
Step 4: Select “Create Outlines”
From the “Type” menu, select “Create Outlines“. This will convert your text or object into a vector path.
Step 5: Confirm the conversion
A dialog box will appear asking you to confirm the conversion. Click “OK” to proceed.
Step 6: Save your outlined image
After the conversion is complete, save your outlined image by going to “File” > “Save” in the top menu.
Step 7: Check the result
Finally, you can check the result by zooming in on the outlined object or text. You should see that the text or object has been converted into a vector path and is now editable.
By following these steps, you can outline an image in Adobe Illustrator and ensure that the text or object will maintain its shape and quality, even if the original font or graphic is not available on another computer.
You have learned how to outline an image in Adobe Illustrator.
In this tutorial, you have learned how to outline an image in Adobe Illustrator. Now you can outline any image using the above-given steps.
Have More Questions?
If you have any questions related to outlining an image in Illustrator then ask in the comment section below. We have also answered some most frequently asked questions below.
How to Create Outline of PNG Picture in Illustrator
Here is a step-by-step procedure to create an outline of a PNG picture in Adobe Illustrator:
- Open the PNG image in Illustrator: Start by opening your PNG image in Illustrator. If you have not yet created your image, you can create a new document in Illustrator and import your PNG image.
- Select the image: Use the selection tool to select the PNG image that you want to create an outline of.
- Go to the “Object” menu: Once you have selected your image, go to the “Object” menu at the top of the Illustrator window.
- Select “Clipping Mask” > “Release”: From the “Object” menu, select “Clipping Mask” and then “Release”. This will release the image from the mask and make it editable.
- Trace the image: Next, you can use the “Image Trace” feature in Illustrator to convert the raster image into a vector image. To do this, go to the “Window” menu and select “Image Trace”. Then, choose the tracing options that best suit your image and click the “Trace” button.
- Expand the traced image: After the image has been traced, go to the “Object” menu and select “Expand”. This will convert the traced image into a vector graphic.
- Save the outlined image: Finally, save your outlined image by going to “File” > “Save” in the top menu.
How to Trace an Image in Illustrator
To Trace an Image in Illustrator, select the image you want to trace, go to Properties > Quick Actions > Image Trace. Select any preset to apply it to the image. The image will be traced.

Following is the tutorial, which you can also see to learn how to trace an image in Adobe Illustrator.
Create Outline in Illustrator Shortcut
The shortcut to create outline in Illustrator is Shift+Ctrl+O.
All Done! Enjoy.
Leave a Reply