Gradients are always amazing and do wonder. Design that has gradients as background are common nowadays because everyone love gradients. You can make a gradient of one color with different shades like multiple shades of purple or green. You can also make gradients with different colors like a rainbow. To make a gradient you always need to learn how to use the Gradient Tool.
Use Gradient Tool in Adobe Illustrator 2023
You will be able to learn how to change the color of an object and apply gradients to it in this tutorial.
By filling the image with colored or gradient filling, you can enhance the appearance of the image. If you wish to use these tools, then make sure you have a vector shape.
A template that you might have downloaded or one that you can make yourself can help. In this example, we have a circle shape made from an ellipse tool from right-side toolbar.
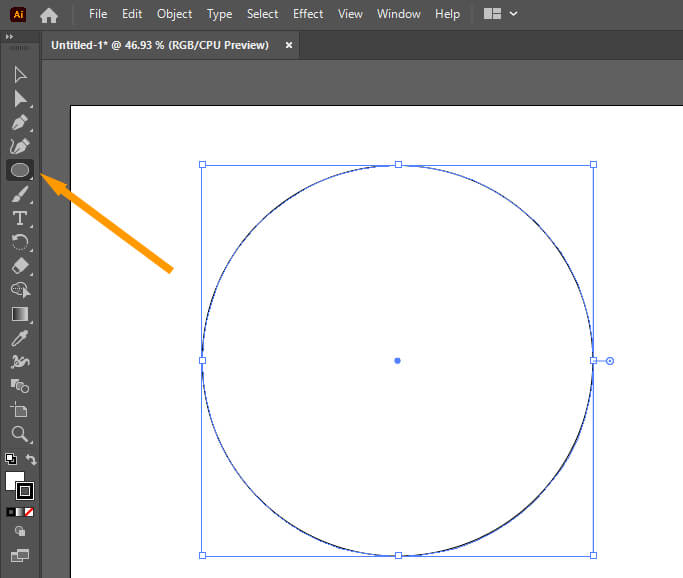
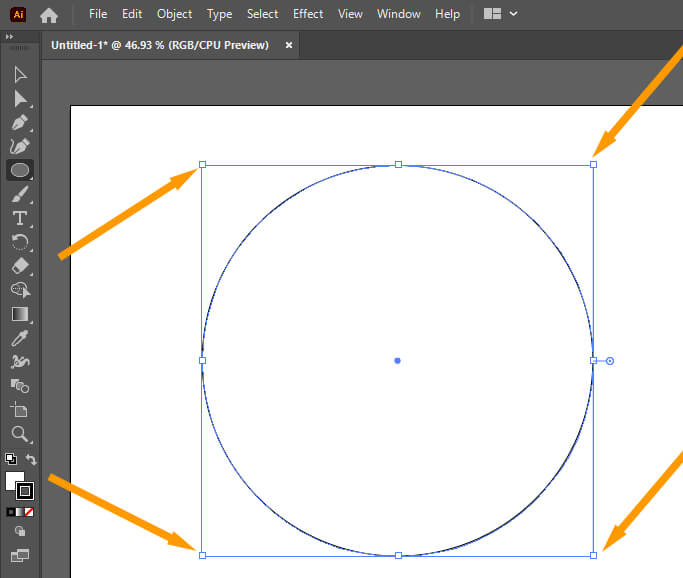
This shape shows various anchor points when you click on it. These anchor points show that this shape is a vector image, allowing you to use the gradient, color, and filter tools.
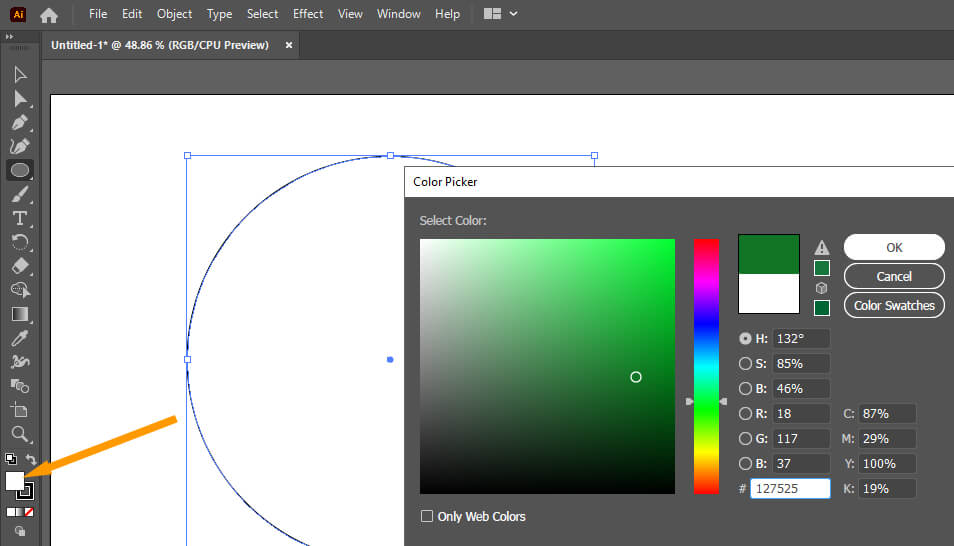
You can find your color box on the left-hand side of the screen directly beneath your toolbar. You can choose your fill color by double-clicking on the color box and choosing the color for your fill.
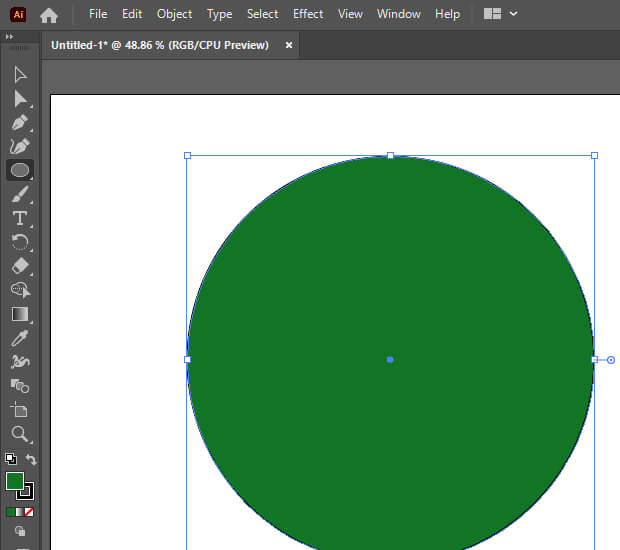
Because the circle is a single object, it gets entirely colored with whatever color you choose for it.
The gradient can now be added to the circle as well. In order to add a gradient to an illustration, first, select the gradient tool and then click the object you wish to fill.
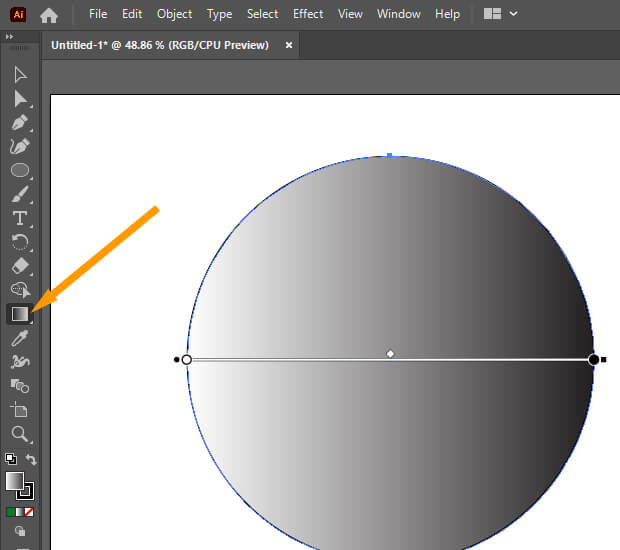
You will notice that a scale will appear. By adjusting that, you can customize your gradients.
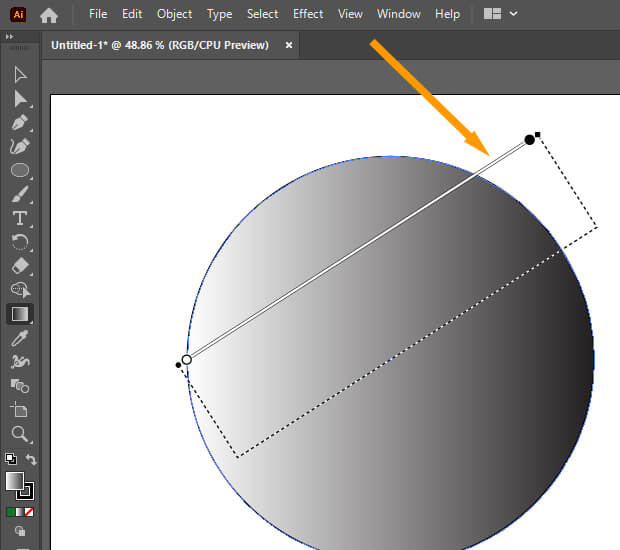
You can also adjust these settings from the right-hand side, by clicking on the gradient tab and moving the sliders on the bar. In order to adjust the tone of the illustration you can adjust the gradient slider according to your requirement and even rotate the gradient bar and it will rotate every time the gradient bar is moved.
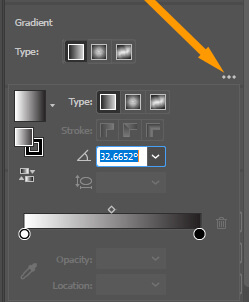
On the right, you can even choose the type of gradient you want in the gradient panel. There are five options from which to choose. There’re also options to select if you want to linear, radial, or freeform gradient.
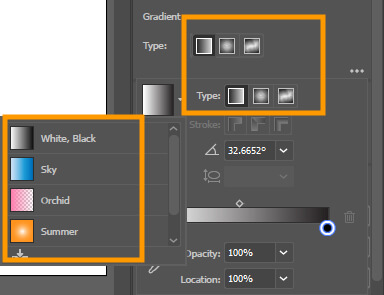
To turn this panel from grayscale to color, you can change the gradient slider by clicking on it. You can select the color that you want over here.
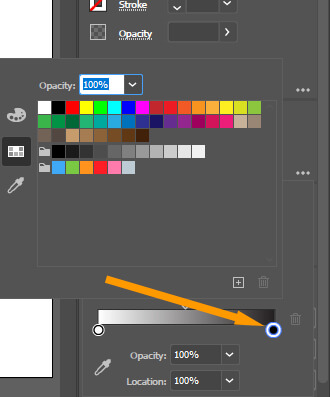
An illusion of a sphere can also be given to the circle. You can do this by double-clicking the slider on the extreme right and pick a darker color for its shade. By clicking on the bar, another slider can be added.
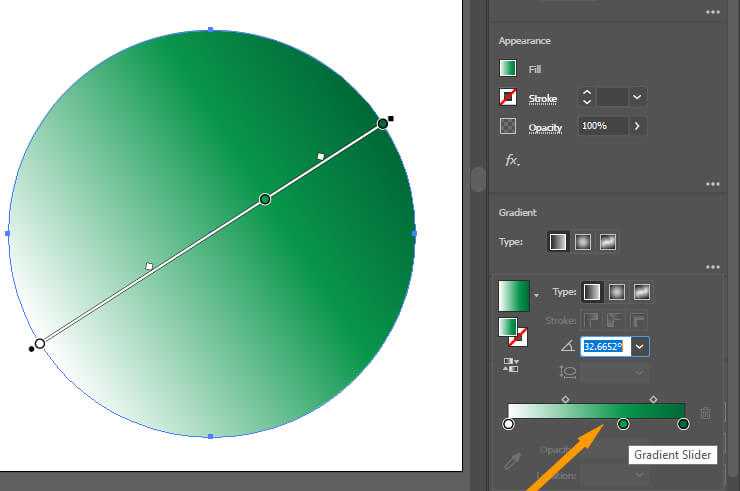
Make sure this slider is in the same color family as the previous slider with a lighter tint. Please leave the slider on the left white. The number of sliders available in each layout can be as many as you wish.

Leave a Reply