
Adobe Illustrator’s Magic Wand Tool is a useful way for highlighting objects from Illustrator. I like to play with this tool because I work with complicated graphics all day. It is basically a selection tool. The Magic Wand tool allows you to select all objects that have the same color, stroke weight, stroke color, or opacity.
When using the Magic Wand tool, you can customize stroke weight, stroke color, opacity, and blending mode to select objects. Magic Wand can also be adjusted in terms of how it identifies similar objects.
Adobe Illustrator Basics: Using the Magic Wand Tool
When you use the Magic Wand tool, you can select all objects in a document that share similar fill attributes, including color and pattern.

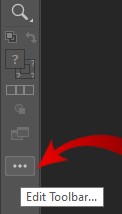
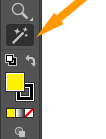
In the latest version of Adobe Illustrator, you will not find this tool by default. To show this icon simply go to the down section of your left toolbar.
You will notice a three dots button labeled as “Edit Toolbar…”. Click this button.
A panel of all the tools will be open in front of you.
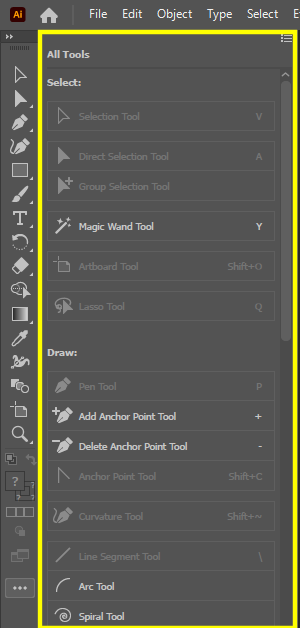
Tools that are already appearing on your left toolbar are greyed out in the newly appeared panel.
Now, simply click and drag the “Magic Wand Tool” to your desired location in your left toolbar.
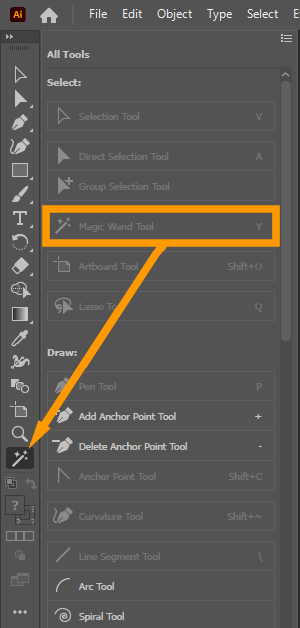
At this time, I am placing this tool on the lower side.
Use the Magic Wand Tool in Adobe Illustrator CS6
So, I am going to use this tool in the next step.
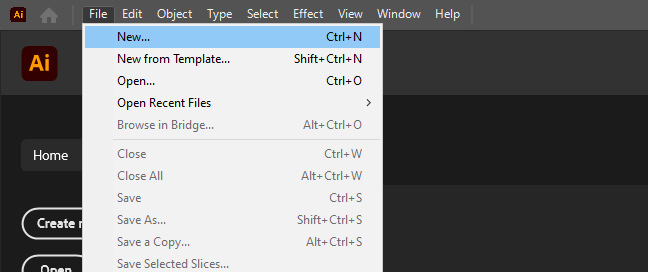
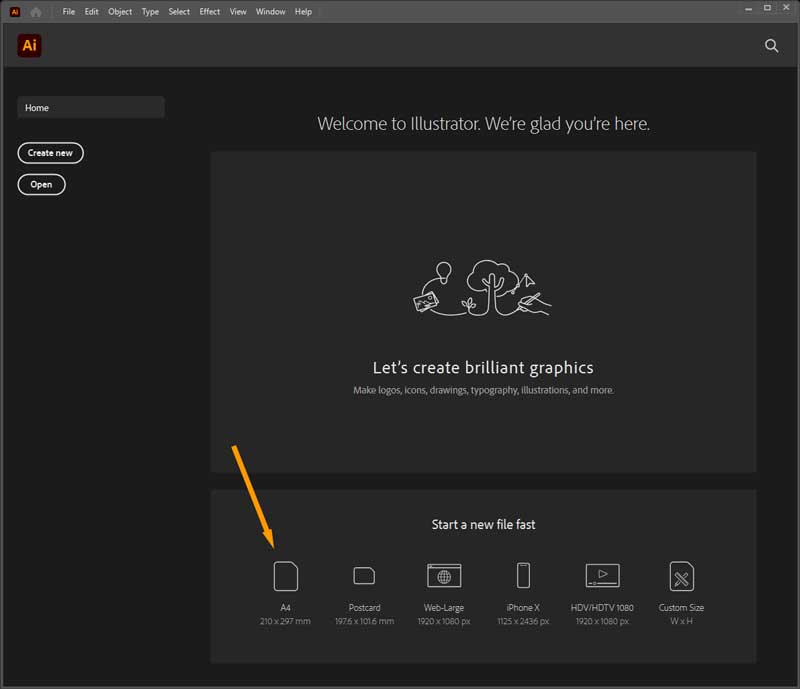
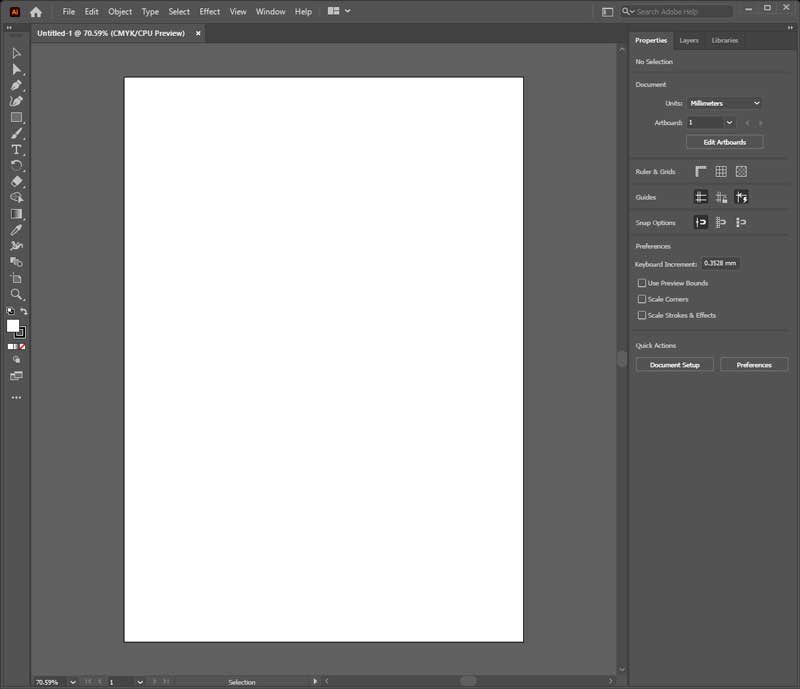
Simply create a new document with your desired size.
Go to the “File” menu, click New.
I am selecting the “A4” size. You can choose any size.
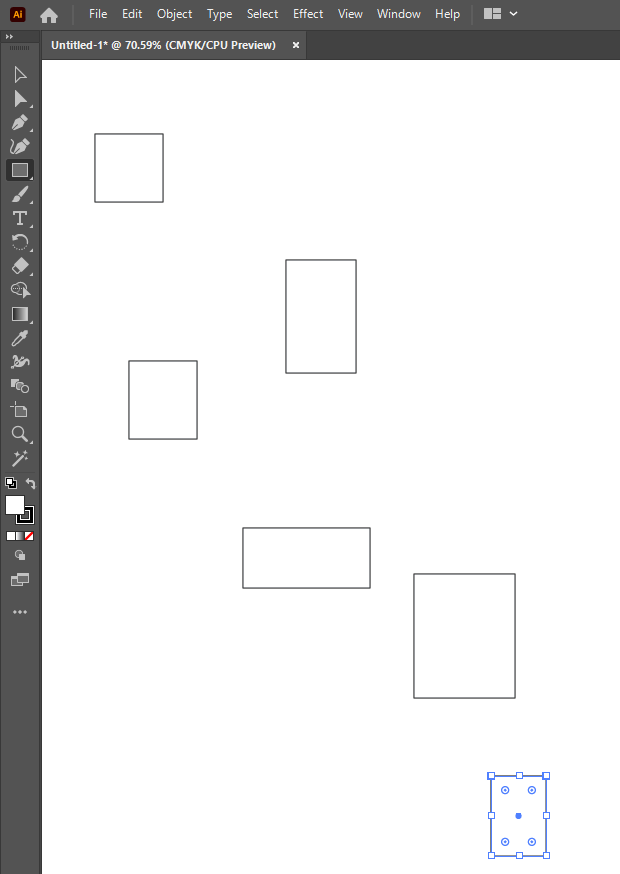
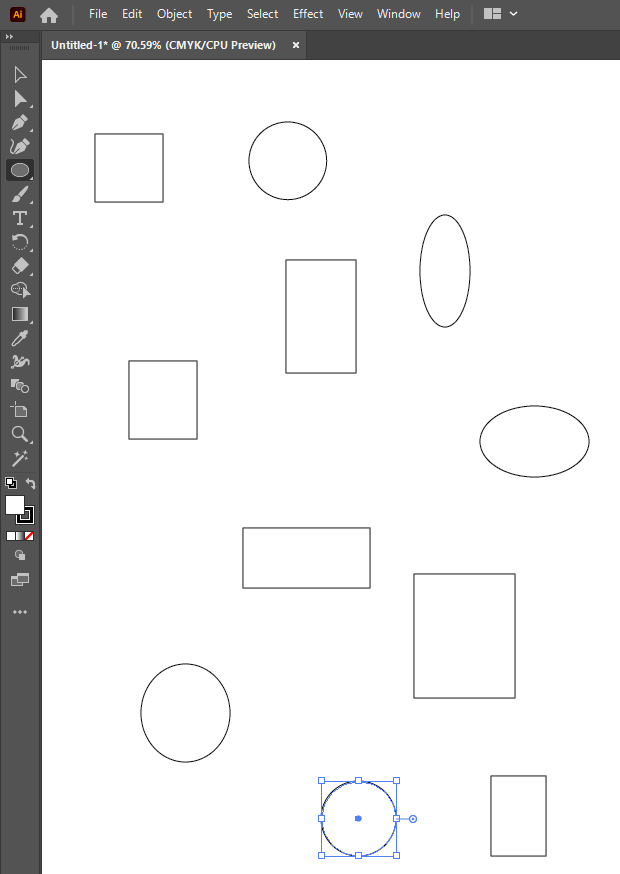
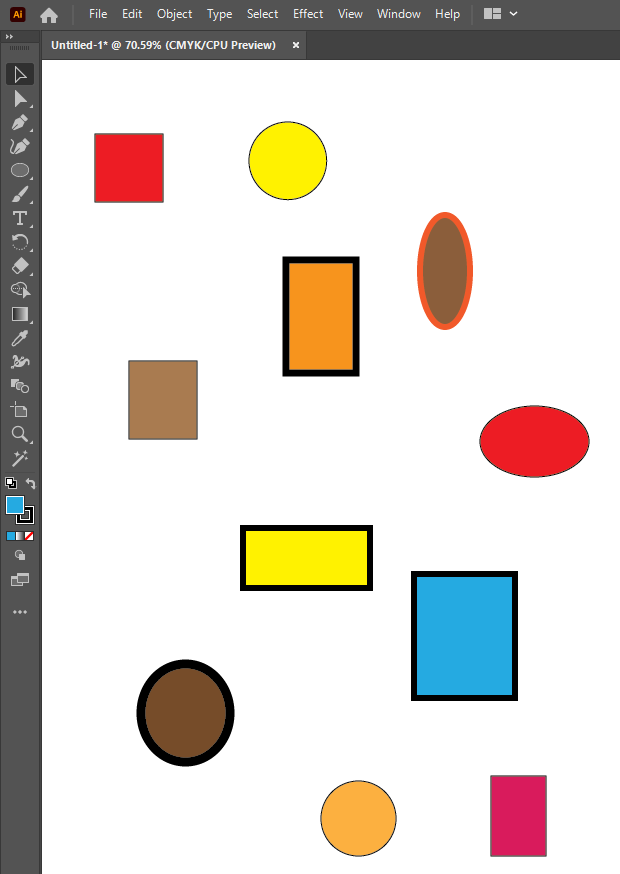
Now, draw different shapes to understand the “Magic Wand Tool” tool in depth.
First, I am selecting Rectangle Tool to draw some rectangles.
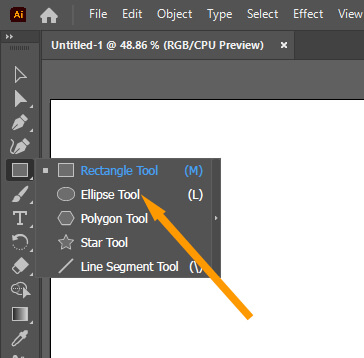
Now, I am drawing some circles with the help of the Ellipse Tool.
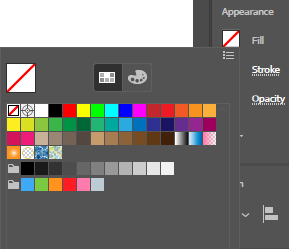
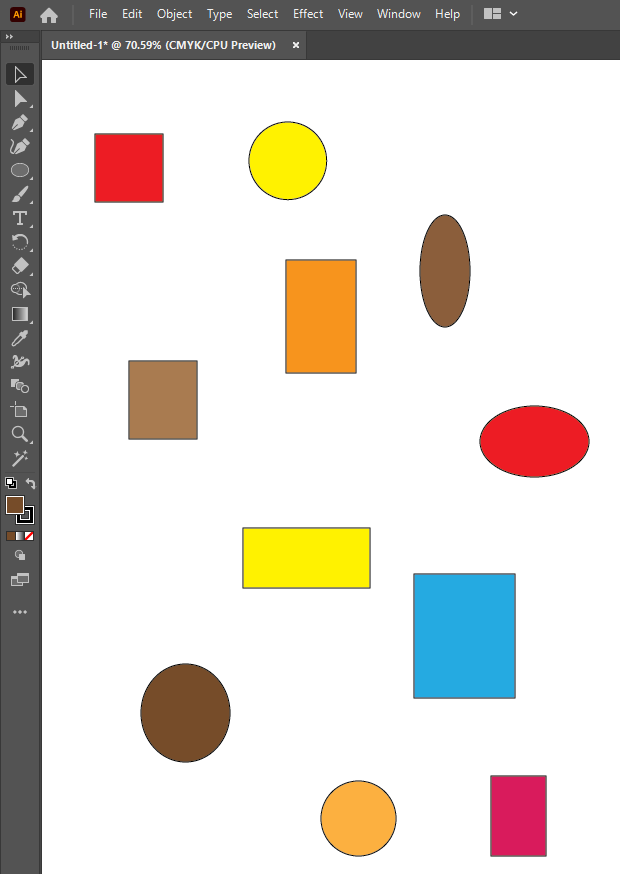
In this step, I am filling these shapes with different colors.
To fill the shapes, go to the “Properties” Panel. In the “Appearance” section, click on the “Fill” option. Select your desired colors.
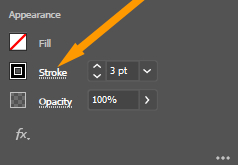
In this step, I am adding strokes of different sizes.
To add the stroke, go to the “Properties” Panel. In the “Appearance” section, Increase the size of “Stroke”.
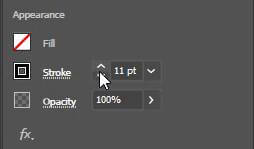
To change the color of the stroke, go to the “Properties” Panel. In the “Appearance” section, click on the “Stroke” option. Select your desired color.
Magic Wand Tool Basics
Now, select the Magic Wand Tool.
Click on any one of the shapes. I am selecting the yellow circle on the top. You will notice that the yellow rectangle in the middle is also got selected.

If I select the oval shape on top the two other similar color shapes will also be selected.
To understand the tool in depth, double click on the “Magic Wand Tool” in the left toolbar.
A small window of “Magic Wand” will appear.
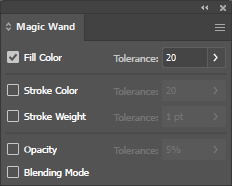
As you can see the “Fill Color” option is checked and “Tolerance” is 20.
So all the objects with fill colors similar to our selected one will be automatically got selected.
If I increase the “Tolerance” more objects with similar colors will be selected. If I decrease the “Tolerance” fewer objects will be selected.
The second option is “Stroke Color”. If this option is only selected, all the objects with a similar stroke will be selected. If “Fill Color” and “Stroke Color” both options are selected, the objects with similar fill colors and having similar strokes will get selected.
The third option is about “Stroke Weight”. By default, stroke weight tolerance is 5pt. So, if I select an object with stroke weight “8”, the object with a stroke of “11” will be selected.
Adding objects to a selection with the Magic Wand Tool
By pressing Alt (Windows) or Option (macOS) and clicking the object containing the attributes you want to subtract, you can subtract them from the current selection. All the objects with those characteristics will be removed from the selection.
Deselecting objects with the Magic Wand Tool
Press Shift when clicking another object to add the attribute you want to the current selection. The selection is then expanded to encompass all selected objects.
Conclusion:
So, this was the tutorial on using the Magic Wand Tool in Adobe Illustrator CC. Feel free to comment your thoughts and share the post with your graphic designer friends. Keep visiting EZGyd.
Leave a Reply