
In this tutorial, you will learn how to use “Mesh Tool” in Adobe Illustrator CC. You can use this tool to make your vector illustrations look more photorealistic. To make a vectorized image, you apply different colors swatches onto the mesh to create a vectorized image. The mesh has intersecting lines which create the vectorized image.
It is possible to apply color to objects in a very flexible and detailed manner with gradient meshes. Gradient Meshes create a grid that follows the contours of an object. The grid points can then be colored, and the colors between grid points fade into each other.
You can use the following steps as your guide:
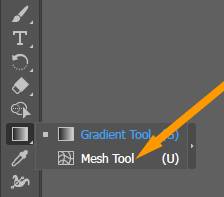
Mesh tool is a type of Gradient Tool. Therefore, you can find this tool under the Gradient Tool section.
Please see the previous lesson on Gradient Tool. In the lesson of Gradient Tool, we use linear gradient.
if we want to use the different colors in different parts of our circle shape, then we will have to use the Mesh Tool. This is not possible in Gradient Tool.
Let’s draw a circle. Go to Rectangle Tool and right-click on it.
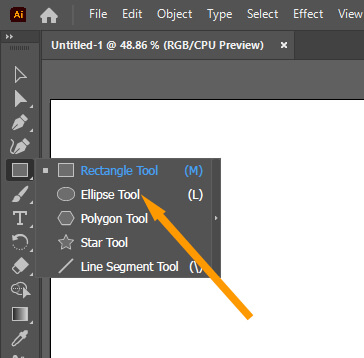
A drop-down menu will appear, select the second option, which is Ellipse Tool.
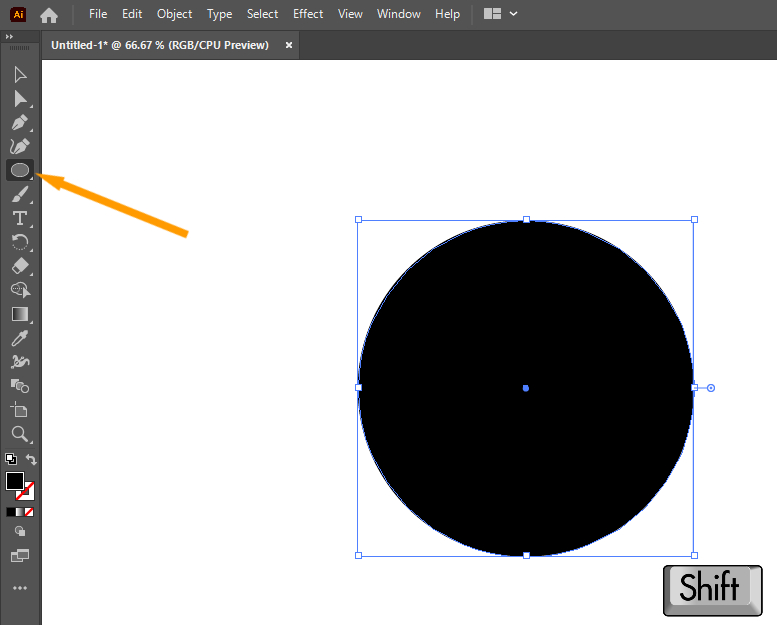
Draw a circle by pressing Shift Key, it will draw a perfect circle.
Now select the Mesh Tool from your left toolbar.
If we click inside our shape, it will add a point. There is also a horizontal and vertical line added. There are also other points with these lines.

So, you can see, that Mesh Tool can be used to reshape the object. For example, if I want to change the shape, I will have to drag these points to my desired locations.

There are two types of work, you can do with the help of Mesh Tool.
- Reshaping the Objects
- Adding colors to the Objects
Till now, I have added just one point in the shape. But, I can add different colors to the points created.
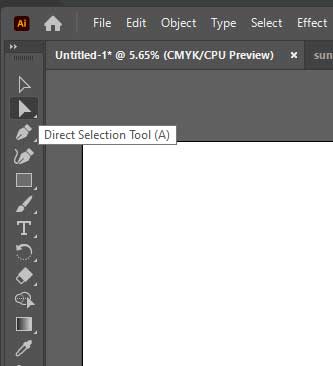
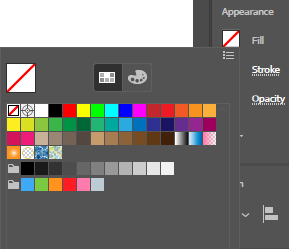
To add colors, select the Direct Selection Tool or Mesh Tool from the left toolbar.
Click on the point, where you want to add color.

Go to the Properties Panel. Under the Appearance section, click the Fill option. Select your desired color.

You will notice that there is a linear gradient on every single line, which is starting from the start of the line and ends at the end of the line. If we want the color to not spread, I will have to add another mesh point.

If I add the mesh point on an existing horizontal line, a single verticle line will be created.
If I add the mesh point on an existing verticle line, a single horizontal line will be created.
But, if I add the mesh point on empty space, both (horizontal & vertical) lines will be created.
Caution: One thing to remember. The more you add the Mesh point in a single object, the harder it will be for you to handle.
Let’s draw something using “Mesh Tool”.
First thing first, select the ellipse tool to draw a shape.
I am drawing an ellipse.
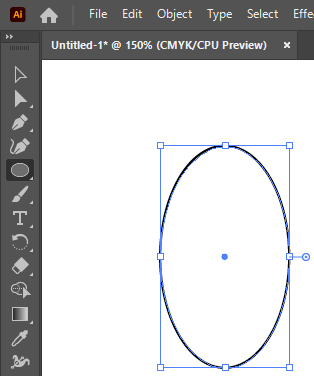
Fill color by selecting the Fill option in Properties panel >> Appearance section >> Fill.

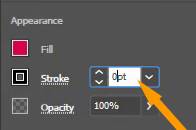
Now, remove stroke color by going to the Stroke option in Properties panel >> Appearance section >> Stroke.

Now, select the Mesh tool.
Add some mesh points as seen in the picture. I want to make its edges dark to make the object look 3d. So, I am adding these mesh points.

The problem is, you can see that the border is not equal in the corners. So click the points and drag to center.

Go to the Direct Selection Tool and right-click on it.

Now, select the outer points using Lasso Tool.

Go to the fill color option and select a darker color.
Don’t forget to check the Preview option.

Now, add a mesh point to add a light effect.

Now select the points where you want to add lighter colors.

Now, select a lighter color by going to the Properties panel >> Appearance section >> Fill. Add a lighter color to these points.

Select the lower right mesh point to add a light color to make it look photorealistic.

Now add a simple oval by selecting Ellipse Tool. Select a darker color for oval.

Now add a curved line by selecting Pen Tool. Select none color for Fill and add a stroke of 1 pt.

Select all the shapes. Go to Properties Panel, Group all the objects.

Make duplicates by pressing alt and drag to new locations.

Now, adjust them to make a bunch of grapes.

Final Result

So, this was the Mesh Tool. I hope, you have learned something new. Don’t forget to leave a comment. Keep visiting EZGyd.


Leave a Reply