Adobe Illustrator can be used to draw different shapes. Shapes are the most commonly used objects in designs. Multiple different styles of shapes can be drawn using Shapes tools, Pencil Tool, Pen Tool, or Shape Builder Tool.
Adding small shapes to the design can make it look more impressive. Any style of shape that comes to your mind can be drawn easily. Adobe Illustrator also has some shapes already made like Rectangle, Ellipse, Polygon, and Star. In Advance mode, you can also draw Round Rectangle and Flare. Multiple different shapes can be drawn as well. We will discuss all of them one by one.
You can also learn:
If you are new or don’t have the idea to Draw Shapes in Illustrator, then you are in right place. In this tutorial, you are going to learn to draw Shapes in Adobe Illustrator.
Let’s start.
Draw Shapes in Illustrator
There are many ways to draw basic shapes in Adobe Illustrator using the shapes given. But we can also draw using other methods and the different styles of shape. We will discuss it all in detail below.
1st Method: Basic Shapes from Tool Bar
If you are using the Basic toolbar in Adobe Illustrator then there are 5 different shapes available that can be drawn.
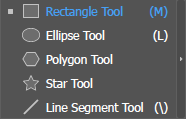
How to Draw Rectangle in Illustrator
Go to the left toolbar and click on Rectangle Tool. You can also press M from the keyboard to use Rectangle Tool.
Click and drag on the artboard to draw Rectangle.
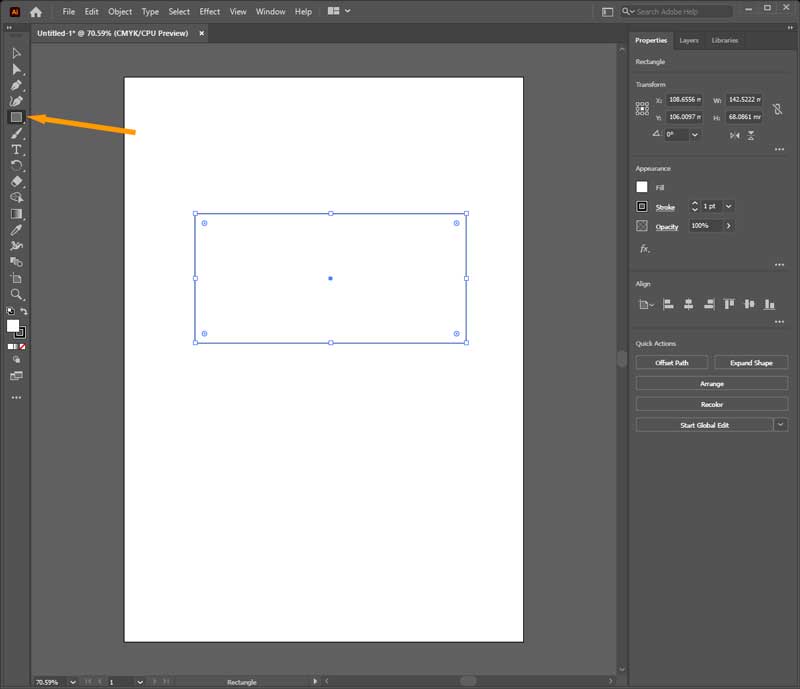
A Rectangle is drawn on the artboard.
How to Fill Color in the Shapes in Illustrator
Go to Properties > Appearance > Fill panel and select the color in the rectangle.
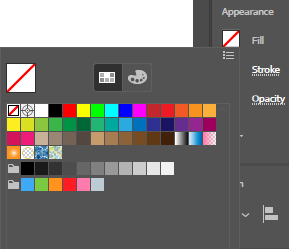
Set the Stroke to none.
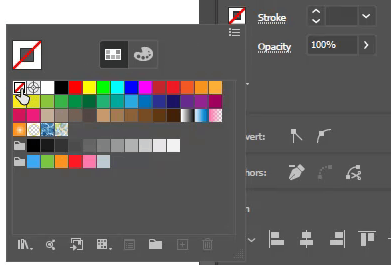
Here is the colored rectangle as you can see.

Now every shape that you will draw will be colored.
How to Draw Square in Illustrator
A square can be drawn using the Rectangle Tool.
Press & hold the Shift key then draw on the artboard by using the Rectangle Tool.
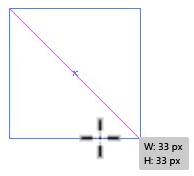
Here is a square that is drawn using the Rectangle Tool.

How to Turn the Rectangle into Rounded Rectangle
As you can see, on the rectangle, small circles are appearing.
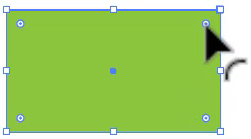
Click and drag them to the inside of the circle and you will see the rectangle corners are rounding from each side.
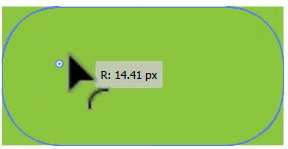
As you leave rounded rectangle is created.

If you click “once” on a circle, it will be selected.
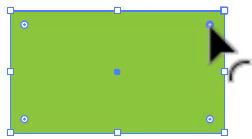
Click and drag it. The only selected point will curve.
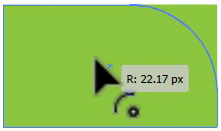
As you can see, one side is rounded.

In the same way, you can also make a rounded square in Adobe Illustrator.

How to Draw Leaf in Illustrator
You can also draw a leaf using the Rectangle that you have drawn.
After you have created a rectangle, click on the little circles on two sides by pressing the Shift key. Both will be selected.
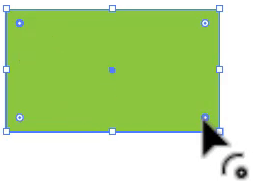
Now click and drag to the inside to curve them.
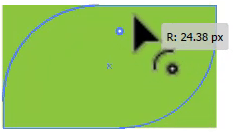
As you release the click, a leaf is drawn.

How to Draw Ellipse in Illustrator
From the left toolbar, under the Rectangle Tool, select the Ellipse Tool. Press L from the keyboard and the Ellipse Tool will be selected.
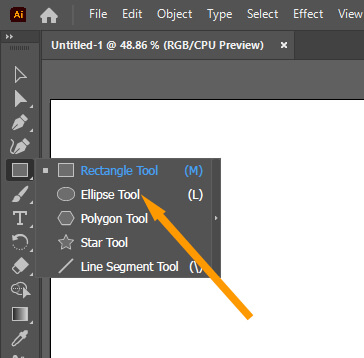
Click and drag on the artboard to draw an ellipse.
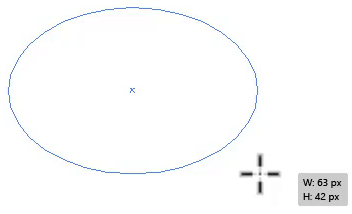
Here is the Ellipse that we have drawn using the Ellipse tool.
How to Draw a Circle in Illustrator
A circle can also be drawn using the Ellipse Tool, just like the Rectangle Tool is used to draw a square.
Press and hold the Shift key and then draw the shape using the Ellipse Tool.
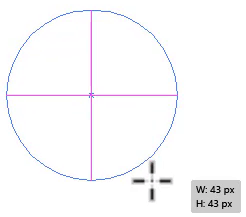
A Perfect Circle is here.

How to Make Half Circle in Illustrator
You can also cut/make a half circle in Illustrator.
Grab the Direct Selection Tool from the left toolbar. You can also press A from the keyboard to use the Direct Selection Tool.
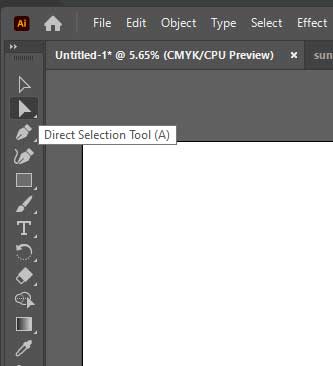
Select any Anchor Point of the circle using the Direct Selection Tool.
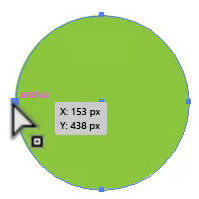
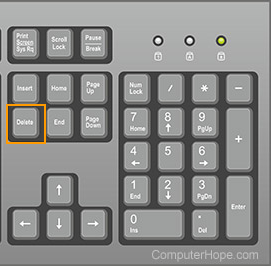
Press Delete on the keyboard.
The circle is cut in half.

How to Draw Ring in Illustrator
If you want to draw a ring or hollow circle, then set the Properties > Appearance > Fill to none.
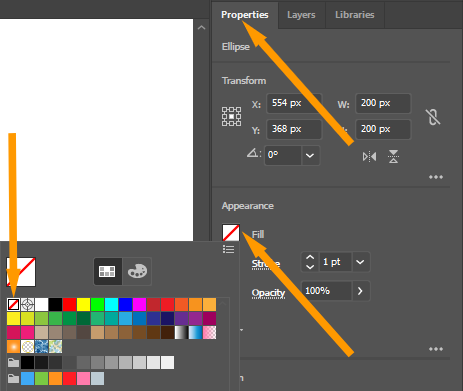
Apply the stroke to the circle from the Properties > Appearance > Stroke.
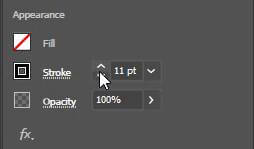
A ring is drawn, as you can see.

How to Draw Polygon in Illustrator
A polygon can be drawn using the Polygon Tool in Illustrator.
From the left toolbar, under the Rectangle Tool, select Polygon Tool.
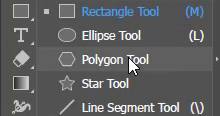
Click and draw on the artboard to draw a Polygon.
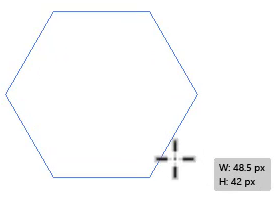
As you release the click, a polygon is drawn.

Polygon sides can also be increased or decreased. While you are drawing a polygon without releasing the left click, from the keyboard, press the Up and Down arrows.

Another way to change the sides of the polygon is by clicking once on the artboard after selecting the Polygon Tool and adding the Sides value, then clicking OK.
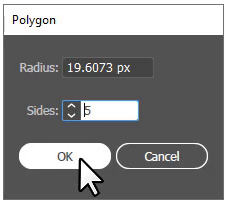
The shape will appear on the artboard.
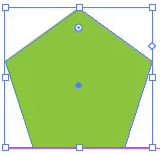
Different styles of a polygon by increasing or decreasing polygon sides.

How to Draw a Triangle in Illustrator
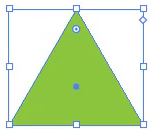
You can also draw a Triangle by adding 3 sides to the polygon panel.
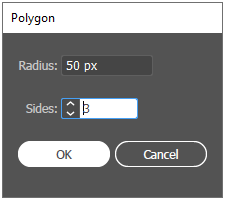
A triangle is drawn.
How to Draw Star in Illustrator
From the left toolbar, under the Rectangle Tool, select the Star Tool.
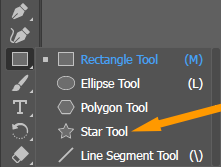
Click and drag on the artboard to draw a star.

A star is drawn.

You can also increase or decrease the points of a star by pressing the up and down arrows on the keyboard.

You can also add points to the star by selecting Star Tool and then clicking once on the artboard.
A Star panel will appear.
Add points according to the points of star you want to create and click OK.
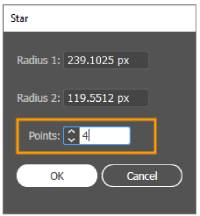
Here you can see the stars with different points that we draw.

Advanced shapes in Illustrator
Adobe Illustrator also has the option to draw some advanced shapes that can be enabled if you are working in basic mode.
Go to Window > Toolbar > Advance.
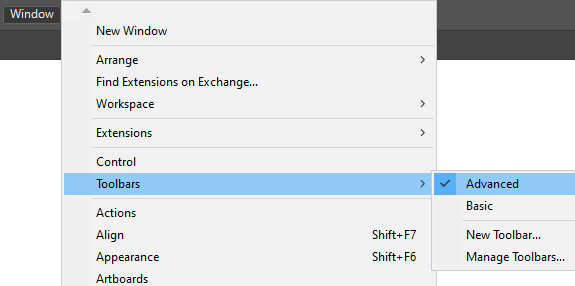
The toolbar will have more tools now.

You can see more shape tools appearing under the Rectangle Tool.
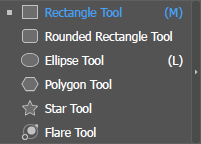
How to Draw Rounded Rectangle in Illustrator
From the left toolbar under the Rectangle Tool, select Rounded Rectangle Tool.
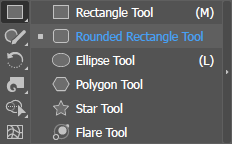
Click and drag on the artboard to draw a rounded rectangle.
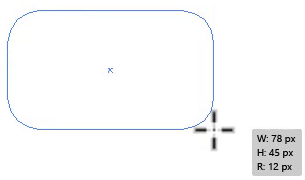
As you release the click, as you can see, a rounded rectangle is drawn.

How to Draw a Speech Bubble in Illustrator
A speech Bubble shape is a very easy and basic shape to draw.
Draw a rectangle using the Rectangle Tool on the artboard.
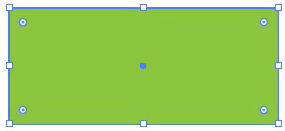
Go to Window > Toolbar > Advance.

Select the Add Anchor Point Tool under the Pen Tool.
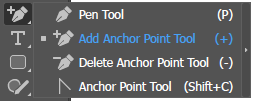
Add three anchor points on the lower line of the rectangle. You can add an anchor point on any side of the rectangle.
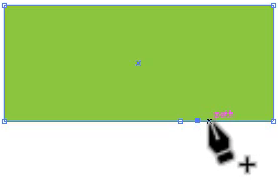
Grab the Direct Selection Tool or press A on the keyboard.

Click on the middle anchor point and drag it downwards.
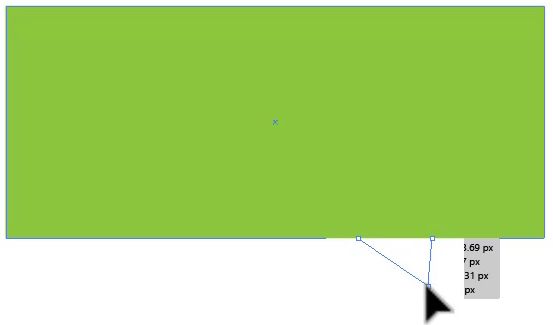
A speech bubble is drawn.

You can also add some more details if needed.

2nd Method: Draw using Distort & Transform
Different styles of shapes can be created by using circles and squares from the Distort & Transform options.
Draw a circle by using the Ellipse Tool on the toolbar.
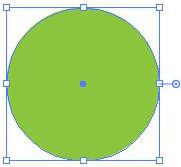
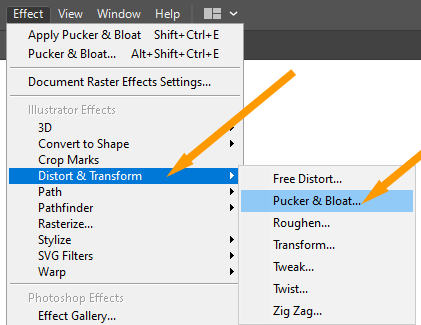
Select the shape and then go to Effect > Distort & Transform > Pucker & Bloat.
Add the value 100% for Bloat and click OK.
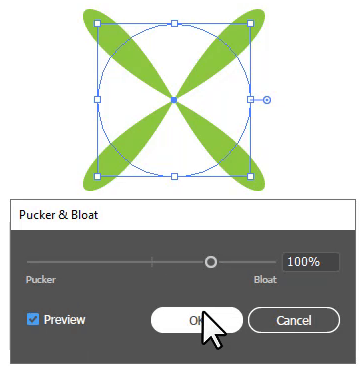
The circle will change into a different shape.

Select a circle > go to Effect > Distort & Transform > Zig Zag.
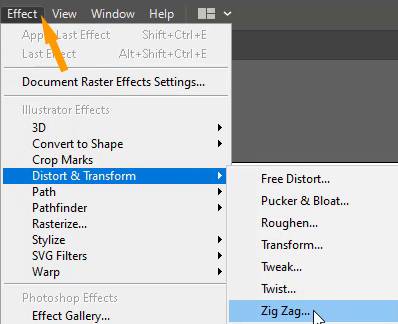
Zig Zag panel will appear.
Increase or decrease the size, add Ridges per segment, and set the points to Smooth, Click OK.
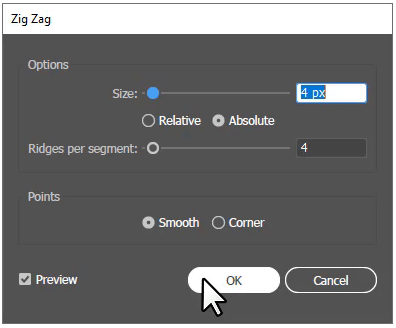
Here is the circle with smooth points.

You can draw more fun shapes using the square and circle as we have drawn some examples for you.
These are the shapes created using the circle with the Distort & Transform tool.

These shapes are created using the Square with the Distort & Transform Tool.

3rd Method: Draw by using the Pen Tool
More different styles of shapes can easily be drawn using the Pen Tool.
Pen Tool can also be used to draw different shapes and characters in Illustrator.

You can draw the shapes by clicking and moving the pointer to draw lines, and holding and moving the pointer to make the lines curve.

Also read: How to Use Pen Tool in Illustrator
Keep adding the details to make a complete shape.
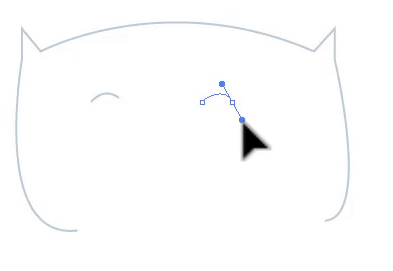
Here is a complete cat face shape that you can draw using the Pen Tool.

Read Also: How to Cut Out an Image in Illustrator Using Pen Tool
4th Method: Using Shape Builder Tool
Different styles of shape can also be drawn/make using the Shape Builder Tool.
How to Draw Moon in Illustrator
Draw a circle by using the Ellipse Tool by pressing & holding the Shift key.

Copy the circle by pressing Alt and then drag to make a new copied Circle.
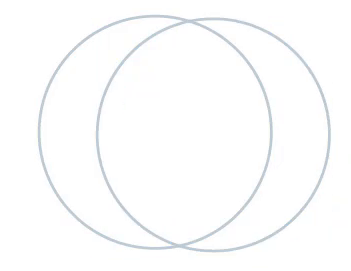
Place the circle on top of the other, as we have placed it.
Select the Shapes using the Selection Tool.
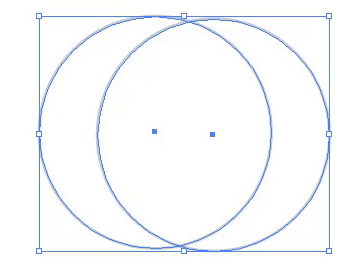
Grab the Shape Builder Tool from the left toolbar. You can also press Shift+M from the keyboard to use the Shape Builder Tool.
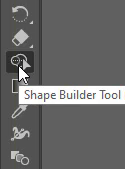
Click and drag through the shapes to separate them and make a shape.
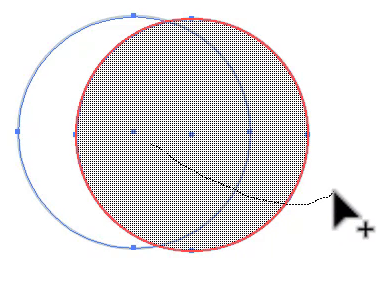
Now grab the Selection Tool and select the shape.
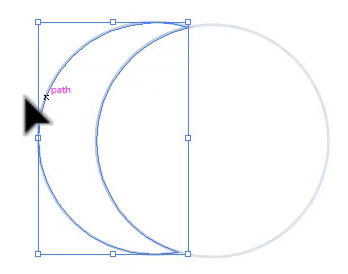
As you can see that a Crescent moon is created.
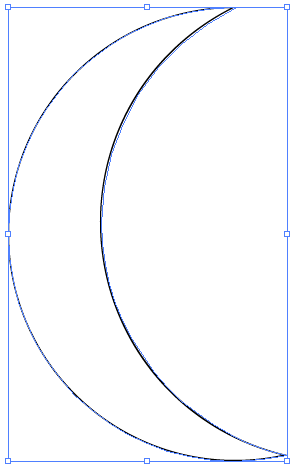
Read also: How to Make a Crescent Moon in Illustrator
How to Draw Cloud in Illustrator
You can also create a cloud shape by dragging the Shape Builder tool from the center of all the shapes where they are combined.
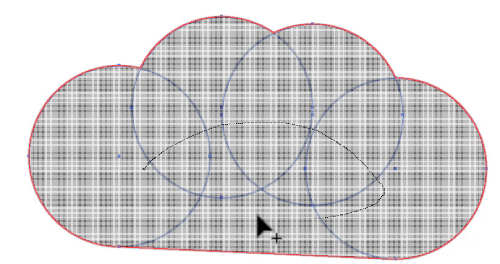
A cloud shape is drawn using the Shape Builder Tool.

How to Draw 3D shapes in Illustrator
The shapes that you have drawn can also be converted into 3D.
Select the shape that you want to make 3D by using the Selection Tool.
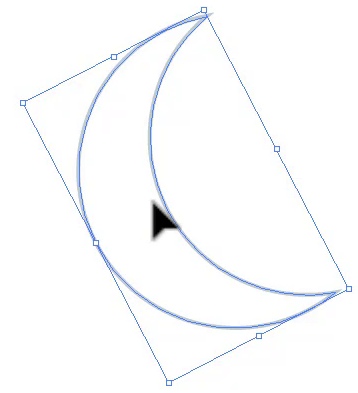
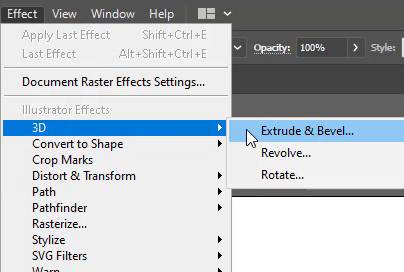
Go to Effect > 3D > Extrude & Bevel.
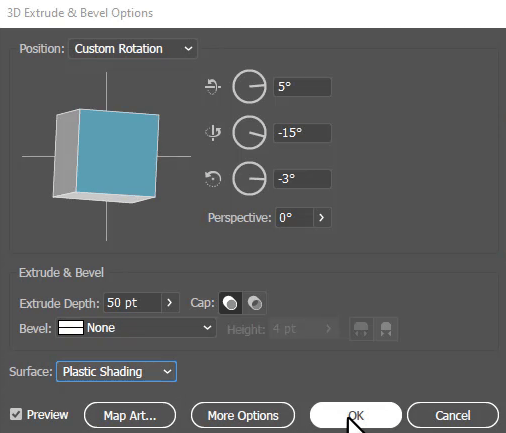
3D Extrude & Bevel Options will appear.
You can change the rotation by moving the position of the box.
Set the Surface to Plastic Shading.
Click OK when you are done.
As you can see, the moon is converted into 3D.

You can also make other shapes in 3D as well.
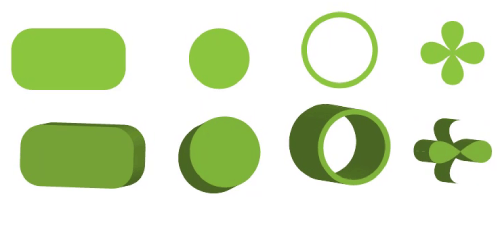
You have learned to draw shapes in Adobe Illustrator.
In this tutorial, you have learned to draw different shapes using all three methods. You can draw any type of shape using these methods easily and creatively.
You can also watch the detailed video tutorial, to learn to create different shapes in Adobe Illustrator that is given at the start.
Have More Questions?
If you have any questions related to drawing shapes in Illustrator, you can ask in the comment section below. We have also answered the most frequently asked questions below as well.
How to Draw a Straight Line in Illustrator
You can also draw a straight line in Adobe Illustrator.
In Basic Toolbar, from the left toolbar, you select the Line Segment Tool that is available under the Rectangle Tool.
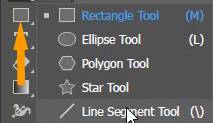
In the Advance toolbar, the Line Segment Tool is available as the major tool.
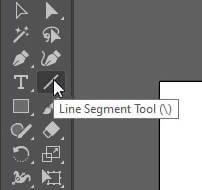
Press & hold the Shift key and then click and drag on the artboard to create a straight line.
How to Draw a Curved Line in Illustrator
In Adobe Illustrator you can also draw a Curved line easily and quickly.
From the left toolbar, select the Line Segment Tool that is available under the Rectangle Tool is Basic Toolbar. In the Advance toolbar, the Line Segment Tool is available as the main tool.
Press & hold the Shift key and then click and drag on the artboard to create a straight line.
Go to Effect > Distort & Transform > Zig Zag.
Change the Size of the curve, increase or decrease Ridges, Set Points to Smooth, and click OK.
The line will be curved.
How to Draw a Spiral in Illustrator
If you are in basic mode, then you must set the workspace to advanced mode. Go to Window > Toolbar > Advance.
Select the Spiral Tool under the Line Segment Tool.
Click and draw on the artboard.
The Spiral is drawn.
All Done! Enjoy.

Leave a Reply