
If you are designing a night sky, A Moon is must needed to complete the design. Everyone has seen the moon in images, books, and drawings. So every designer must learn to make a Crescent Moon in Adobe Illustrator. A Crescent Moon is an iconic piece in the design field.
Table of Contents
Crescent Moon
A Crescent Moon is the moon that appears at the early or end of a lunar month. It’s an arc shape of the moon.
When I started creating different shapes in Adobe Illustrator, I always wonder how the designer makes Crescent Moon. It was a challenge for me to learn and create all shapes in Adobe Illustrator. But when I learned to create a Crescent Moon in Illustrator, I was really happy to know that it was so easy to make. Also, it can be created within a minute.
You can also learn:
How to Make a Half Circle Shape in Illustrator
Don’t know how to make a Half Circle shape in Adobe illustrator. Well, we have a complete tutorial on it. You can follow the step-by-step guide to create a half-circle shape in Adobe Illustrator.
If you don’t know how to make a Crescent Moon in Adobe Illustrator, then you are at the right place. In this tutorial, We are going to share the detail and a step-by-step guide to help you create a Crescent Moon in Adobe Illustrator. You can use this moon in any night sky design to complete it.
Let’s start the tutorial.
Creating a New Document
First of all, we will start by creating a new document in Adobe Illustrator.
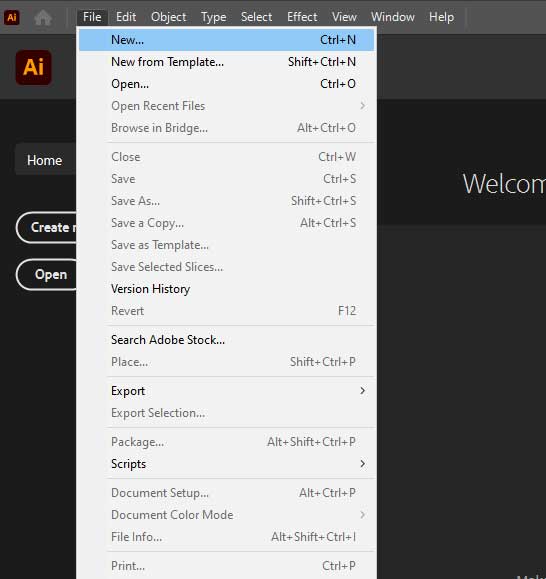
Create a New File by using “File Menu” > New.
Select your desired document size, I am using the “Common” Document from the “New Document” window.
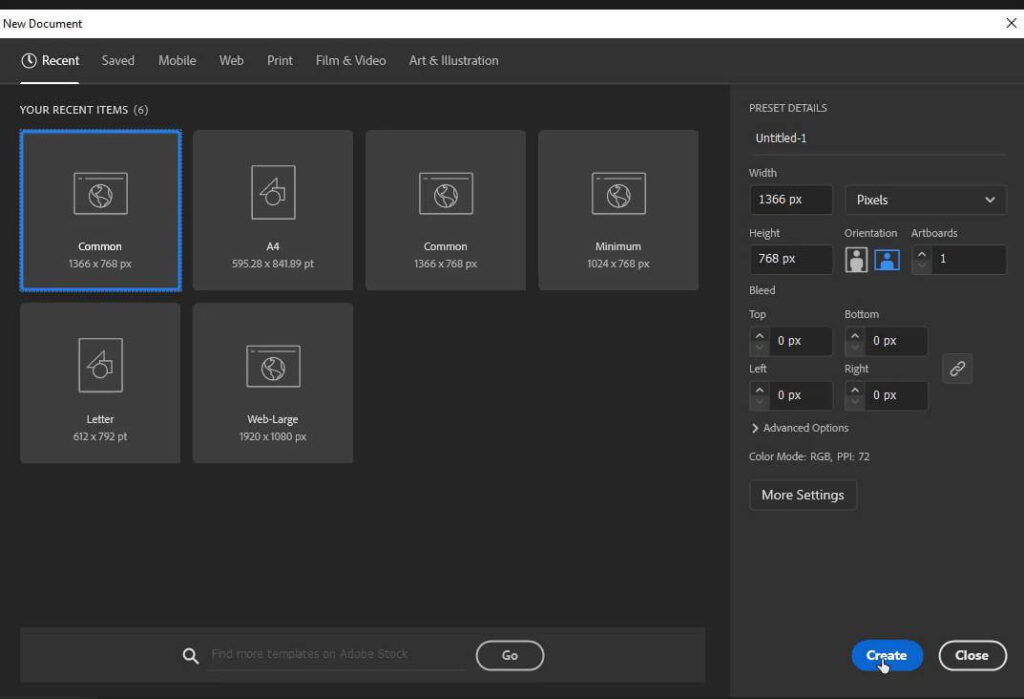
Adjust Preset Details according to your choice and click “Create”.
How to draw a Crescent Moon Easy?
Following are the steps to easily create a Crescent Moon in Adobe Illustrator.
First of all, we will start creating two Circles using the Ellipse Tool from the left toolbar.
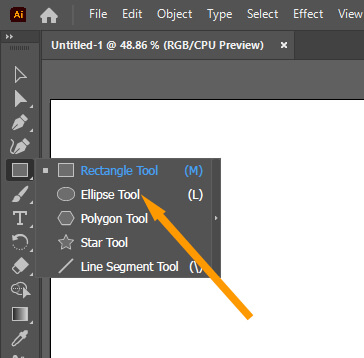
Step 1: Select the Ellipse Tool that is available in the Rectangle Tool located in the left toolbar of the Workspace. Long press with the Left Click or Right-click once to show the hidden tools.
Step 2: After Selecting Ellipse Tool, now create a Circle. Keep Pressing the Shift key from the keyboard and click on the Artboard and then drag to any direction to Create a Circle.

By default, the circle is filled white and has a 1pt black stroke.
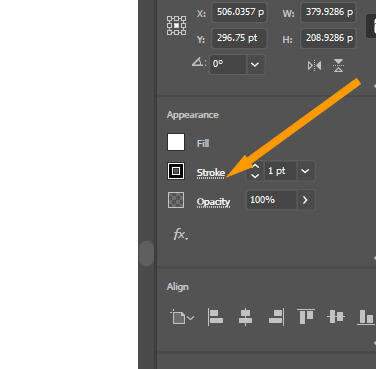
If you are OK with this type of circle, then continue. Otherwise, change the color of the Circle according to your choice. You can learn to change the color of a shape Here.
Step 3: After making a circle on the artboard, now create another circle.

Step 4: Adjust the second circle on top of the first circle, in a way that it makes a moon of the bottom circle. Just like we did here.

Step 5: From the left toolbar select the Selection Tool. You can also press V from the keyboard to use the Selection Tool.

Step 6: Select both circles with the help of the Selection Tool.

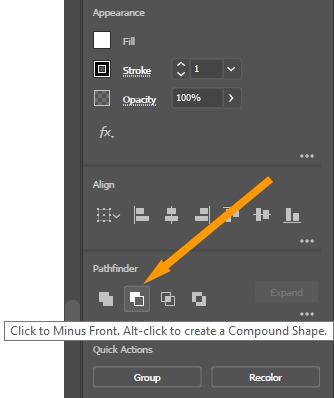
Step 7: From the right side of the workspace, select Properties > Pathfinder > Minus Front.
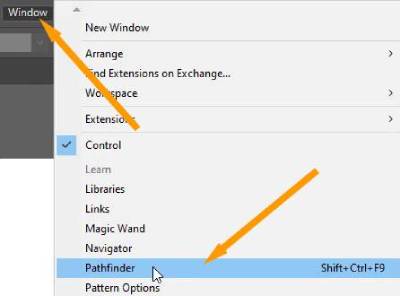
If you can not find Pathfinder on the right side of the workspace go to Window > Pathfinder. The Pathfinder panel will appear. You can also press Shift+Ctrl+F9.
Step 8: You can see as you click on the Minus Front the front part of the image disappeared, and the Crescent Moon is created.
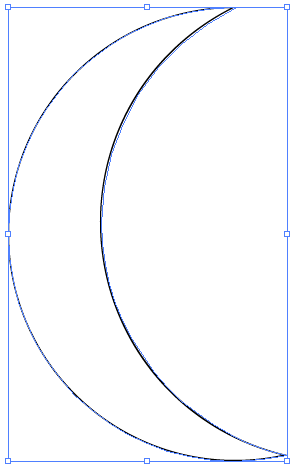
Step 9: Adjust the moon according to your required position through the corners while selecting the “Selection Tool” from the left toolbar, when you bring the pointer to a corner of the selected area of the shape, a rotate arrow will appear. Click and move it to adjust the shape rotation.

Here is the Crescent Moon that we have created using the above-given steps.
We have found that this is the easiest way to create a Crescent Moon in Adobe Illustrator. Always keep in mind that you can make the moon thick or thin according to the adjustment of the upper Circle. Set it according to your needs. You can create a lot of shapes of the Moon from the 1st to 30th by using this method.
All Done! Enjoy.


Leave a Reply