
Are you looking to add some visual flair to your text designs in Adobe Illustrator? Well, you’re in luck! In this article, we will guide you through the process of how to Fill Text With an Image in Illustrator, allowing you to create eye-catching and unique typography. By combining text and images, you can take your designs to a whole new level. So, let’s dive in!
Illustrator is a powerful graphic design software that offers a range of creative possibilities. One such feature is the ability to fill text with images. This technique allows you to transform plain text into a captivating visual element, ideal for logos, posters, social media graphics, and more.
Understanding Text Filling
Before we delve into the process, let’s explore the benefits and use cases of text filling.
Benefits of Text Filling
Filling text with an image offers several advantages. Firstly, it adds depth and texture to your typography, making it more visually appealing. Additionally, it allows you to incorporate images that are relevant to the content of your text, enhancing its message. This technique can also help you establish a consistent branding identity by using specific images or patterns.
Use Cases for Text Filling
The versatility of text filling makes it suitable for various design purposes. Some common use cases include creating attention-grabbing headlines, designing unique logos or wordmarks, crafting posters with text-driven visuals, or producing social media graphics that stand out in the feed.
Getting Started with Illustrator
To begin filling text with an image, you need to have Adobe Illustrator installed on your computer. If you don’t already have it, you can download a free trial from Adobe’s official website. Once you have Illustrator up and running, follow these steps to get started.
Opening Illustrator
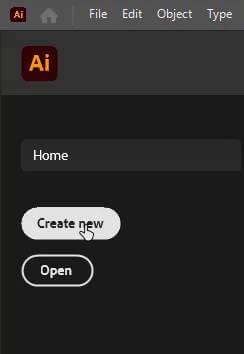
Open the Adobe Illustrator CC and create a new document.
To create a new document, go to the “File” menu and select “New” or use the keyboard shortcut Ctrl/Cmd + N. Specify the dimensions and settings for your document based on your project requirements. Once you’ve set everything up, click on “Create” to generate the new document.
Importing an Image
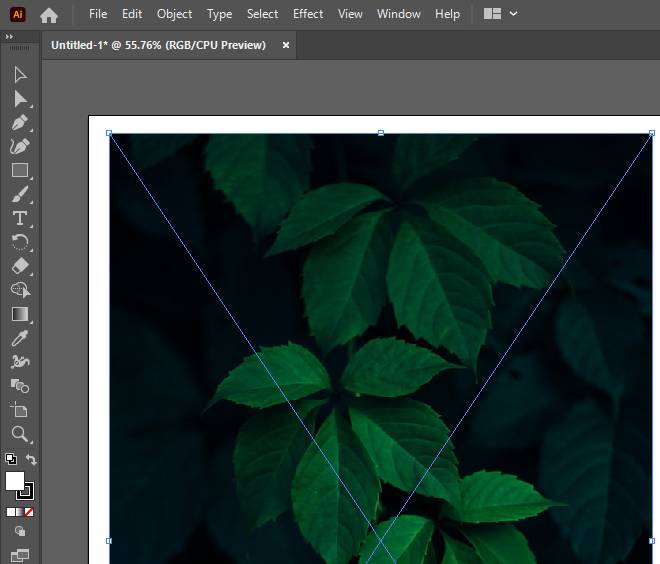
To import an image, go to the “File” menu, select “Place,” and choose the image file from your computer. Click on “Place” to insert the image onto your canvas.
Positioning and Scaling Images
Use the Selection tool (shortcut V) to move and position the image within the document. To resize the image, click and drag any of the corners handles while holding the Shift key to maintain its aspect ratio.
Creating a Text Box
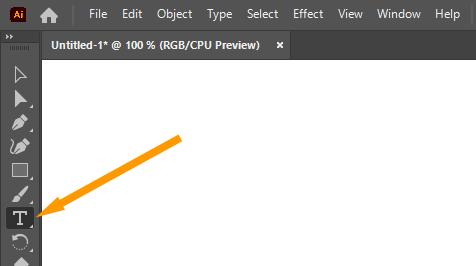
To add text, select the “Type” tool from the toolbar or use the shortcut T. Click and drag on the canvas to create a text box. This box will define the boundaries within which your text will appear.
Selecting and Editing Text
To make changes to the text, use the Selection tool (shortcut V) to select the text box or specific characters within it. You can then modify the font size, color, spacing, and other formatting attributes using the Character or Control panel.
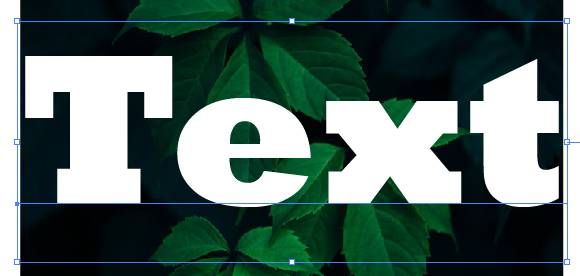
Select a bolder text from the right-hand sand panel of “Properties”. Select the fill color White and Increase the font size.
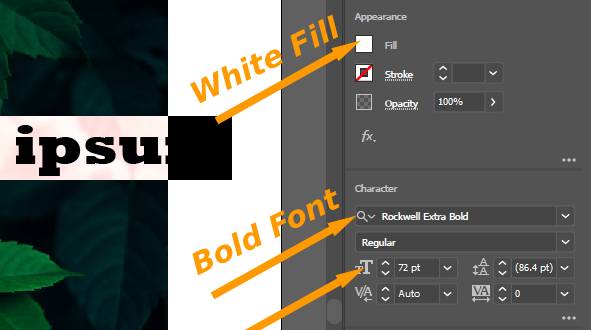
Your text will look like the following image.
Now select the text and image.
Now there are three ways to fill the text with an image.
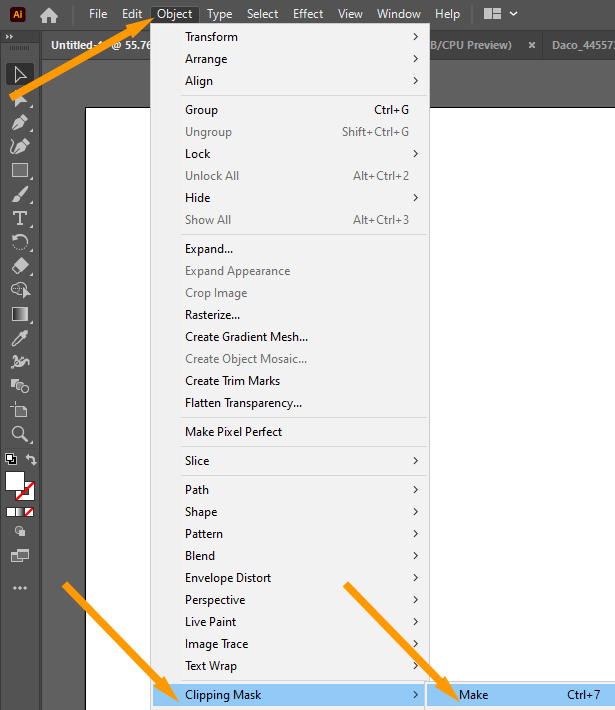
Method 1: Object Menu
Go to Object >> Clipping Mask >> Make
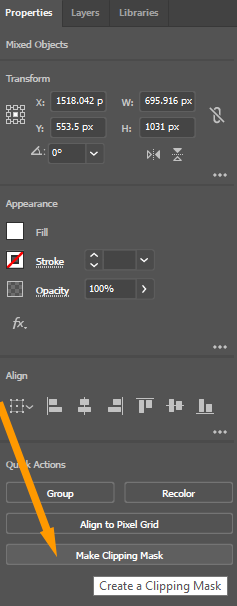
Method 2: Quick Action Panel
Go to the Properties Panel and in the “Quick Action” section, click the “Make Clipping Mask” option.
Method 3: Using Shortcut Key
Press “Ctrl+7”.
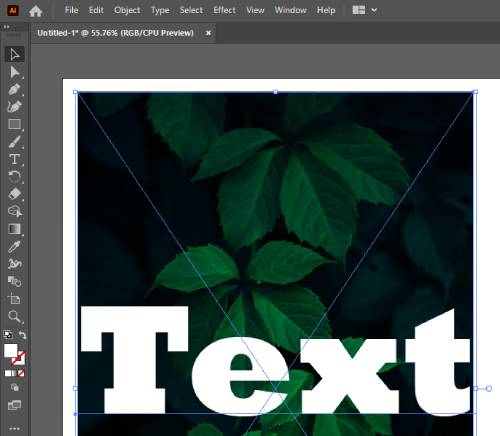
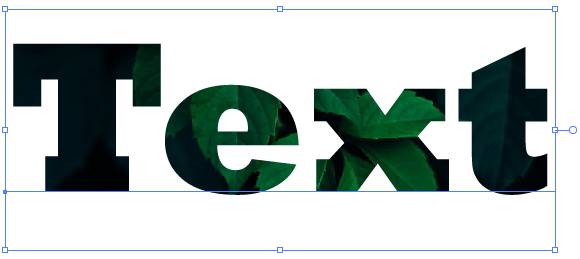
Your final image will look like this.
Customizing the Text Filled Image
Now that your text is filled with the image, you can further customize the design to achieve the desired result.
Adjusting Image Placement
To fine-tune the image placement, use the Selection tool (shortcut V) to move the image within the text or make slight adjustments. Experiment with different positions to find the arrangement that best complements your design.
Modifying Text and Image
Since the text is now converted to outlines, you can apply various transformations and effects to the text and image independently. Explore options such as scaling, rotating, skewing, applying gradients, or adding shadows to add depth and creativity to your design.
Conclusion
In this article, we have explored the process oHow to Fill Text With an Image in Illustrator. By combining the power of text and visuals, you can create visually stunning designs that capture attention and convey your message effectively. Experiment with different techniques, explore various use cases and let your creativity flow. With Illustrator’s vast array of tools and features, the possibilities are endless. So go ahead and take your typography to new heights!
FAQs
Can I fill the text with multiple images?
Yes, you can fill the text with multiple images by following the same process outlined in this article. Simply repeat the steps for each image you want to incorporate into the text.
Will the text remain editable after converting it to outlines?
No, converting text to outlines converts it into vector shapes, which are no longer editable as text. Make sure to keep a copy of the original text before converting it if you need to make any changes later.
Can I use any image format for filling the text?
Yes, Illustrator supports various image formats such as JPEG, PNG, and TIFF. Import the image format that best suits your needs.
Also learn:
How can I export my text-filled image for use in other applications?
To export your text-filled image, go to the “File” menu, select “Export,” and choose your desired file format. Specify the settings and location for the exported image, and click on “Save” to export it.
Leave a Reply