
Some fonts have a lot of space between characters, and that doesn’t look good in designs. Spacing can be irregular between characters. Some characters have more spacing and some have less.
The spacing between characters can easily be adjusted using Kerning. Kerning can help to change the character’s space according to your choice.
What is Kerning?
Kerning is used to adjust the space between two characters in Adobe Illustrator.
You can also learn:
- How to Mask in Illustrator
- How to Skew in Illustrator
- How to Zoom Out in Illustrator
- How to Erase in Illustrator
If you are new or don’t have an idea to kern in Illustrator, then you are in the right place. In this tutorial, you will learn How to Kern in Illustrator.
Let’s start.
How to Kern in Adobe Illustrator (2 Methods)
In this tutorial, you will learn detailed guidelines for Kern in Illustrator. Kerning can be done through the Character panel.
1st Method: Kerning Using Character Panel
First of all, we are going to type a word and see the spacing between that word. After that, we will use Kerning option to reduce the spacing between each character of the word.
Step 1: Grab the Type Tool from the left toolbar.
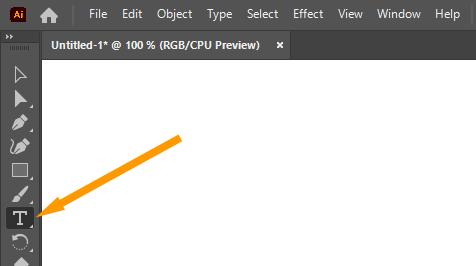
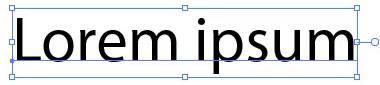
Step 2: Click anywhere on the artboard and you will see a sample text appear on the artboard.

We will use this word to Kern in Illustrator.
Step 3: From the Character panel increases the text size.
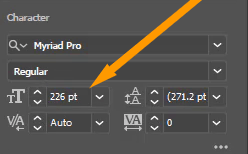
Note: You can also increase the text size by using the pointer.
Grab the Selection Tool from the left toolbar.

Select the Text using the Selection Tool.
Bring the pointer to any corner of the selected Text. You will see that the pointer is converted.

Press & hold shift and then drag the text from its selection box.
You will see that the text size increased.
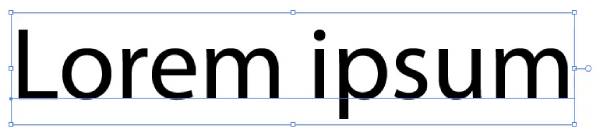
So Now let’s kern the text that you have typed on the artboard.
Step 4: Grab the Type Tool from the left toolbar.
Step 5: Click in between two characters that you want to kern.

The cursor will appear between two characters.

Note: Double Click between two characters using the Selection Tool can also show the cursor between two characters.
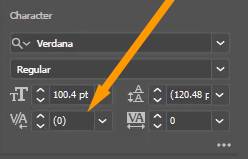
Character panel in Illustrator
Step 6: Go to Properties > Character > Set the Kerning between two characters.
There are three ways to increase or decrease kerning.
You can use the up and down arrows from the Character panel.
You can add values manually.
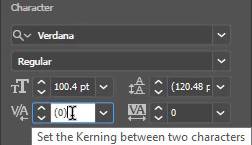
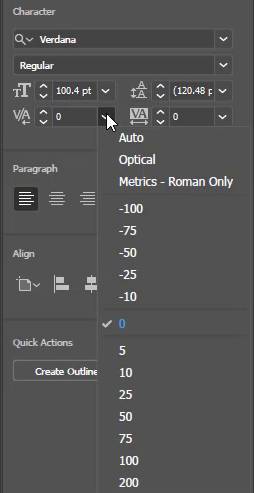
Select from the drop-down list.
Step 7: Here you can see that the kerning between two characters is 0.
Step 8: We are decreasing it to -107. You can adjust according to your own choice.
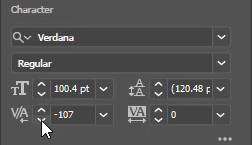
Here you can see the character is Kern.

You can do this for all characters.

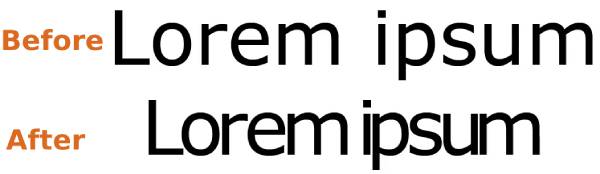
Let’s show you the complete difference between the before and after Kerning characters in Illustrator.
2nd Method: Kerning Using Short keys
You can also Kern with short keys in Adobe Illustrator.
Place the cursor using the Type Tool where you want to Kern.
What is the Shortcut for Kerning in Illustrator
Press Alt and then use the arrows.
That’s all.
You have Learned to Kern in Illustrator.
In this tutorial, you have learned to Kern in Adobe Illustrator. You can use the short keys for quick results otherwise the Character panel can also do the right job for you.
You can also watch a detailed video tutorial to learn How to Kern in Illustrator.
Have More Questions?
If you have any questions related to Kerning in Illustrator, then feel free to ask in the comment section below.
Leave a Reply