
Gradients can make the design look better by adding a single color. Gradients are widely used for backgrounds, as well as for logos. You might have seen the logos of Instagram, Firefox, and Messenger. It has a gradient of different colors, which makes it look more attractive. You can use the gradient tool to make a gradient and the gradient panel as well.
You can also watch a detailed video to learn how to make gradients in Illustrator.
So we recommend using the gradients as they are being widely used and as well as gradients give up a fresh look. They brighten up the designs. So every designer must add up gradients as background or for main items in the designs.
If you are new or you don’t have any idea to make gradients in Illustrator, then you are in the right place. In this tutorial, you will learn to make gradients in Adobe Illustrator.
So Let’s start.
How to Make Gradient in Adobe Illustrator
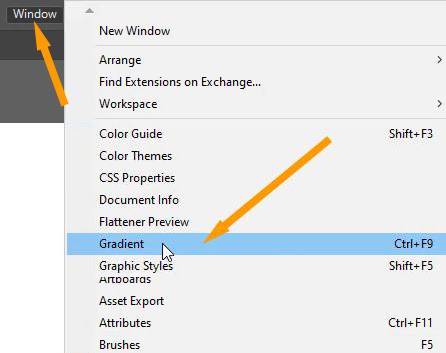
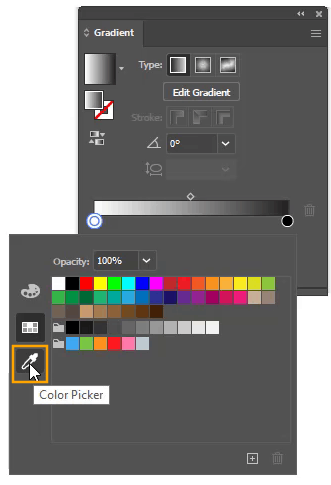
Select any shape to add and make a gradient for it. Go to Window > Gradient. The Gradient panel will appear. Click once on the Gradient slider and the black and white gradient will be added to the selected shape. Then you can change the gradient colors by double clicking on the color stop. Three options for selecting the colors will appear. Select the 2nd Option as that is the quick way to select any color. You can select a color from the Swatches and the selected colors will be added to the gradient.
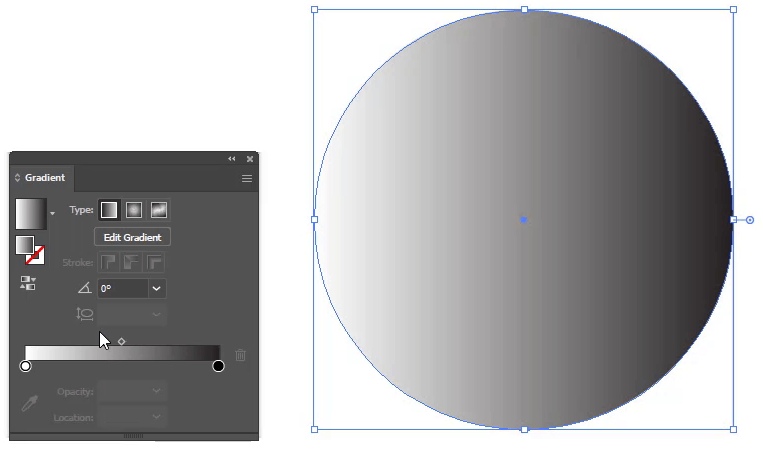
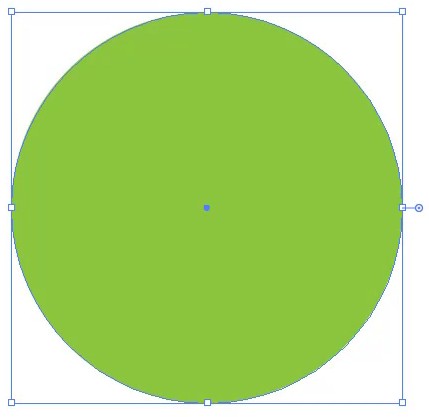
Step 1: Select any shape to create a gradient for it. You can use any shape that you want. Here we are using a circle to make a gradient in it.
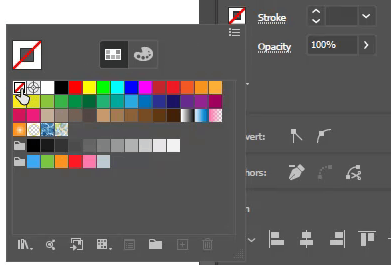
Step 2: Set the stroke of the shape to none before making a gradient.

Step 3: To add the gradient in shape, go to Window > Gradient.
Step 4: As you click on the Gradient option, the gradient panel appears on the artboard.
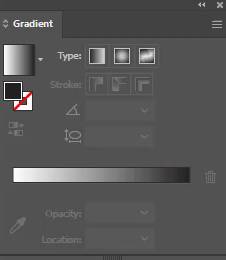
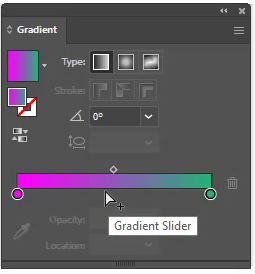
Step 5: Click on the Gradient Slider once.
The default white and black gradient will be filled in the shape.
Now, to change the white and black colors, double-click on the color stop that is available on the Gradient Slider.
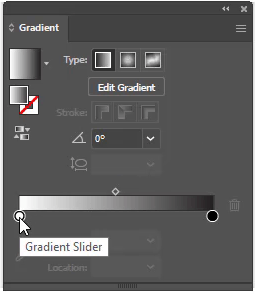
As you double-click on the color stop, color selecting options will appear.
As you can see, there are three color-selecting options available.
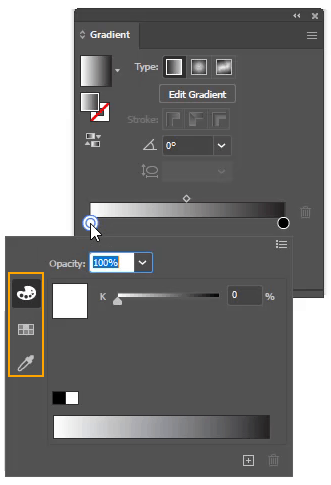
You can choose any option to change the colors.
The selected one is by default. It has only black and white color that is already filled in the shape.
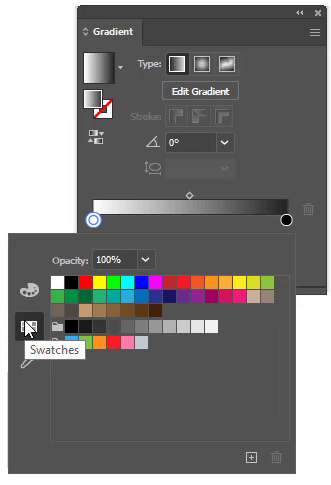
The most commonly used one is Swatches and Color Picker.
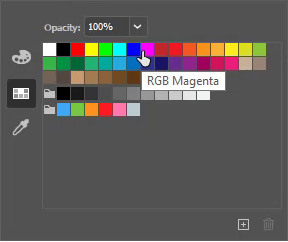
If you click on Swatches, you can see multiple colors are available to select from.
Color picker can be used if you want to pick the color from any image or design, you already have.
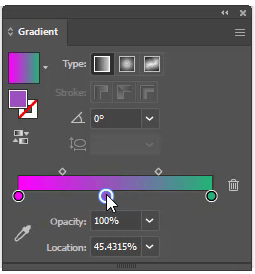
So here we are selecting a color for the first color stop.
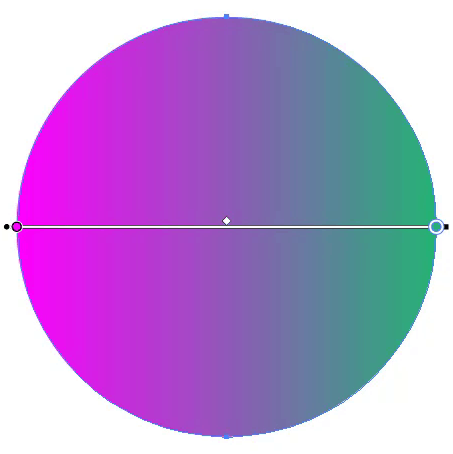
Now the color is added to the shape.

Double click on the second color stop and select a different color.
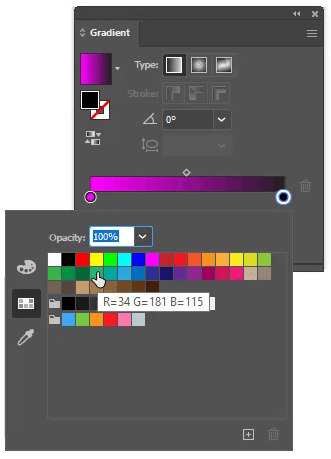
The second color is also added to the gradient.
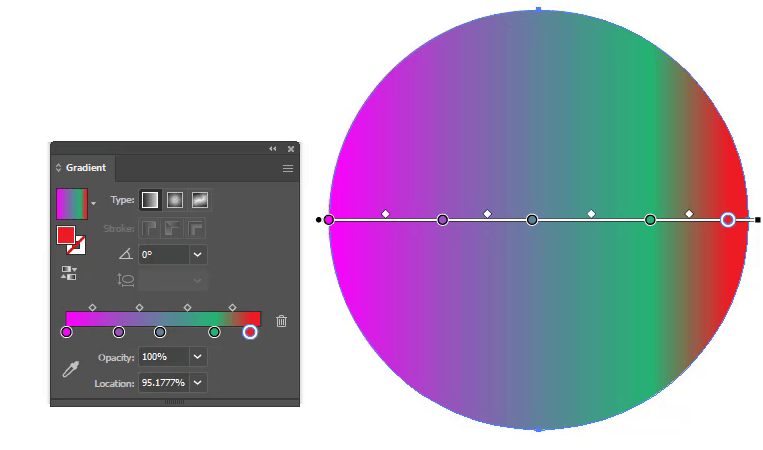
If you want to add more colors to the shape, then bring the pointer onto the edge of the Gradient Slider. You will see a +sign appear with the pointer.
Click to add another color stop. Now you can use it to add more colors.
You can add as many colors to a gradient as you want.
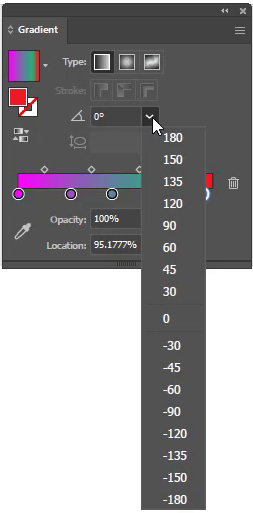
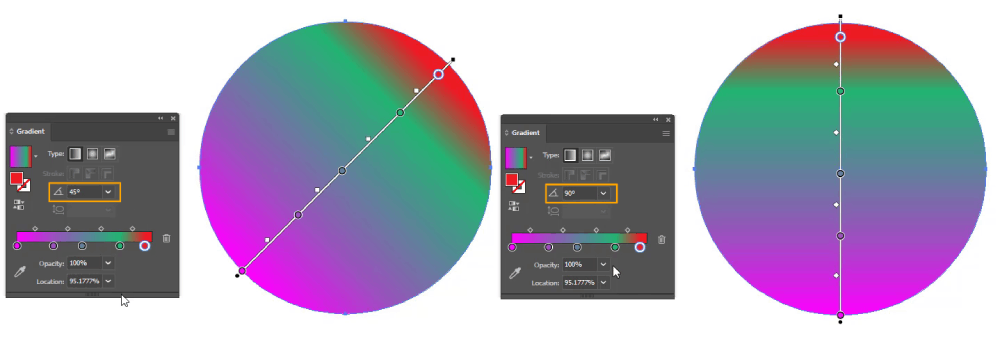
You can also change the angle of the gradient from 180o to -180o.
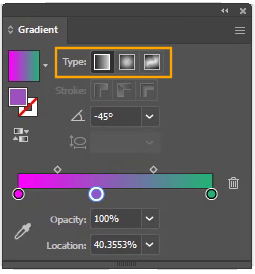
Types of Gradient in Illustrator
The three types of gradients in Adobe Illustrator are:
- Linear Gradient
- Radial Gradient
- Freeform Gradient.
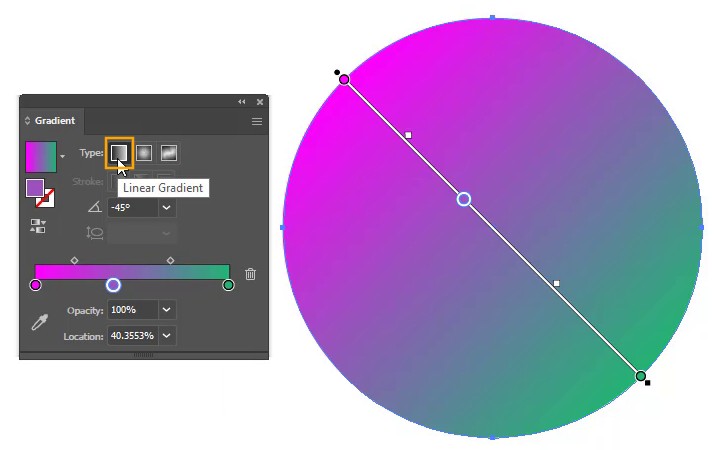
The default selected one is Linear Gradient.
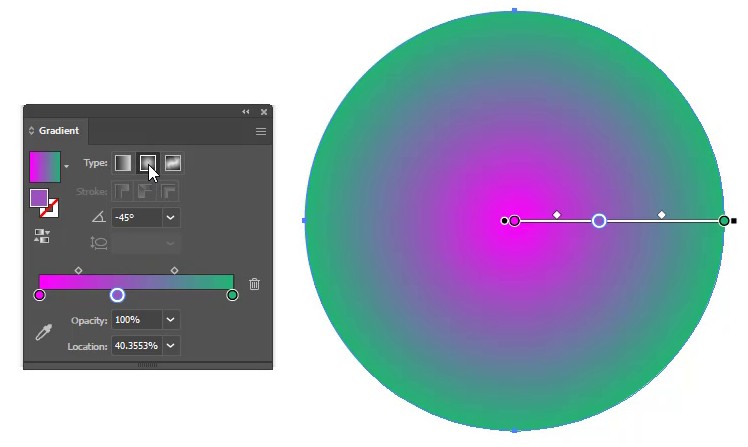
The 2nd is Radial Gradient.
The 3rd is Freeform Gradient.
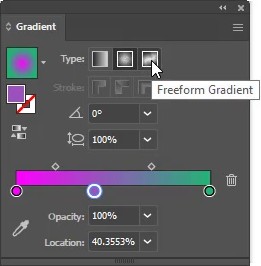
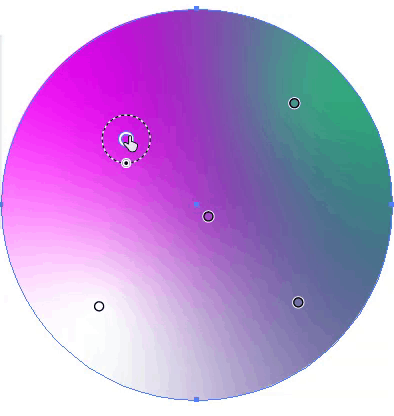
Freeform Gradient in Illustrator
Freeform Gradient is a bit different from other types, so we will look at how it works.
Step 1: Select any shape that you want to use for the Freeform Gradient.
Step 2: Go to Window > Gradient.
The gradient panel will appear.
Step 3: Select “Free Form Gradient” from the Gradient panel.
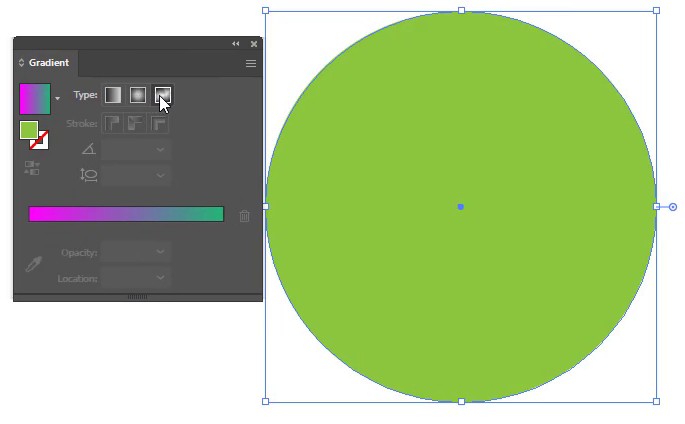
The selected shape will turn to a freeform gradient fill.
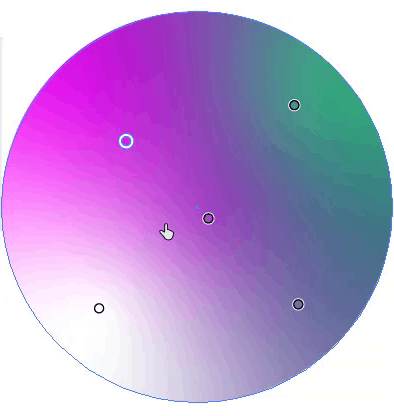
Now you can use the little circles available on the shape to set the gradient freely.
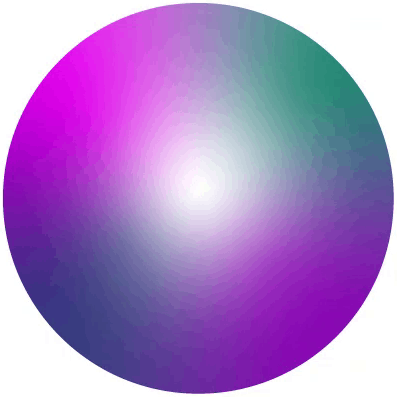
Here is the Freeform gradient fill that we have created for the shape.
You can also use the Gradient Tool to add gradients to any shape.
You have learned to make a gradient in Adobe Illustrator.
In this tutorial, you have learned how to make a gradient in Adobe Illustrator. You can add as many colors as you want into a gradient. You can make logos, stylish text, backgrounds, icons, and much more using the gradients.

Have More Questions?
If you have any questions related to gradient, then ask in the comment section below. We have also answered some most frequently asked questions below.
How to Make Smooth Gradient in Illustrator
You can make a smooth gradient by selecting any two colors while making a gradient. This will result in a smooth gradient.
How to Save Gradient in Illustrator
To save a gradient, select the gradient color that you have filled in the shape, go to Window > Swatches, and from the Swatches panel select “New Swatch”. A New Swatch panel will appear. Add the name and Click OK. The gradient will be saved in the Swatches panel.
How to Change Gradient Color in Illustrator
To change the Gradient color, select the gradient fill, and go to Window > Gradients. Double Click on the color that you want to change. Select a new color from the Swatches and you are good to go.
How to Remove Gradient in Illustrator
To remove the gradient, go to Window > Gradient. The Gradient panel will appear. Select the color stop that you want to remove from the gradient and then click on the Delete option icon available in the Gradient panel.
How to Add Gradient to Text in Illustrator
To add gradient to text, set the fill color to none. Go to Window > Appearance > Add New Fill. Go to Window > Gradient. Click on the gradient slider. Black and white gradient will be added to the text. Double click on Color Stop and then choose the swatch to add to the text. You can add as many colors as needed.

All Done! Enjoy.
Leave a Reply