You might want to have a picture that is surrounded by a lot of text. But you don’t want the text to overlap the image. That is exactly the Wrap Text.
You can also watch the detailed video to learn how to wrap text in Adobe Illustrator.
We all have seen the magazines which have a picture in middle or left or the right side. The text is flowing according to the sides of the object or image and you probably want to create the same and need the right steps to do so.
Well, don’t worry. In this tutorial, you are going to learn how to wrap text in Adobe Illustrator.
So, Let’s start.
How to Wrap text in Illustrator(Easy & Quick)
Select the text and send it to the back of the shape or image that you want to use to wrap text around by right click > Arrange > Send to back.
Select both text and shape or image, go to Object > Text Wrap > Make. From the dialogue box that will appear, click OK. The text will be wrapped around the object.
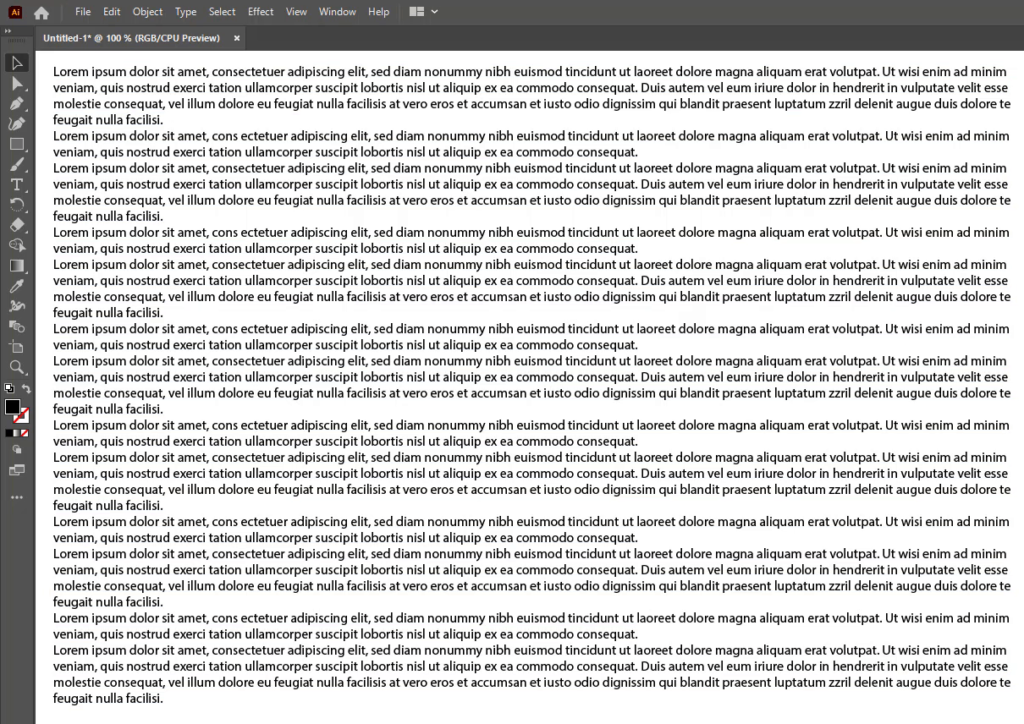
Step 1: Add the text using the Type Tool on the artboard. Here we have a lot of text on the artboard that we want to use.
Step 2: Place the image on the artboard by dragging it from the location directly onto the artboard. Place the image on top of the text as you want to wrap text around the image. Resize if needed.
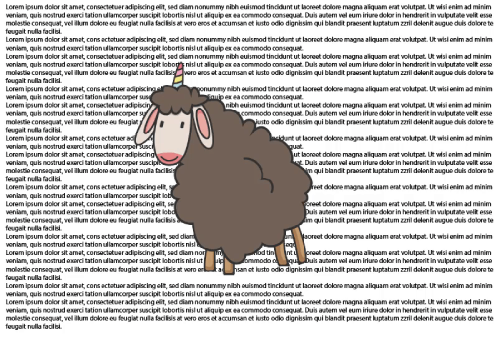
Note: Make sure to place the image or object on top of the text otherwise you will not be able to wrap text around the object.
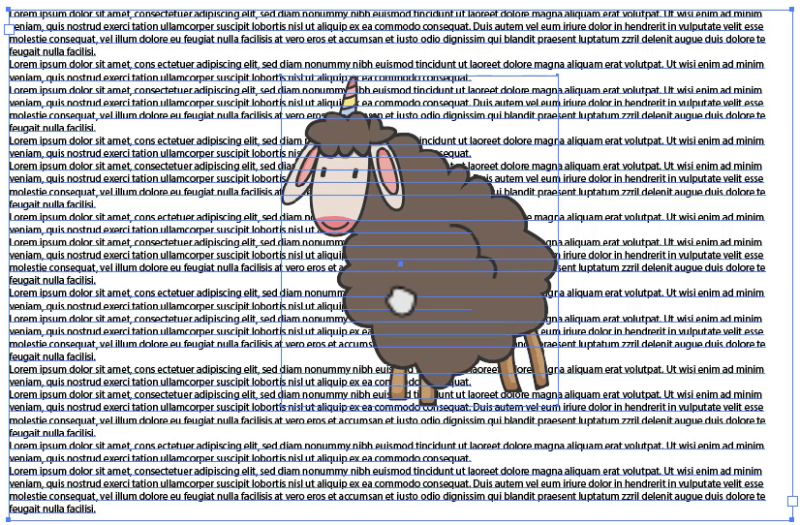
Step 3: Select text and the image or object using the Selection Tool.

Step 4: Now wrap the text by going to Object > Text Wrap > Make.
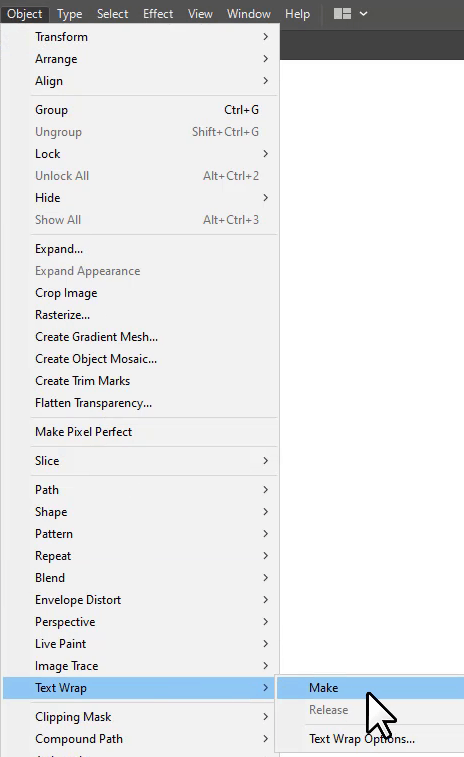
Step 5: A dialogue box will appear, Click OK.

If the dialogue box doesn’t appear, then don’t worry, your text will be wrapped without showing the dialogue box.
As you click Ok, you will see that the text is wrapped around the object.
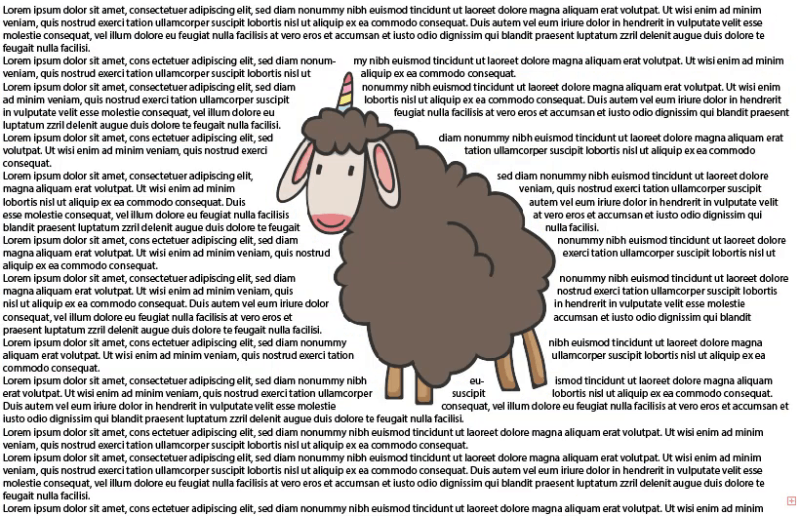
Now if you want to change the location of the image or object, simply click and drag it to another position. Text will be wrapped accordingly.
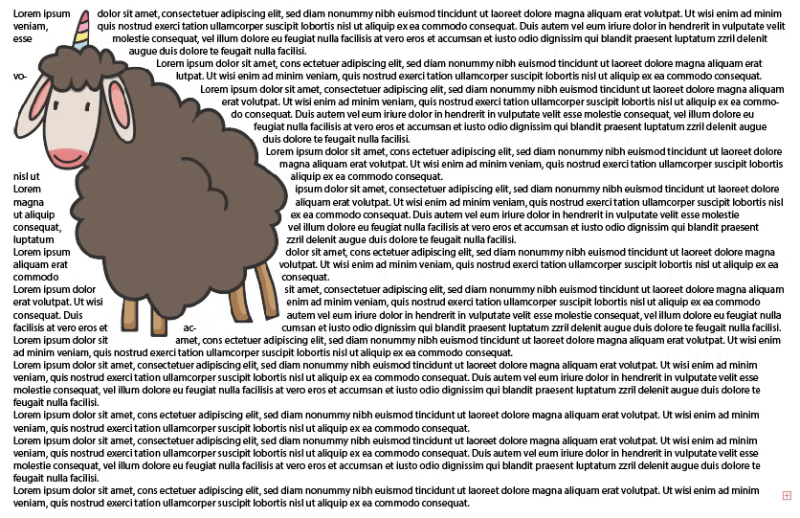
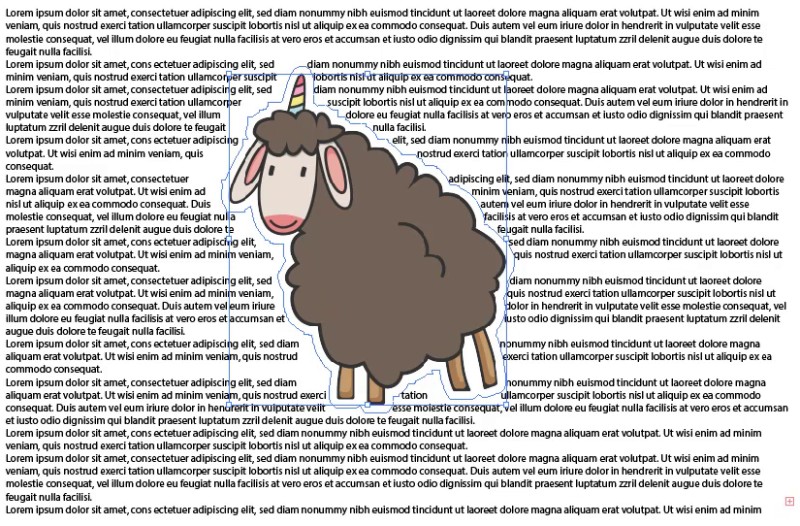
You can also change the wrap settings for how much the distance should be between text and the object after its wrapped.
Select the image or object only that is used to wrap text.
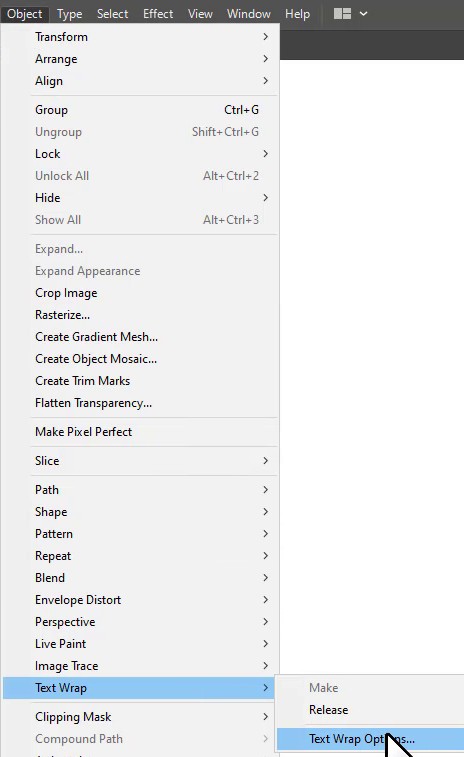
Go to Object > Text Wrap > Text Wrap Options.
Note: If you select the text, no changes will be applied to the wrap.
Text Wrap Options panel will appear.
You can increase or decrease the offset value and then click OK.
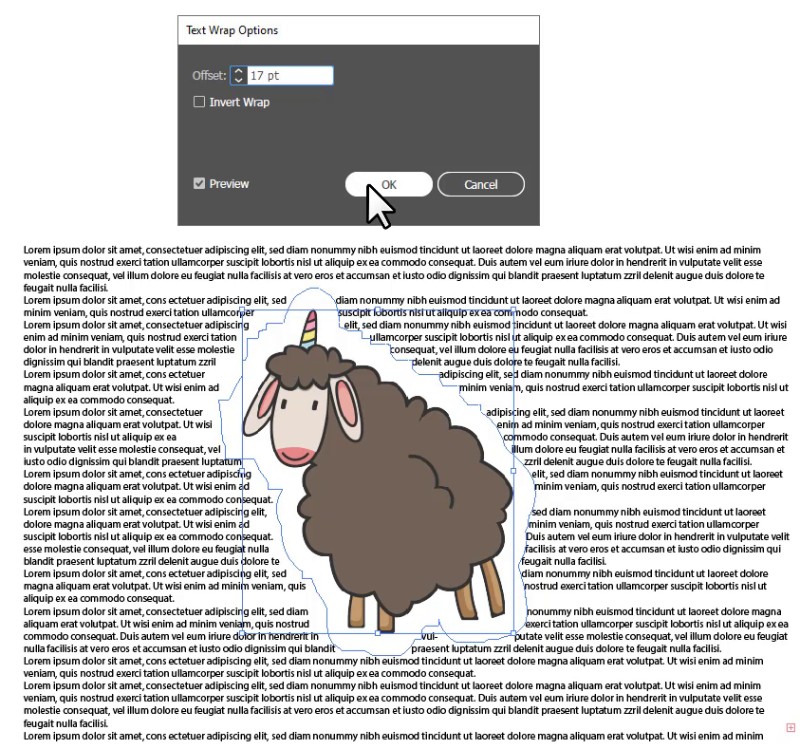
We have increased the offset value, and here is the final look of the wrapped text around the object.
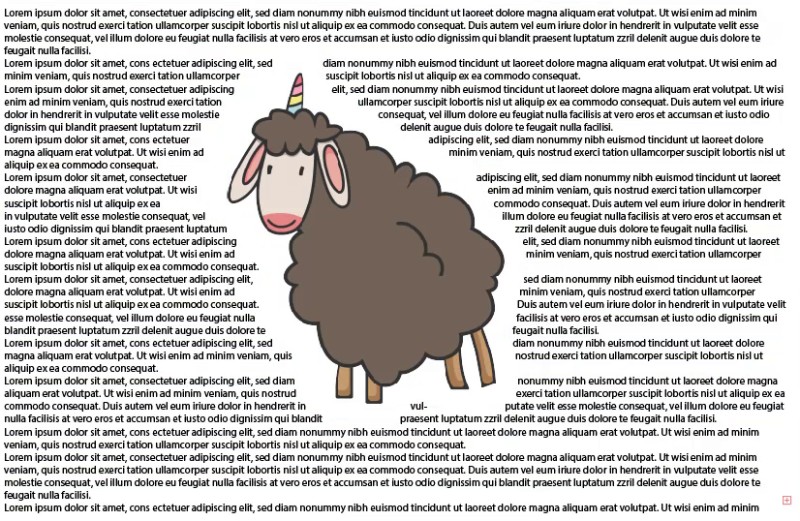
You have learned to Wrap Text in Illustrator.
You can wrap text around any shape, image, or character easily using the steps given above.
Have More Questions?
If you have any questions related to wrapping text in Illustrator, you can ask in the comment section below. We have also answered the most frequently asked questions below.
How to Wrap Text Around a Circle in Illustrator
Draw a circle, or if you already have a circle, you can use it. From the left toolbar, under the Pen Tool, select Type on Path Tool. Bring the pointer onto the circle’s path and click once on it. The default text will be added. You can type the text that you want to wrap around the circle.
Illustrator Text Wrap not Working
Make sure to place the image or object on top of the object and select both then go to Object > Text Wrap > Make. Text wrap will work.
How To Curve Text In Illustrator Without Distortion
You can curve the text easily without distortion by selecting the text and then go to Object > Envelope Distort > Make with Warp > Select the Arc style and click OK.
The text will be curved.
All Done! Enjoy.

Leave a Reply