
A gradient is perfect for the sceneries, or background for an image. The sun can also have a gradient color. Gradients are used to mix and show different colors within a single shape, text, or image. You may have seen the gradient’s color multiple times. Adding gradients to any shape makes it look more unique and elegant.
Adobe Illustrator has multiple gradients, but if you want to add any gradient of your choice other than the available swatches, you can easily add it. It will brighten up the design or logo.
What is Gradient?
A gradient has multiple colors that blend and create different colors.
In Adobe Illustrator, you can use gradients of your own choice by changing the color. Multiple colors can be added for a single gradient.
You can also learn:
- Add Gradient to Text in Illustrator
- Use Gradient Tool in Illustrator
- Change the color of an image in Illustrator
- Create a Color Palette in Illustrator
Types of Gradients in illustrator
There are different types of gradient Linear, Radial, Freeform
If you are new to Adobe Illustrator, or you don’t have any idea to change the color of a gradient in Illustrator. In this tutorial, we are going to guide you on how to change the color of a gradient in Illustrator.
Let’s start.
(Quick & Easy) Change the Color of a Gradient in Illustrator
In this tutorial, we will change the Color of a Gradient in Adobe illustrator. The method is easy to follow. You can add any color to the gradient according to your choice. There are two ways to open the Gradient panel. The panel is the same. Both work the same.
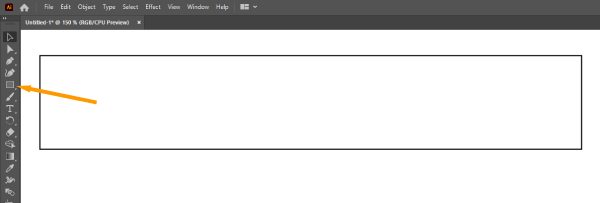
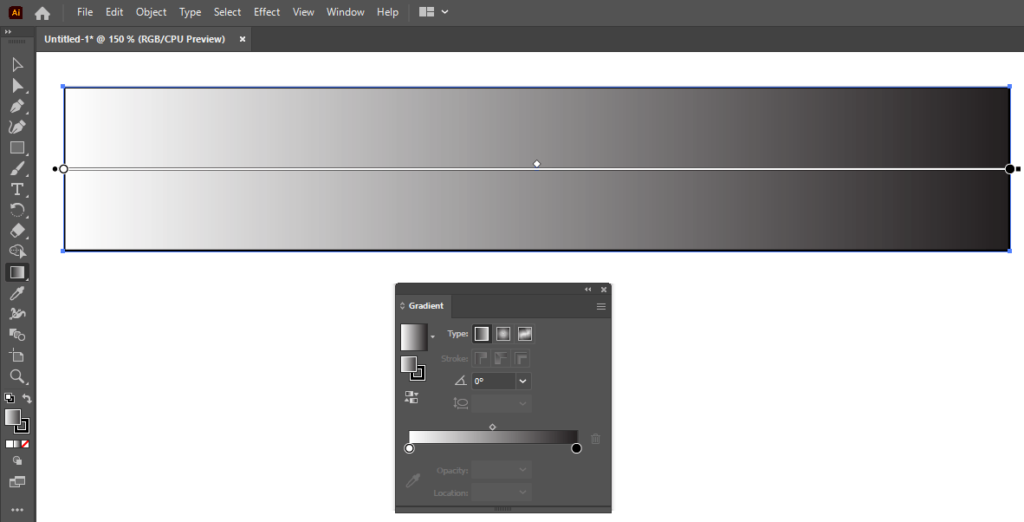
Step 1: To work with gradient and preview the color change let’s create a rectangle. To create a Rectangle, grab the Rectangle tool from the left toolbar and draw a rectangle.
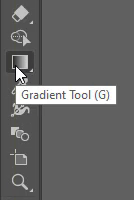
Step 2: To open the gradient panel, from the left toolbar, double-click on the Gradient Tool.
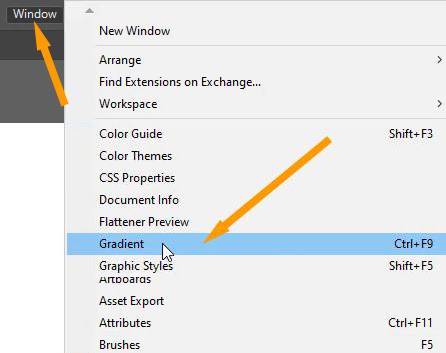
Another way to add the Gradient panel on the artboard is by going to Window > Gradient. You can also use the keyboard short key Ctrl+F9 to show the Gradient panel on the artboard.
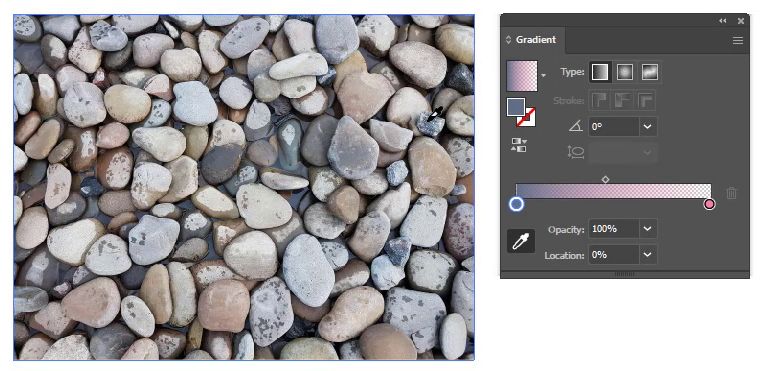
Step 3: The Gradient panel will appear.
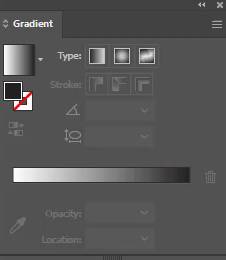
Step 4: Click anywhere on the rectangle that we have created. You can see that a gradient is added to the shape. The gradient is black and white.
Step 5: As we don’t want to use the black and white gradient so let’s change the color of the Gradient. The color of the gradient can be changed by the Gradient option available, if you click on the arrow different gradient appear.
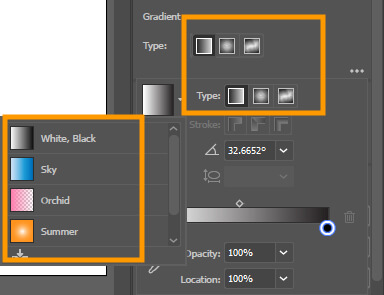
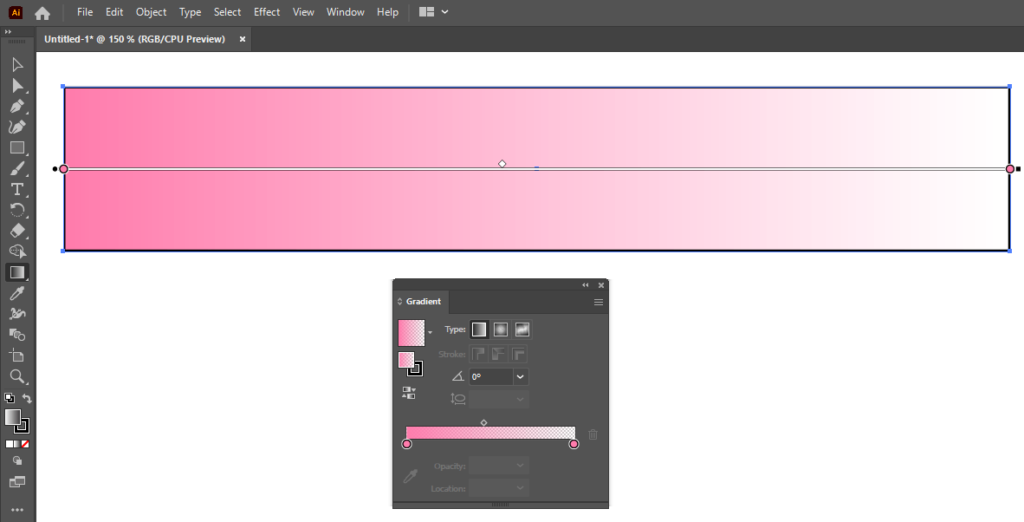
Step 6: Select any color from the list of Gradients.
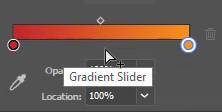
Step 7: If you don’t want to select from the pre-made gradients then you can change the gradient by selecting any color of your choice. So we recommend you to first select from the Gradient Slider so that the color is applied to only that area that you have selected from the Gradient Slider.
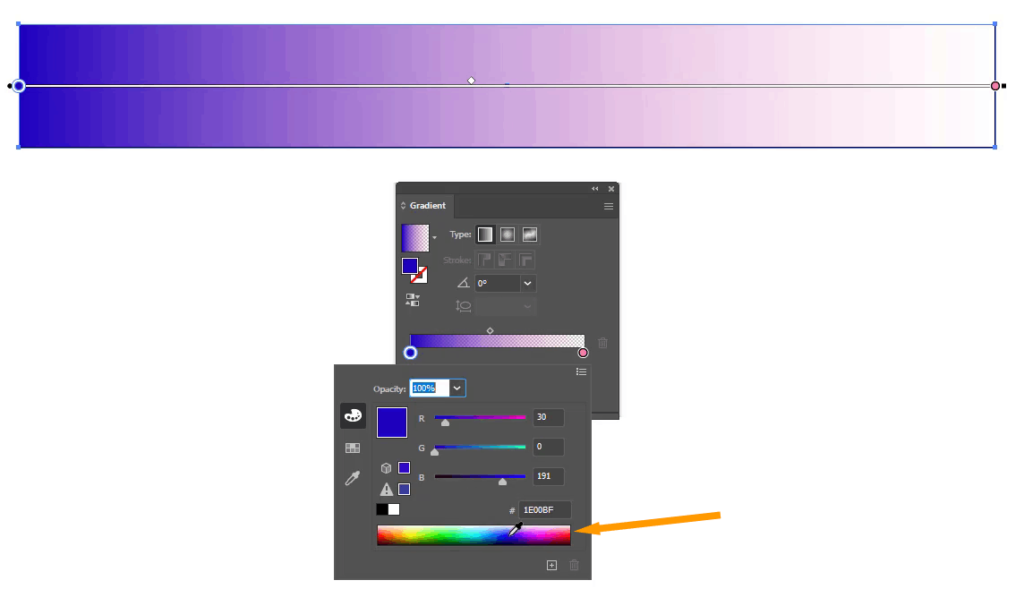
Step 8: Double click on the color in the Gradient Slider, you will see more coloring options appear.
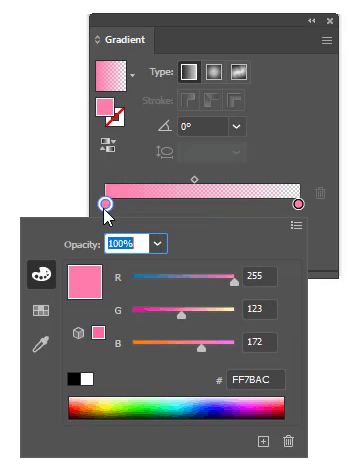
Step 9: Here you can select the way you want to color the shape. The available methods are Color, Swatches, and Color Picker.
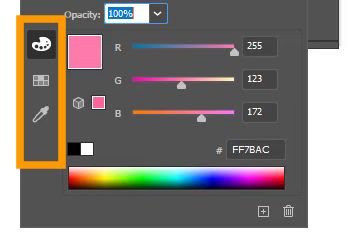
Color for Gradient
You can see the Color panel. Here you can change the opacity of the color and change the RGB color from the RGB sliders available. You can also add the color code instead of selecting the color from RGB sliders.
In the end, there is RGB Spectrum available. If you bring the cursor over the spectrum, it will turn into a color picker, and now you can select any color from it. You can also add the color code here as well.
Step 10: As we have selected a color, you can see the changes in the shape color.
Swatches for Gradient
Now there is another option available that is Swatches. From this panel you can select any one color according to your choice and the color will be applied to the shape.
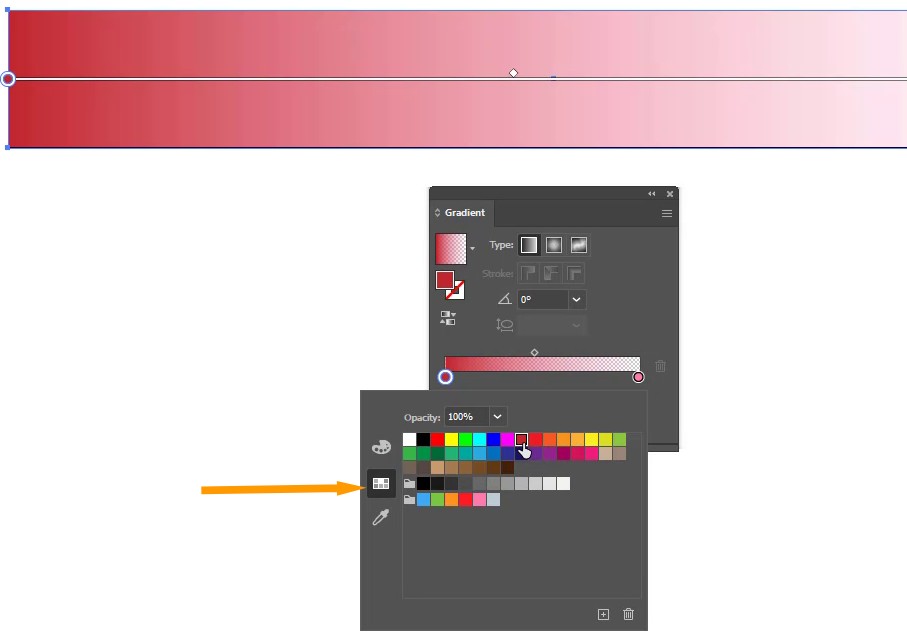
Select any color and you can see that the color is now added to the shape.
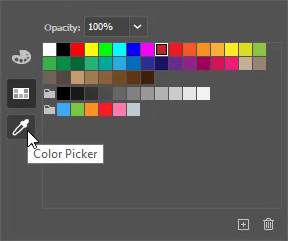
Color Picker for Gradient
Another available method is Color Picker. If you want to select any color from the image and add the color to the shape then this method is best. With the Color Picker, you can create a gradient that matches the other design and theme that you have created.
If you want to change the color from the other side then select the other little color circles available from the Gradient Slider. You can also reverse the Gradient if you want. This will change the colors from left to right or right to left.
If you want to change the type of the Gradient to Linear Gradient, Radial Gradient, or Freeform Gradient that change it from the Type.
How to Add More Colors to Gradient in Illustrator
If you want to add more colors to Gradient in Illustrator then open the Gradient panel from the Gradient Tool in the left toolbar. The Gradient panel will appear. Bring the cursor to the bottom line of the Gradient Slider. You will see that + is added with the cursor. Now if you click the a new color slide will be added. Double click to change the color.
How to Save a Gradient in Illustrator
Select the shape in which you have a gradient that you want to save with the selection tool. Go to Properties > Appearance > Fill > New Swatch > add Swatch Name > OK. The gradient will be saved in Illustrator.
All Done! Enjoy.
Leave a Reply