In Adobe Illustrator you might need to crop an image using different shapes and styles. Because every time we don’t want to crop simply in rectangle or square shape. If you want to add a Circular image to your resume, presentation, or any type of design you are creating, you might be stuck. The reason is you don’t have any idea to crop an image into a circle.
An image can be cropped into a circle or any shape of your desired area. Either you want to crop it into a star, a heart, or a polygon shape. All you need is to use the right tool and steps.
You can also learn:
If you are new or you don’t have the idea to crop an image into a circle in Adobe Illustrator then you are in right place. In this tutorial, we will give you a step-by-step guide to Crop an Image into a Circle in Illustrator.
Let’s Start.
Crop an Image into a Circle in Illustrator (Easy & Quick)
In this tutorial, we are going to crop an image into a circle in Adobe Illustrator. To crop the image into a circle, we will create a Clipping Mask. So, let’s do this.
Placing Image on Artboard
Step 1: To crop an image into a circle or any shape, first of all, we will place it on the artboard. Go to File > Place. You can also use Shift+Ctrl+P the shortcut key to Place an Image on the artboard.

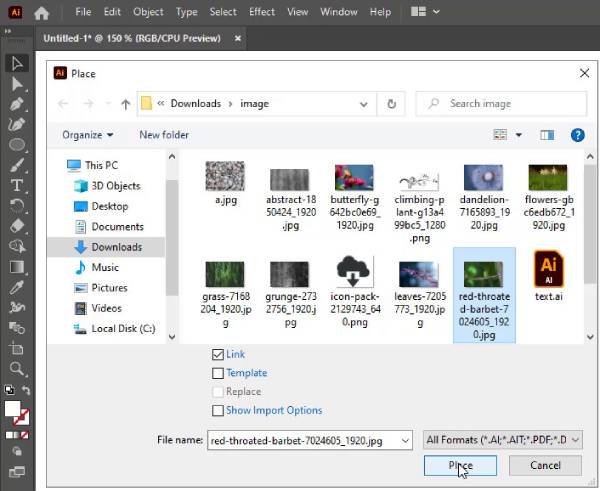
Step 2: Place panel will appear.
Step 3: Select the image from its location and click Place.
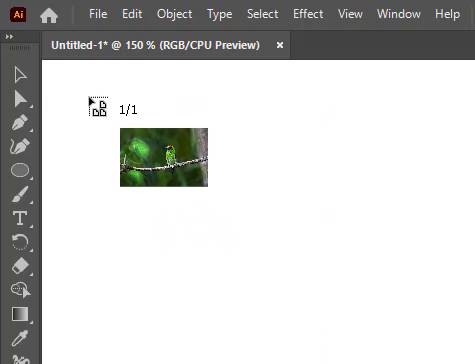
Step 4: The image will appear with the pointer.
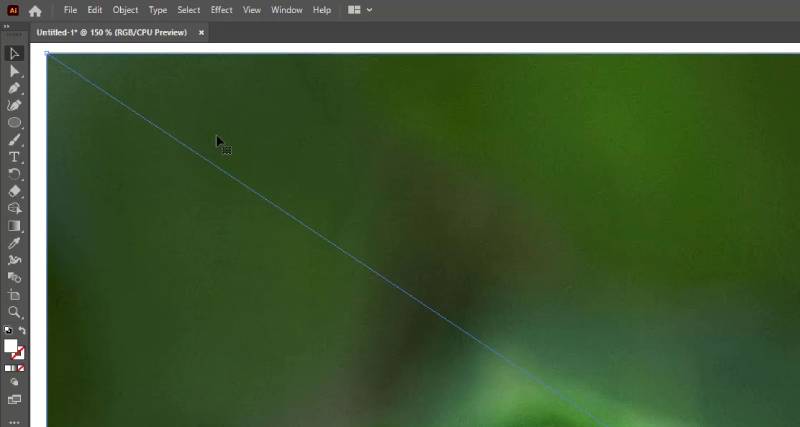
Step 5: Click anywhere on the artboard to place it.
Resizing the Image
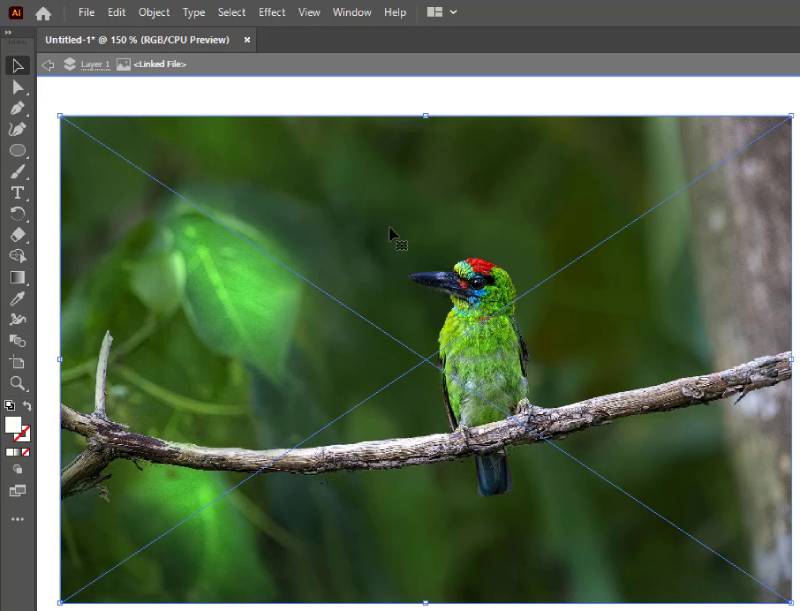
Step 6: Resize the image by pressing the Shift key on the keyboard. Pressing the Shift key will help to resize the image without any distortion in the image.
Embedding the Image
Step 7: If cross lines are appearing on the image, then Embed the Image first before cropping it.
To Embed the image, go to Properties > Quick Actions > Embed.
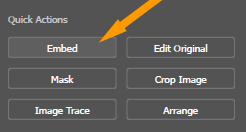
As you embed the image the cross lines will disappear.
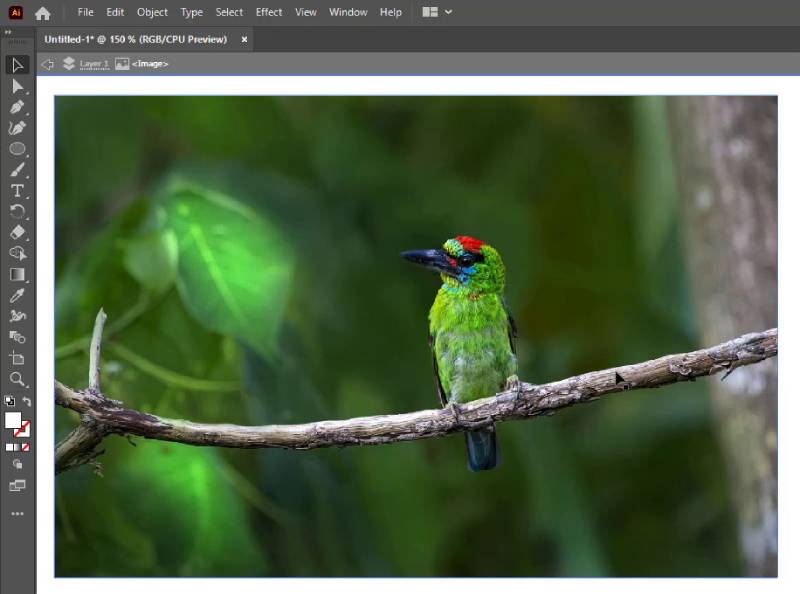
Make a Circle on Artboard
Now we will make a circle on the artboard to crop the image. You can create any size of Circle according to your choice.
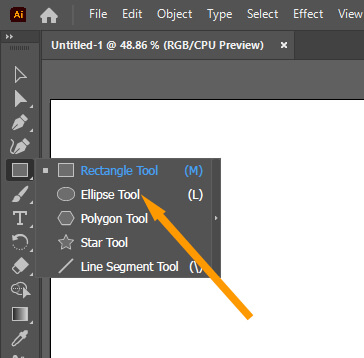
Step 8: From the left toolbar, long-press or right-click on the Rectangle Tool. From the list select Ellipse Tool.
Step 9: Hold the Shift key from the keyboard and Draw the Circle.
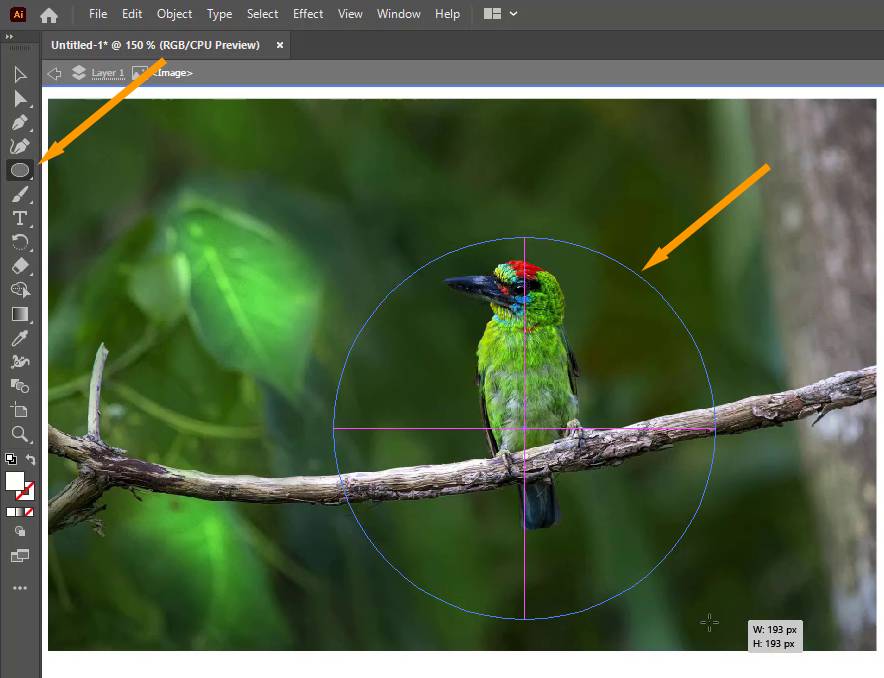
Note: To draw a circle make sure to press and hold the shift key. Because there is no other tool available to draw a circle in Adobe Illustrator.
Make Clipping Mask
After placing the image and making a circle, now Make a Clipping Mask. To make a clipping mask follow the steps below:
Step 10: Grab the Selection Tool from the left toolbar.

Step 11: Select Circle and shape by using the Selection Tool. To select both objects at the same time hold the Shift key and then select.
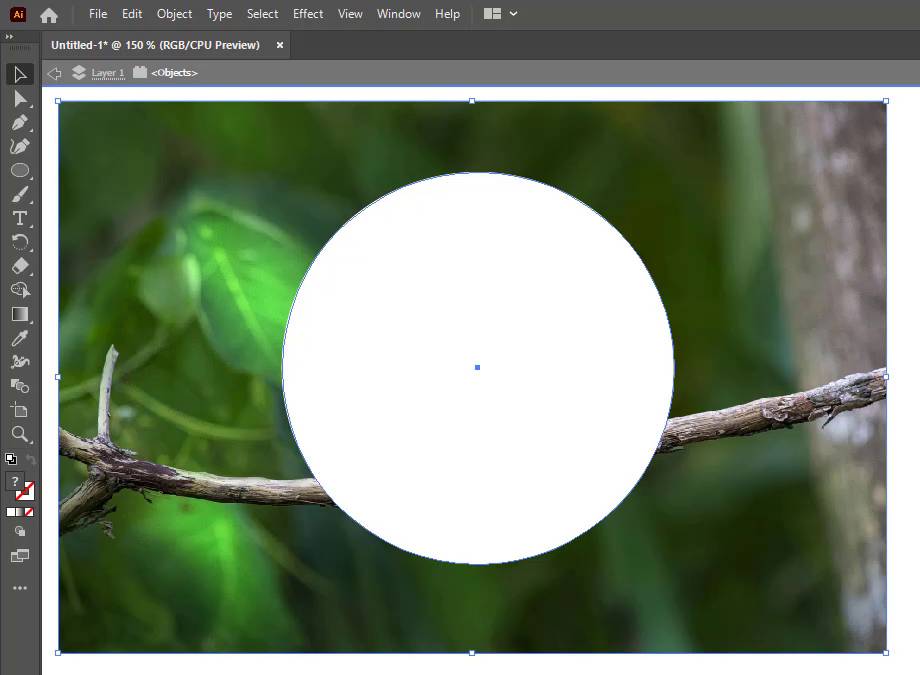
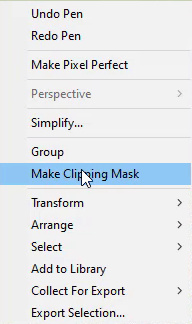
Step 12: Right-click and from the list of options that appeared select Make Clipping Mask.
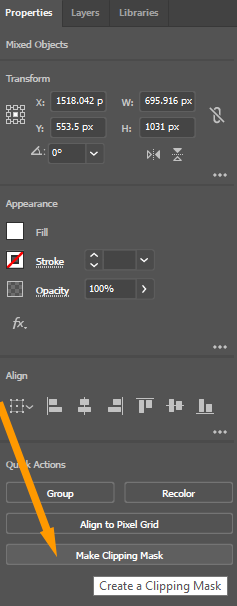
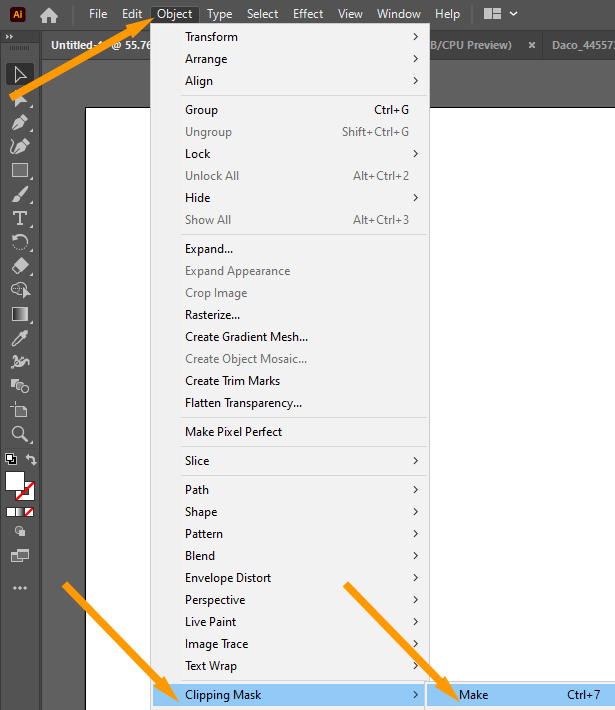
You can also go to Properties > Quick Actions > Make Clipping Mask or go to Object > Clipping Mask > Make.
Shortcut key to Make Clipping Mask
You can also use the keyboard shortcut key Ctrl+7 to make a Clipping Mask.
Note: Place the shape on the top before making Clipping Mask in Illustrator.
As you select Make Clipping Mask, you will see that the image is Cropped into a Circle.
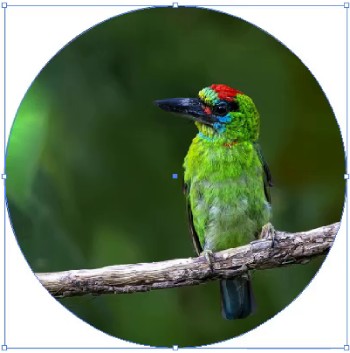
Change the Cropped Area
If you want to change the cropped area of the image then Click right in the center.
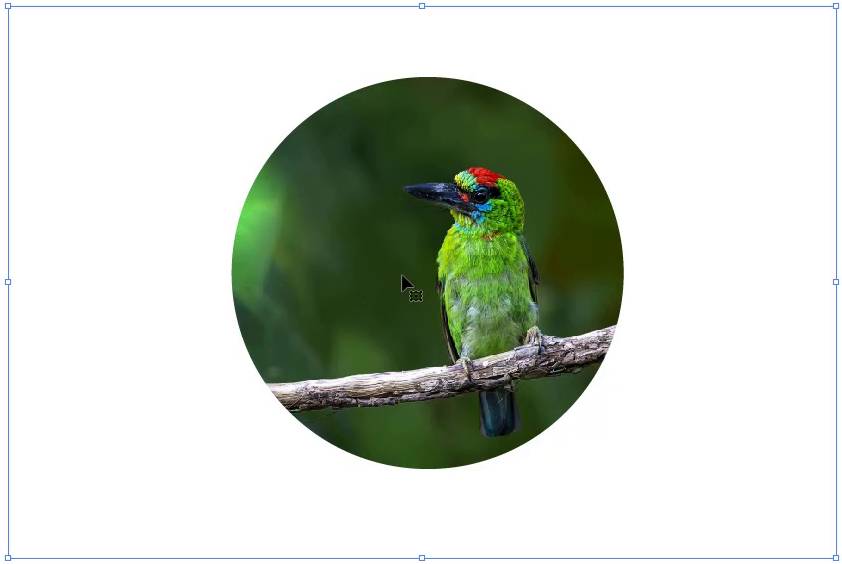
Then move the image as you want to crop the part. The image will not be visible. You can only see the boundaries of the image.

This is all. Now you can see that the image is cropped into a circle in Adobe Illustrator. You can easily use it in any type of document. You can use any image or shape and then crop the image in Adobe Illustrator. You can also watch our detailed video tutorial to Crop an Image into a Circle in Illustrator that is given at the start of this tutorial.
Do You Have More Questions?
If you have any questions regarding cropping an image into a circle in Illustrator, then feel free to ask in the comment section below. We have also answered the most frequently asked questions below.
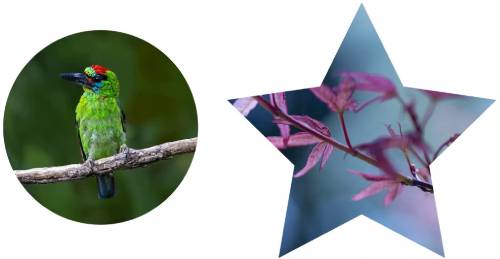
How to Crop an Image to a Shape in Illustrator
To Crop an image to a shape in Illustrator first of all place the image on the artboard and then draw the shape. Select both with the Selection Tool and press Ctrl+7. The image will be cropped into the shape. Make sure to place the shape on top of the image before Making Clipping Mask in Illustrator.
How to Crop an Image in Illustrator
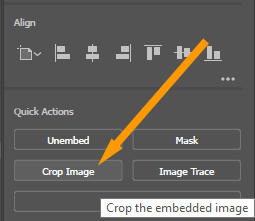
To Crop an image in Illustrator, select the image with the Selection Tool and then go to Properties > Quick Actions > Crop Image. Adjust the crop area and then press Enter. The image will be cropped.
All Done! Enjoy.

Leave a Reply