
Cropping an image in Adobe Illustrator means cutting out an extra part of an image. Because sometimes we don’t want to keep all the images instead we just need some specific parts. Any type of image can be cropped in Adobe Illustrator. A designer needs to crop an image in Illustrator to fix it in a specific part of an area. Sometimes a designer also wants to crop an image to change the ratio of the image. It’s very easy to crop in Illustrator.
Table of Contents
Cropping Images in Adobe Illustrator (Video Tutorial)
How to Crop in Illustrator 2022
Cropping a specific part of an image is not difficult. All you need is to just learn the right way to crop an image in Illustrator.
You can also learn to:
- Resize an Image in Illustrator Without Losing Quality
- Flatten an Image in Illustrator
- Select Part of an Image in Illustrator
- Make Image Grayscale in Illustrator
- Cut Out an Image in Illustrator Using Pen Tool
- Cut Out Text from an Image in Illustrator
- Fill Text with an Image in Illustrator
- Embed Images in Illustrator
- Cut Out Part of an Image in Illustrator
Many beginners don’t have an idea to crop an image in Adobe Illustrator. Don’t worry. In this tutorial, we are going to tell you the step-by-step method to crop an image in Adobe Illustrator. So that in the future when you need to crop an image in Illustrator, you can use the given method easily.
Let’s start.
Creating a New Document
First of all, we will start by creating a new document in Adobe Illustrator.
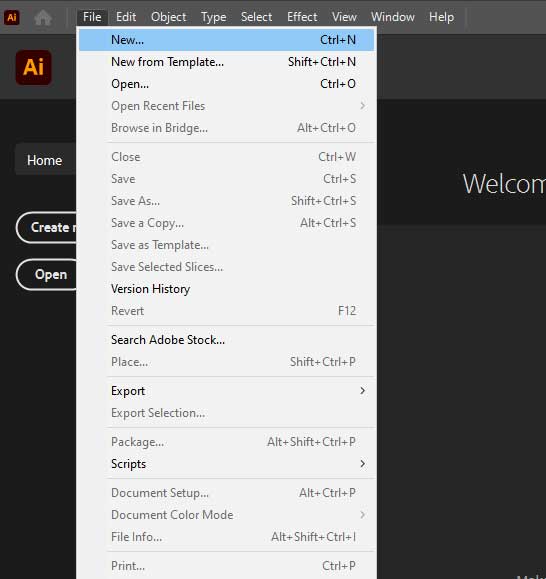
Create a New File by using “File Menu” > New.
Select the “Common” Document from the “New Document” window.
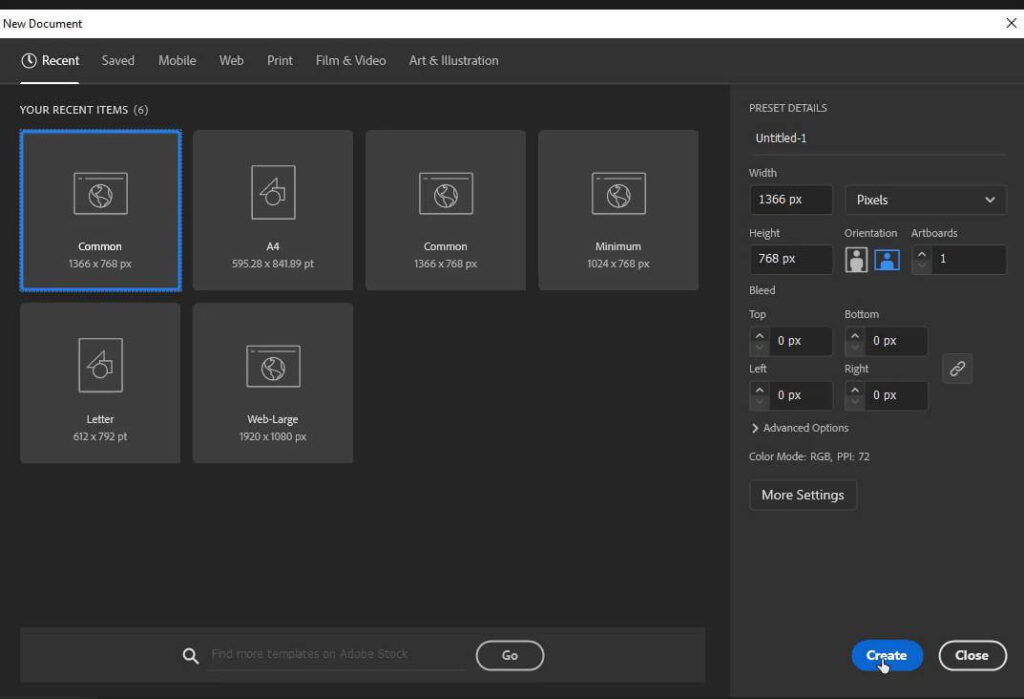
Adjust Preset Details according to your choice and click “Create”.
Place the image on the Artboard
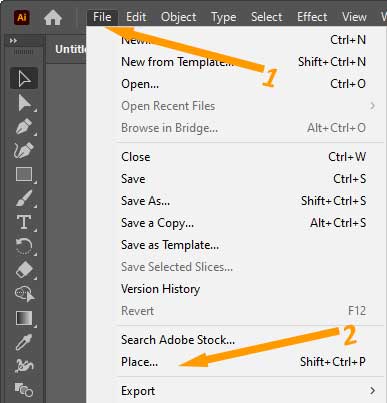
Step 1: Go to the File > Place. You can also press Shift + Ctrl + P from the keyboard to place an image on the Adobe Illustrator artboard.
Step 2: Place window will appear.
Step 3: Select the image that you want to use from its location and click on Place.

Step 4: Click anywhere on the artboard to place the image.

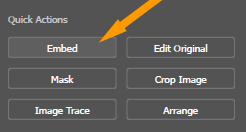
Step 5: Embed the image from the Properties > Quick Actions > Embed.
Step 6: Grab the Selection Tool from the left toolbar.

Step 7: Select the image and resize it by any of its Anchor points.

Note: Keep pressing Shift+ Alt and resize the image so that it doesn’t get stretched from a side.
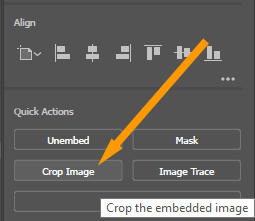
Step 8: From the right side of the workspace, crop the image by Properties > Quick Actions > Crop Image.
Step 9: The rectangular crop frame will appear.

Step 10: You can easily move it to select the specific part that you want to crop.
Step 11: If you want to select a small portion, like a small part of the image, decrease the size of the crop frame by any of its resizers.

Adjust the frame according to the requirements of your design or project requirements.
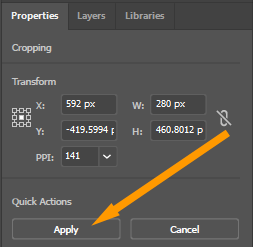
Step 12: After selecting the required area, go to the left panel and select Properties > Quick Actions > Apply.
Shortcut Key to Crop an Image in Illustrator
You can also press Enter key from the keyboard after setting the crop frame on the image.
Step 13: After applying the crop settings the selected part is cropped.
If you are still not satisfied with the results you can crop it again. But always keep in mind that the cut out part of the image will not be available to use. Only the cropped part is available on the Artboard.
So in this tutorial, you have seen to crop an image. That’s the easiest way to crop an image in Adobe Illustrator.
Have More Questions?
If you have any questions related to cropping any image, you can ask in the comment section below.
You can also learn:

All Done! Enjoy.


Leave a Reply