A Pattern can be used for multiple purposes. Either you are designing a wall, a piece of fabric, wishing Cards, or creating covers for the mobile phones. Patterns are perfect for visualizing designs.
If you want to turn your design into a pattern, then that’s a good idea. You can create your patterns easily. But you may have also a question about how to make a pattern in Illustrator. Because there are multiple styles of patterns such as dot patterns, vintage patterns, Geometric patterns, and much more. You can also make seamless patterns for your designs.
You can also learn:
- Change the Color of Pattern in Illustrator
- Make a Seamless Pattern in Illustrator
- Make a Pattern Swatch in Illustrator
If you are new or you don’t have an idea to make a pattern in Illustrator, then you are at the right place. Now you will not have to copy and paste your design. So we are going to help you with this tutorial to make Pattern in Illustrator.
Let’s start.
How to Make a Pattern in Adobe Illustrator
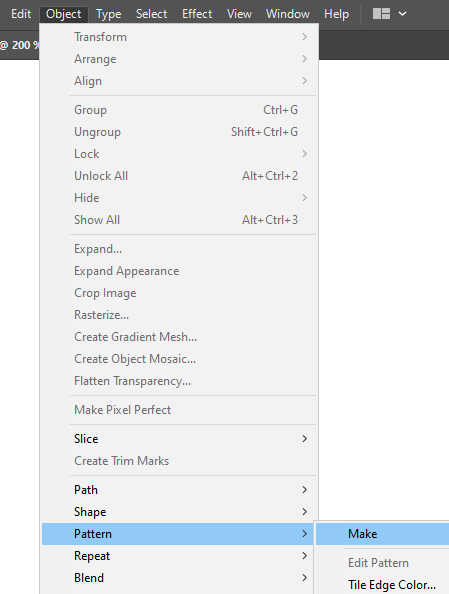
Select the shape that you want to use to make a pattern and go to Object > Pattern > Make. Add the name in the Pattern Options panel. Change from Grid to Brick by column. When you are done, click on the Done button that is available at the top under the menu bar.
In Adobe Illustrator, there are two methods to make a pattern. In this tutorial, we will discuss both methods.
1st Method: Make Pattern
Step 1: You must have any shape or design that you want to turn into a Pattern. You can create any geometric, polka dot, floral, checkered, animal prints, or any hand-drawn objects.
Here we are using a floral design that we have created to make a pattern.

Step 2: Grab the Selection Tool from the left toolbar and select the design with it.

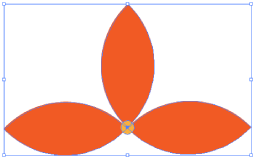
Step 3: After selecting the design using the Selection Tool, go to Object > Pattern > Make.
Step 4: As you click on Make, a message will appear that will show you a message. You can see the message below. Hit OK.
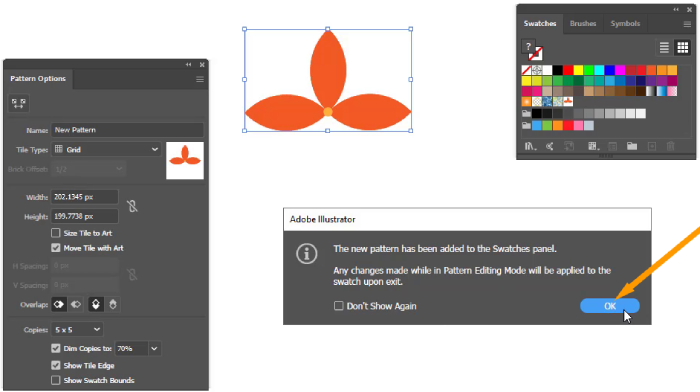
Step 5: As you hit OK the pattern will appear on your document.
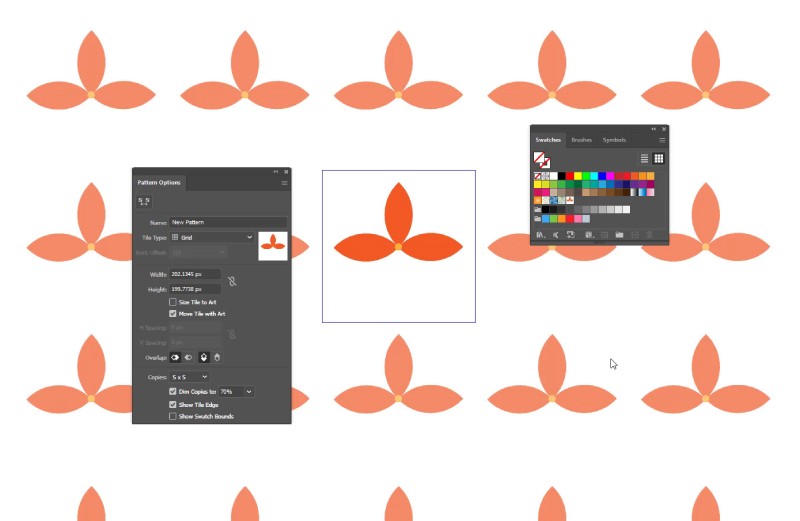
Step 6: The Pattern Options and Swatches panel will also appear.
Here you can change multiple settings for the pattern.
Step 7: In the Pattern Options dialog box, add the name for your pattern in the Name option.
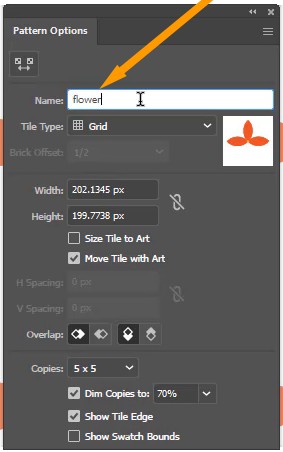
Step 8: Click on the Tile Type. You will see multiple types of tiles. You can choose anyone according to your choice.
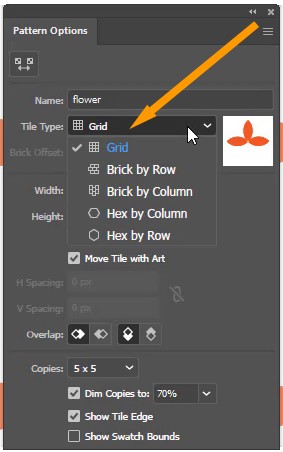
Here we are selecting Brick by Column.
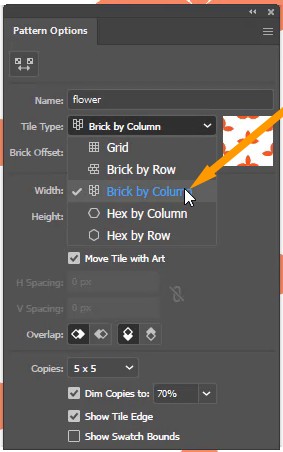
Step 9: You can see the Swatch Preview next to Tile Type.
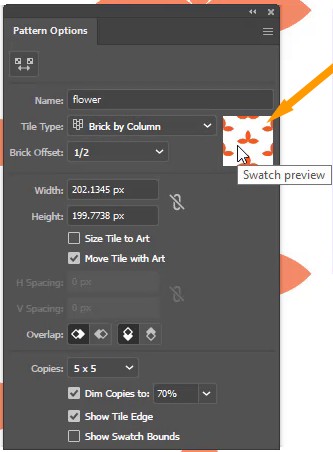
If you want to change more settings then you can also change Width Height, Overlap, and Copies.
Step 10: When you have set all the settings from the Pattern Options, Hit Done that is available on top of the document.

Note: You can also cancel if you are not satisfied with the pattern design.
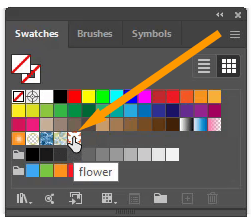
Step 11: After you have created the pattern you can see the pattern in the Swatches panel.
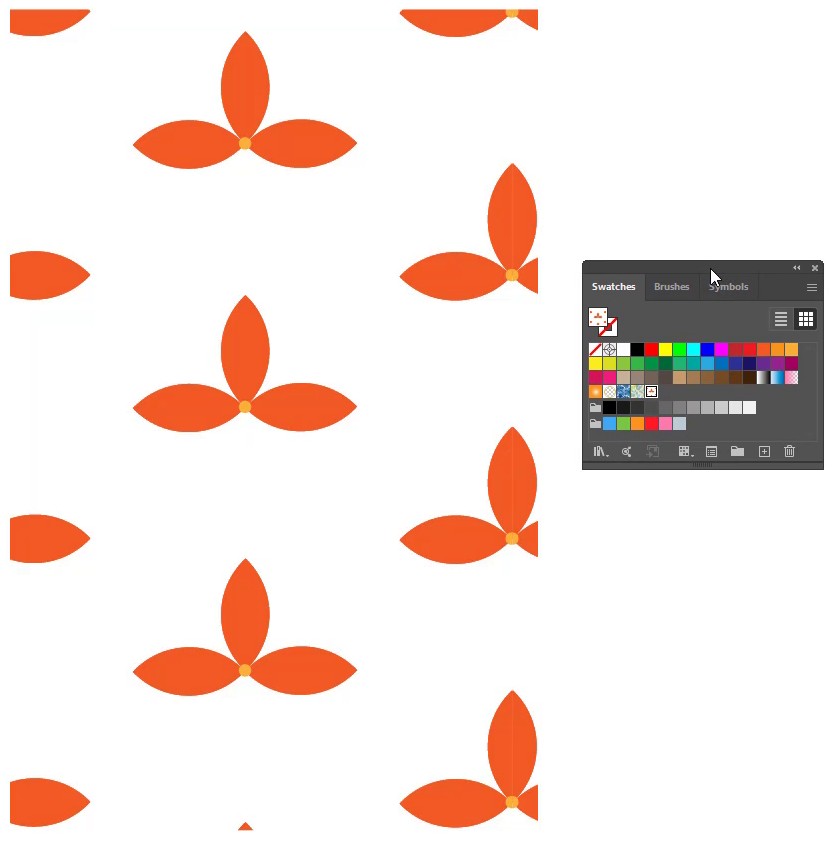
Now let’s use the pattern. Create a Shape and use the pattern as Fill. Here is how the pattern looks.
Edit Pattern in Adobe Illustrator
If you want to Edit the pattern simply double-click on the Pattern from the Swatches panel, and all the settings will appear.
The most amazing part while making a pattern is setting the Tile type. Because this option provides you with the best arrangement of your pattern.
2nd Method: Select & Drag to Swatches
The easiest and quick way to make a pattern in Illustrator is by using the drag method. Let’s see how we can do this.
Step 1: Place the design on the artboard to make a pattern.

Step 2: Go to Window > Swatches.
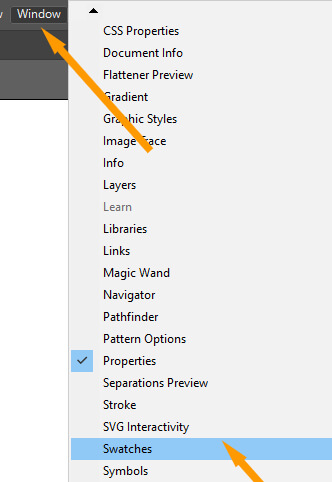
Swatches panel will appear.
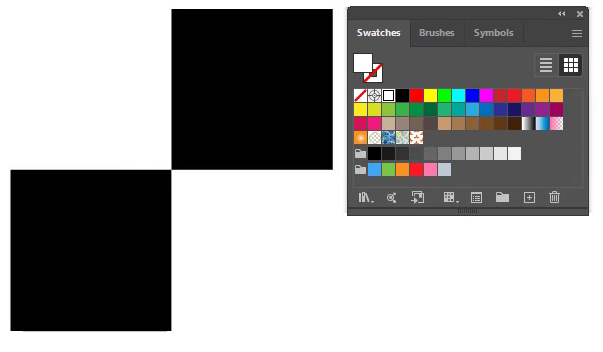
Step 3: Grab the Selection Tool from the left toolbar.

Step 4: Select the design and drag it to the Swatches panel.
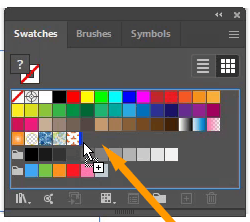
Note: Always keep in mind that you only drag the design in the area of the pattern in the Swatches panel. Otherwise, the design will not be added to the pattern.
Step 5: As you leave the mouse button you can see that the pattern is added in the Swatches panel.
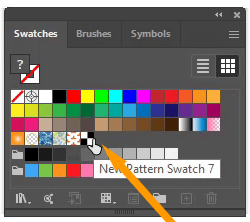
Now let’s use it.
Step 6: Double Click on the pattern. Pattern Options will appear. Add the name for the pattern.
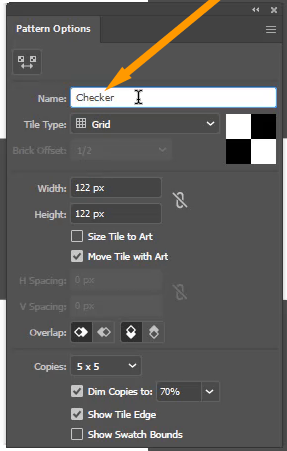
Step 7: Click Done from the top bar.

Step 7: Create a rectangle by using the Rectangle Tool from the left toolbar.

Step 8: As you create the shape the pattern is added to the rectangle.
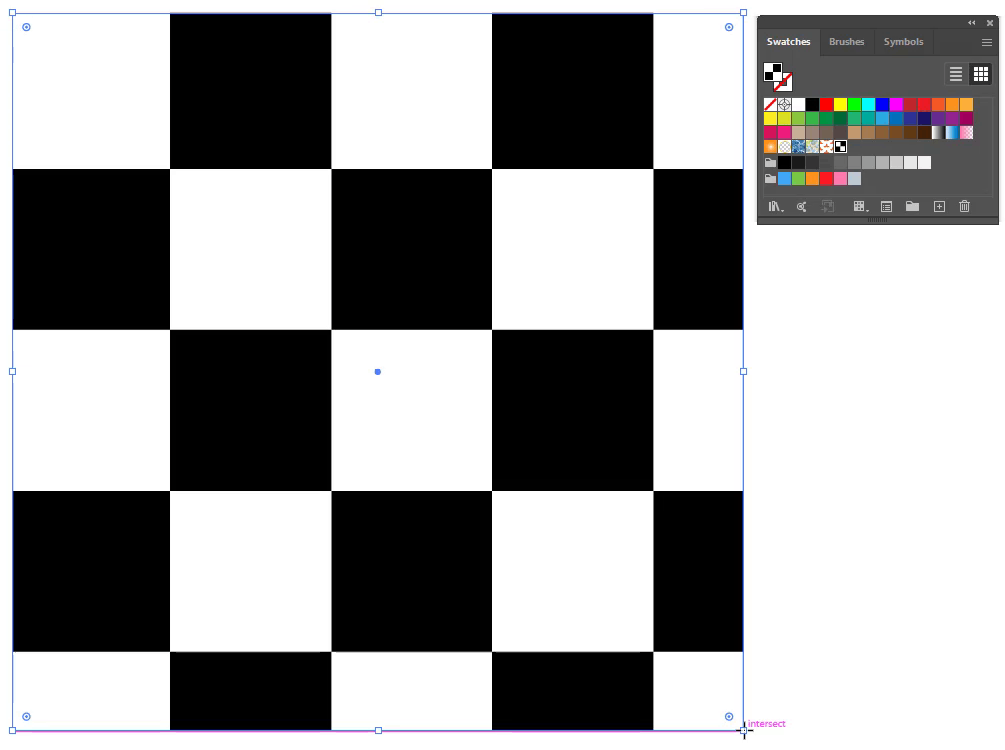
Note: If the pattern is not added to the shape then select it from the Swatches.
Patterns are the easiest and you can create them easily. As you have seen in this tutorial all the steps are easy to perform. If you have design ideas to create patterns then don’t hesitate to create.
You have learned How to make a pattern in Illustrator.
Today you have to learn to make a pattern in Illustrator. Now you can easily create multiple patterns according to your choice. Because a designer has multiple ideas to create designs. You can also watch our detailed video tutorial to Make a Pattern in Illustrator. That is given at the start of this tutorial.
Do You Have More Questions?
If you have more questions related to Patterns in Illustrator then feel free to ask in the Comment Section below. Some of the most frequently asked questions are discussed below.
How to Scale Pattern in Illustrator
If you want to scale the pattern that you have already created in Illustrator then select the pattern after filling it in a box and then go to Object > Transform > Scale. Set Scale to Uniform and unselect all from Options, only select Transform Patterns. Now increase or decrease the value in the Uniform to scale a Pattern in Illustrator.
How to Make a Repeat Pattern in Illustrator
To make a repeat pattern in Illustrator, select the pattern with the Selection Tool. Go to Window > Swatches. Click and drag the pattern to the Swatches panel, Pattern section. Now create a Rectangle and fill it using the pattern you have created. You will see that a repeat pattern is created in Illustrator.
How to Add Pattern in Illustrator
To add a pattern in the Illustrator, create a shape and add the pattern using the swatches panel.
All Done! Enjoy.

Leave a Reply