Raster Images can be traced and then converted to Vector. You may have noticed that the image pixels appear if you zoom them or use resize them. To avoid this, you can use Image Trace in Adobe Illustrator.
You can also watch the below-detailed video tutorial, to learn how to trace images in Adobe Illustrator.
Adobe Illustrator has 12 traces presets that can be applied to any image or logo. You can also trace the outline only with the Pen Tool as well.
If you are new or don’t have any idea to trace images in Illustrator, then you are in the right place. In this tutorial, you will learn how to trace images in Adobe Illustrator.
So Let’s Start.
How to Image Trace in Illustrator
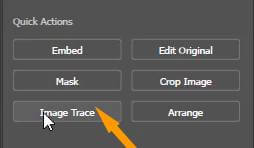
To Trace an Image in Illustrator, select the image, go to Properties > Quick Actions > Image Trace. Select any preset to apply it to the image. The image will be traced.
Following is the detailed guide to tracing Images in Illustrator.
Step 1: Select the image using the Selection Tool that you want to trace.
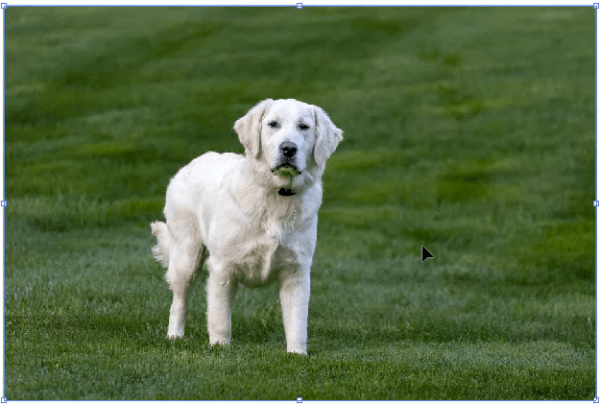
Note: If you want to place image, click and drag the image directly from the location to the artboard. then click once to place it on the artboard.
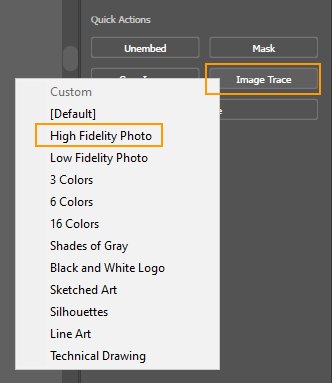
Step 2: Go to Properties > Quick Actions > Image Trace.
Or go to Window > Image Trace.
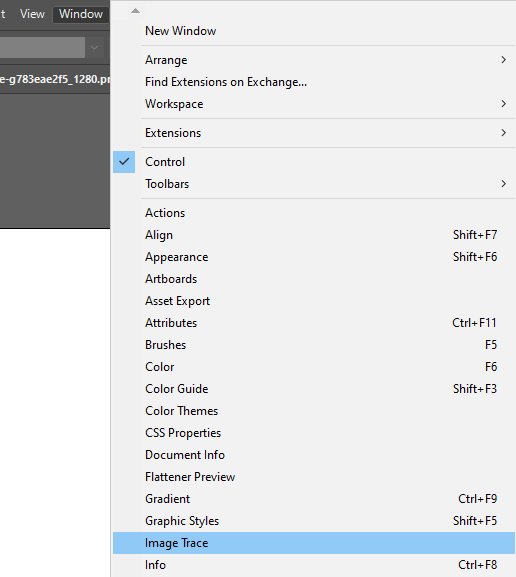
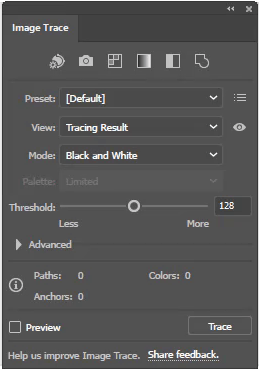
Image Trace panel will appear.
When you click on Image Trace from the Properties > Quick Actions, you will see a list of trace presets appears.
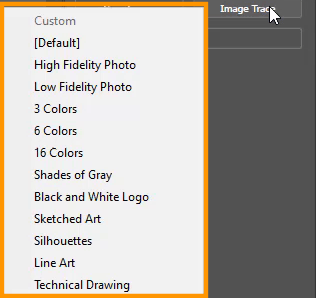
Here you can choose any preset to apply to the selected image. These are a total of twelve presets.
Here you can see all presets applied to the image.
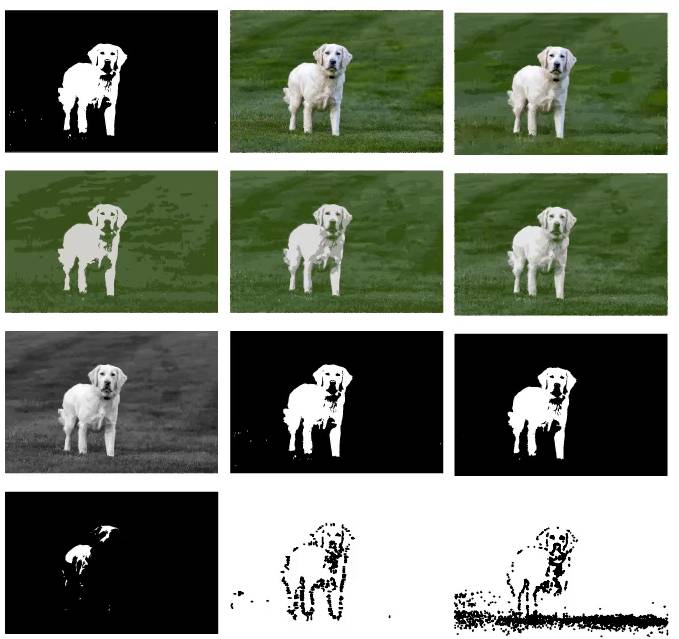
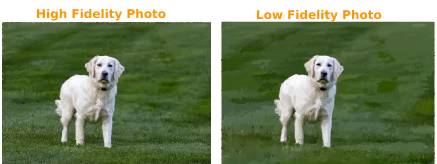
As you can see High Fidelity Photo and Low Fidelity Photo are like the original ones. There is slightly little difference you can notice.
In the Image Trace panel by Window > Image Trace, you can also see some presets. You can also select any from these.
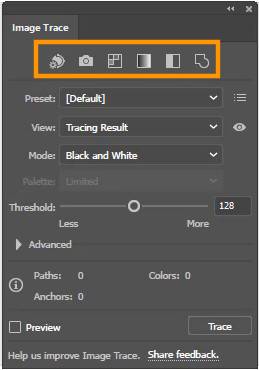
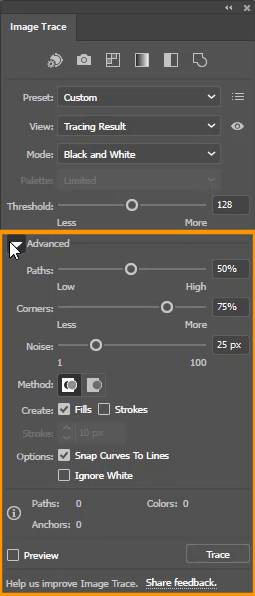
These are some of the advanced settings for the trace.
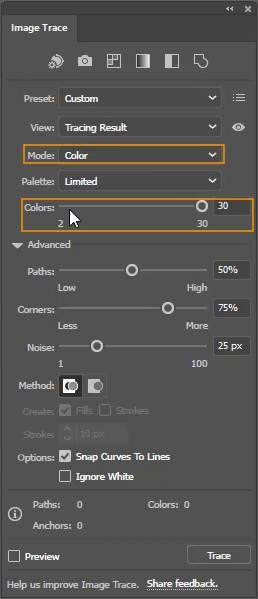
If the mode is set to Colors, you can increase or decrease the color value.
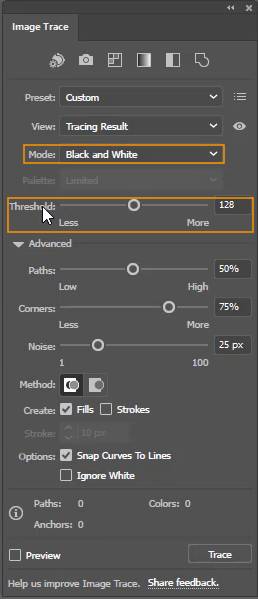
If the mode is set to black and white, now you can change the Threshold for the selected image.
If you zoom into the original photo, you can see the pixels. The quality gets low and the image is blur.
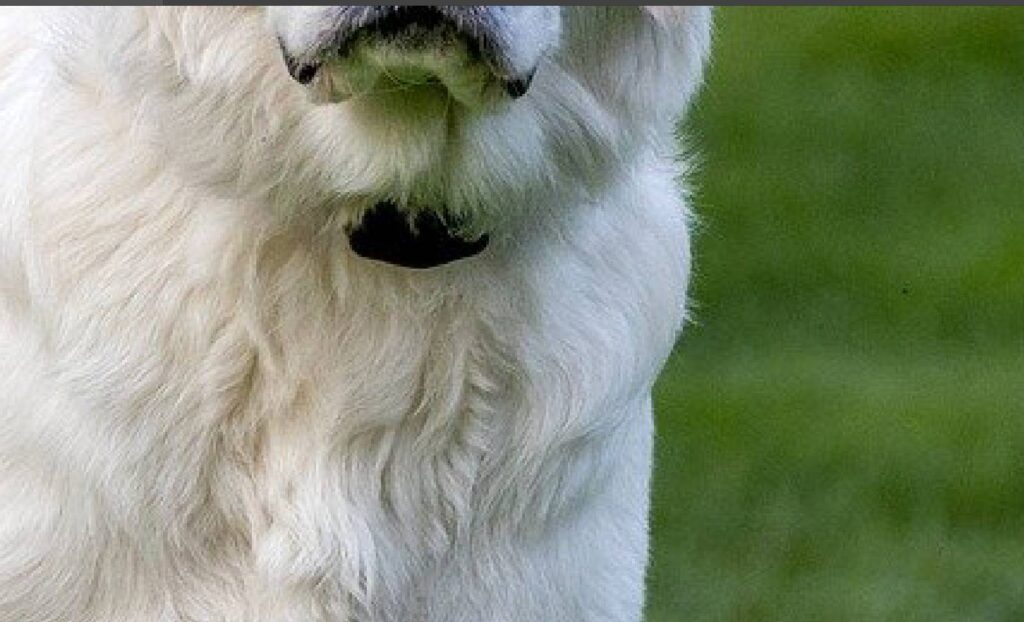
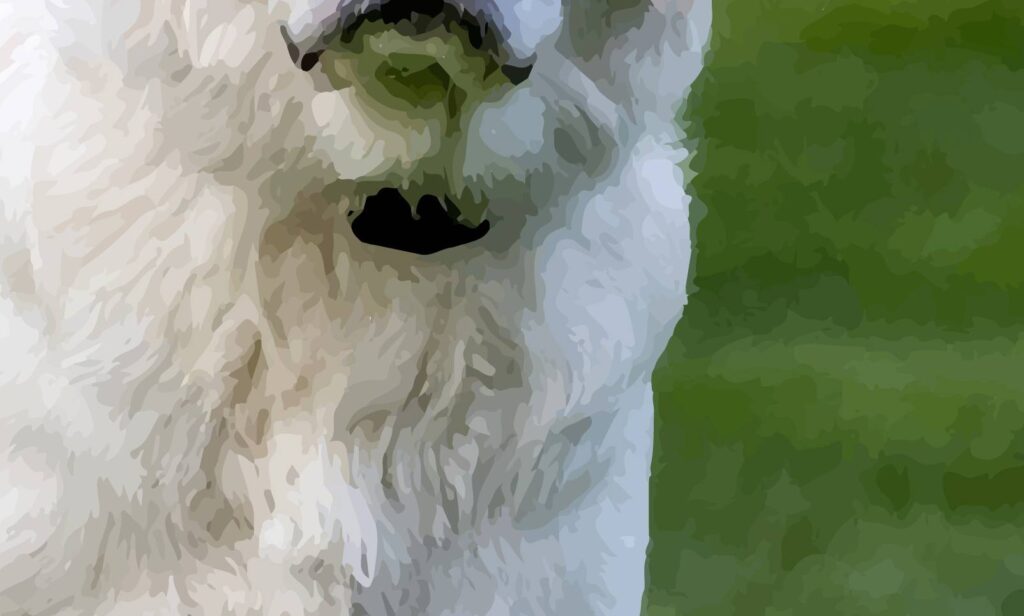
The same zoom is applied to the Trace image, and you can see it is not blurred. Because the image is traced and that is why the raster is converted to vector image.
Trace image using Pen Tool
You can also trace the image using the Pen Tool. With the help of Pen Tool, you can easily create the anchors at the outline of the image. As you complete all the areas the image is traced by the Pen Tool.

You have learned to trace image in Illustrator.
In this tutorial, you have learned to trace the image using the Image trace option and the Pen Tool. You can trace the image completely by using the Image Trace option. But if you need to trace the outline only then pen Tool works best for you.
Have More Questions?
If you have any questions related to Image Trace then ask in the comment section below. Below we have also answered some most frequently asked questions as well.
How to Trace a Logo in Illustrator
To trace a logo, go to Properties > Quick Actions > Image Trace > Select any Trace Preset.
How to Trace a Shape in Illustrator
To trace a shape, first go to Window > Layer. Lock the layer of the shape. Now grab the Pen Tool and trace using the Pen Tool. You can also select a different color stroke so that you can see the trace appearance while you are tracing with the Pen Tool.
How to image Trace in Illustrator without losing quality
To trace without losing quality, go to Properties/ Window> Image Trace > High Fidelity Photo. The image will be traced and the quality will not lose.
Why can’t I Image Trace in Illustrator
If you can’t trace the image, make sure that it is selected. Because when the image is not selected the Image Trace panels option grays out.
Best Image Trace settings in Illustrator
The best Image Trace setting is High Fidelity Photo in Adobe Illustrator.
All Done! Enjoy.

Leave a Reply