
Are you worried about How to Convert Raster to Vector in Illustrator. If you’re a graphic designer or work with digital images, you’ve probably come across the terms “raster” and “vector.” Raster images are made up of pixels and are resolution-dependent, while vector images are created using mathematical formulas and can be scaled without losing quality. Converting raster images to vector format can be incredibly useful, especially when you need to resize or edit an image without sacrificing its quality. In this article, we will guide you through the process of converting raster to vector using Adobe Illustrator.
This tutorial will show you how to convert a raster graphic to vector graphics with Adobe Illustrator CC.
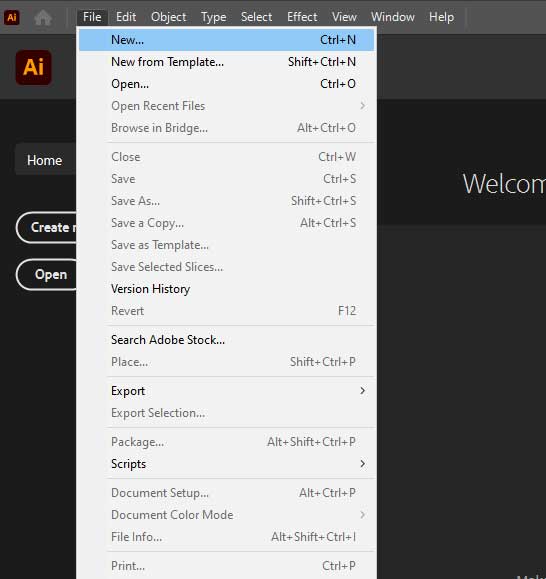
Start by launching Adobe Illustrator. Click the File menu and choose New.
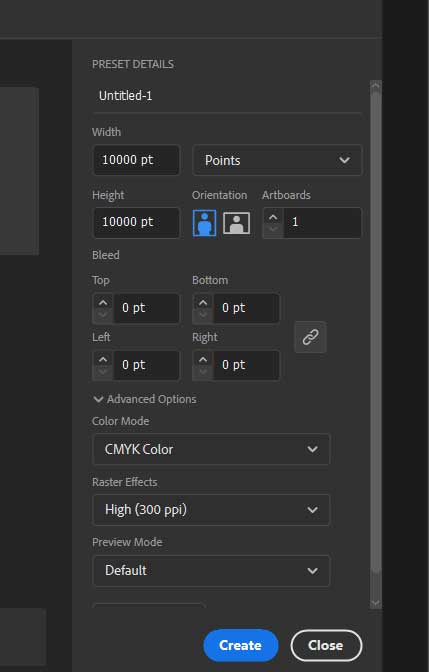
Set the properties for the document and press OK button.
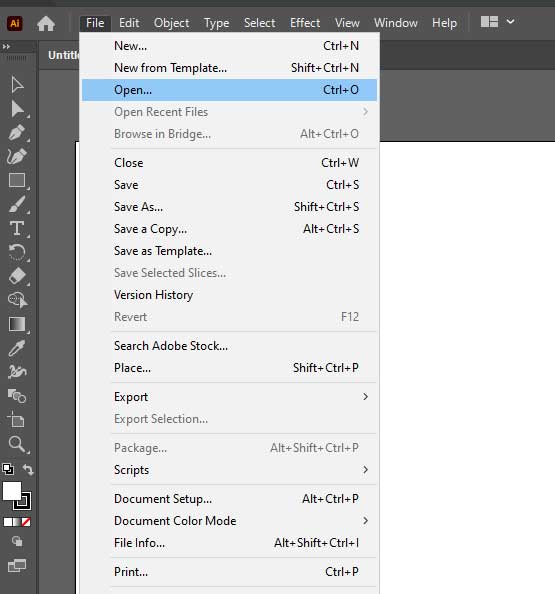
Select the File menu and go to Open.
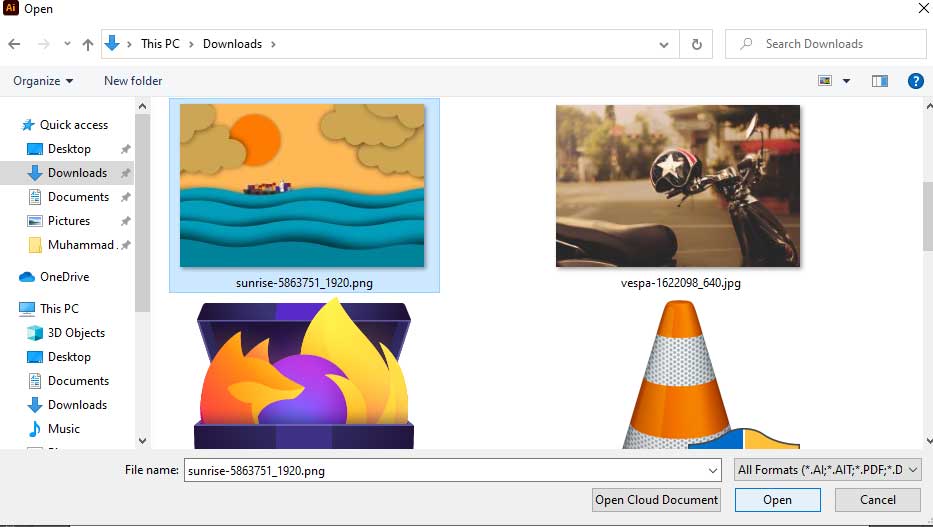
A window appears. Choose the image. To open, press Open.
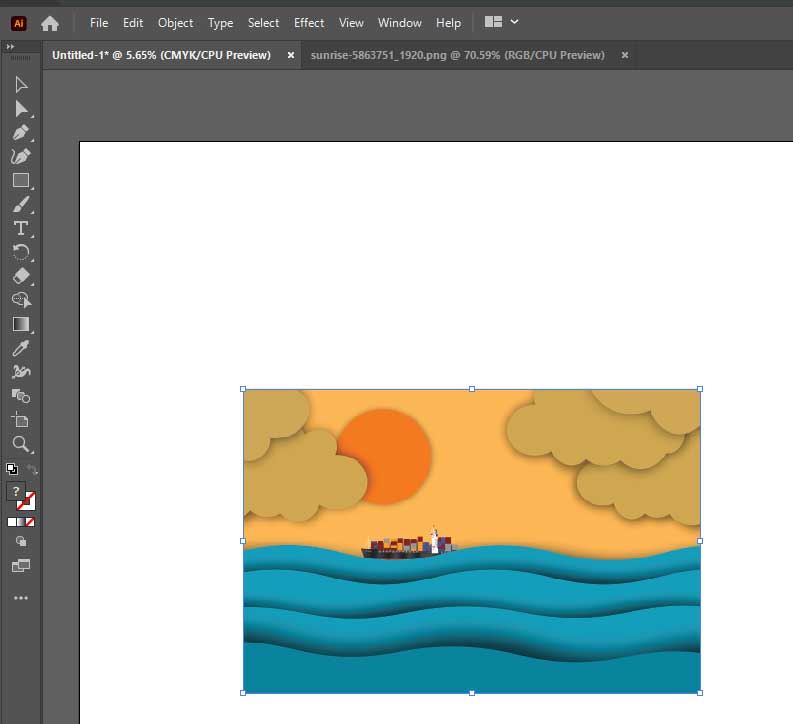
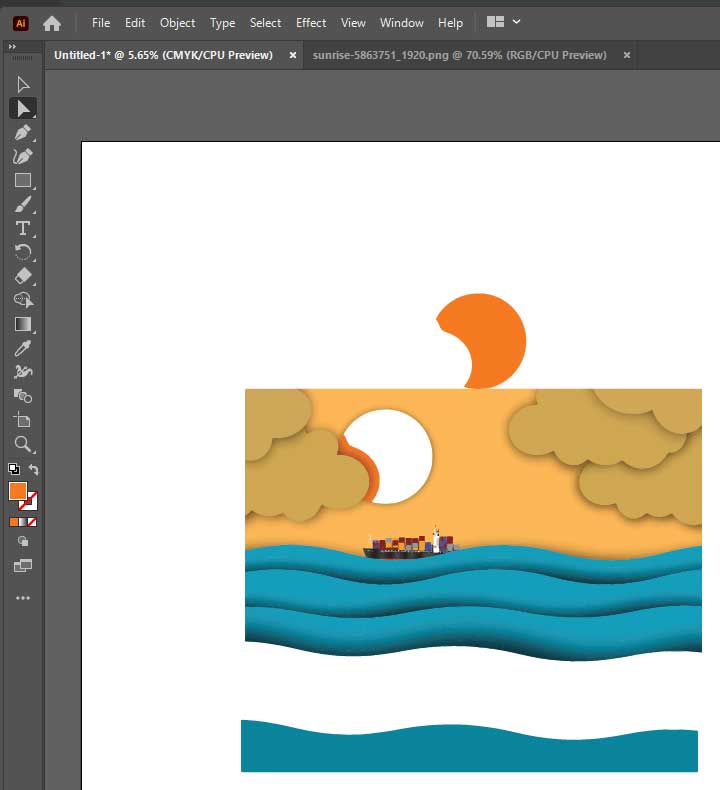
Now, move the open image into the newly created document.
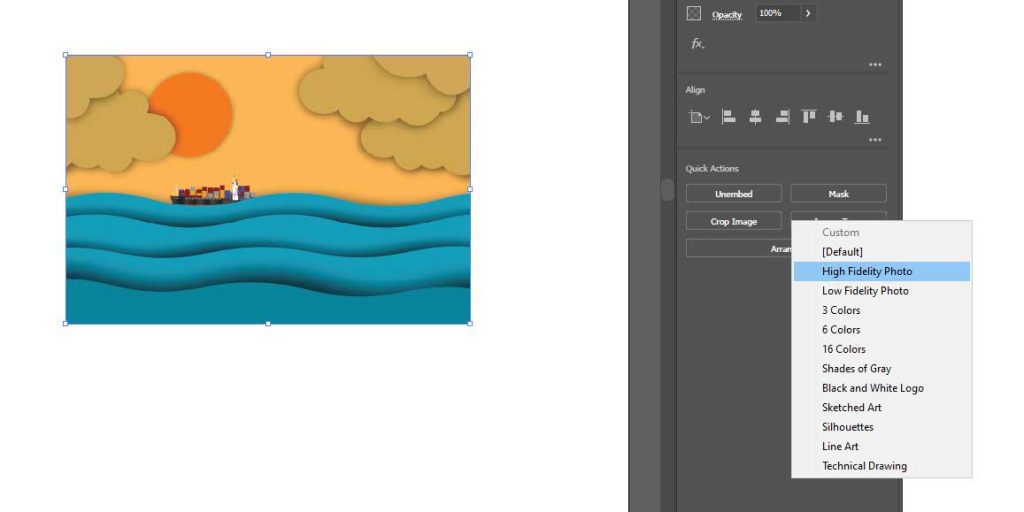
To start, go to the Control Panel, choose the image trace option, and then choose the high-fidelity photo.
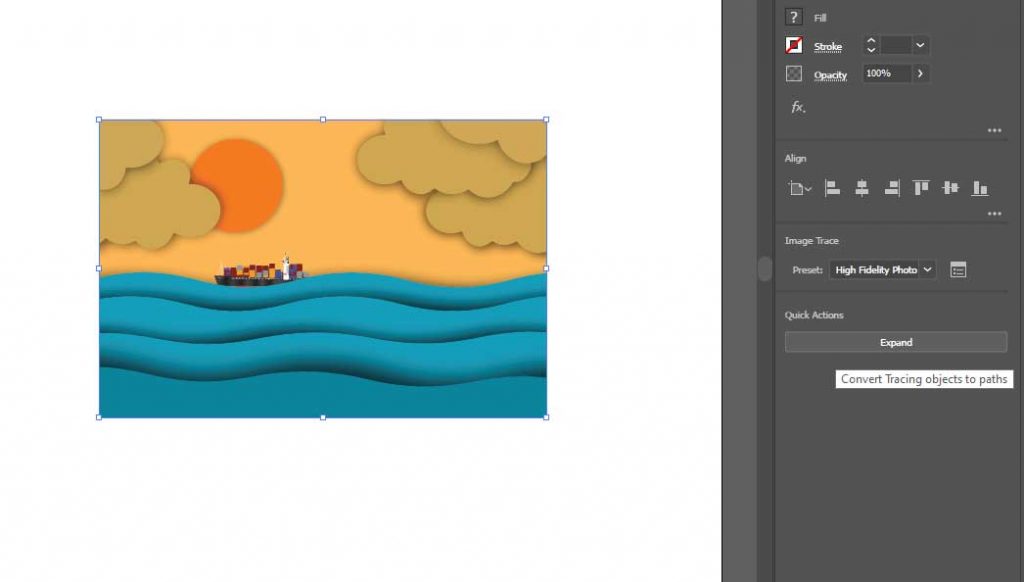
If tracing is complete, go to the control panel and click the expand button.
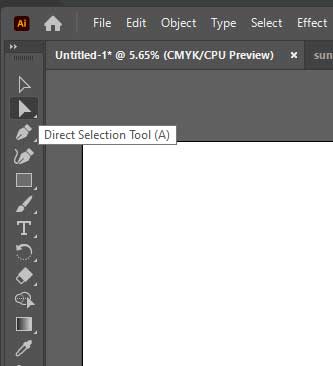
Choose the direct selection tool on the toolbar to create paths from the traced objects.
To check the conversion, select the points on the traced object.
With the help of Adobe Illustrator CC, you can see that the raster image has been successfully converted into a vector.
Table of Contents
Tips for Successful Conversion
- Ensure your raster image has a good resolution for optimal results.
- Adjust the Image Trace settings to achieve the desired level of detail.
- Experiment with different color modes and palettes to enhance the vector image.
- Regularly save your progress to avoid losing any modifications.
- Practice and experiment with various raster-to-vector conversions to improve your skills.
Conclusion
Converting raster to vector in Adobe Illustrator opens up a world of possibilities for graphic designers and digital artists. With its powerful tools and flexible editing capabilities, Illustrator allows you to transform pixel-based images into scalable vector graphics. By following the steps outlined in this article, you can master the art of raster-to-vector conversion and unlock a new level of creative freedom.
Frequently Asked Questions
Can I convert any raster image to vector format?
Yes, most raster images can be converted to vector format using Adobe Illustrator or similar software. However, the quality of the conversion may vary depending on factors like resolution and complexity of the image.
Are there any limitations when editing vector images?
While vector images are highly editable, it’s important to note that complex modifications may require advanced skills and experience with Illustrator or vector editing software.
Can I convert a vector image back to a raster format?
Yes, you can export a vector image to a raster format like JPEG or PNG if needed. However, keep in mind that once converted to raster, the image will lose its scalability.
Is it necessary to manually trace the image in Illustrator?
No, Adobe Illustrator’s Image Trace tool automates the process of converting raster to vector. However, manual adjustments are often required to achieve the desired results.
Can I convert multiple raster images to vectors simultaneously?
Yes, you can batch-process raster images in Adobe Illustrator by selecting multiple files during the import step. The software will apply the same conversion settings to all the selected images.


Leave a Reply