Blend Tool is amazing when you want to create different colors effect by combining two colors through the shapes. Blend Tool works like magic. It helps to make amazing blends using multiple colors with just a simple click. You can blend lines, and shapes to form amazing designs.
Blend Tool is something amazing that can be used to create Logos and also different abstract elements. You just have to add your favorite colors to the shape and then blend them.
But sometimes designers may not be able to find the Blend Tool in Adobe Illustrator. Well, Blend Tool can easily be found and used in two different ways. Both ways are really easy and quick to find.
Blend Tool in Adobe Illustrator – Video Tutorial
You can also watch the video tutorial to learn where the Blend Tool is in Adobe Illustrator. In this, you will learn two different ways to find the Blend Tool and use it for blending in Illustrator.
If you are new or don’t have any idea about where is Blend Tool in Adobe Illustrator, then you are in right place. In this tutorial, you will learn where is Blend Tool in Adobe Illustrator.
You can also learn:
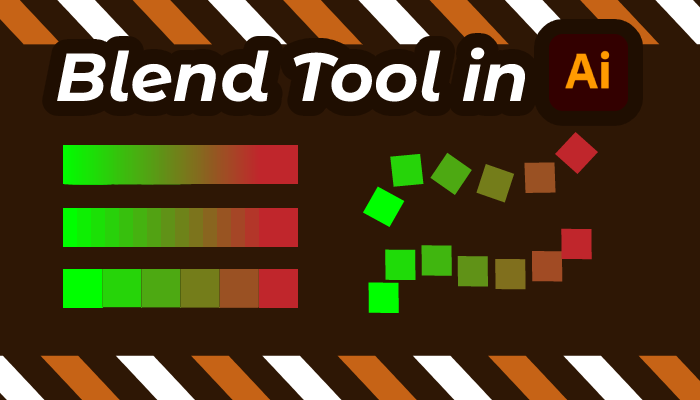
So let’s start.
Where is the Blend Tool in Adobe Illustrator
You can use the Blend Tool in Illustrator by the left toolbar that is available as the Blend Tool name.
You can press W to use the Blend Tool in Adobe Illustrator.
To use the Blend Tool in Illustrator, select the colored objects and go to Object > Blend > Make.
Following are the detailed steps to find the Blend Tool in Adobe Illustrator.
Create shapes
The Blend Tool works on the colored shapes to make amazing blends using two or more colors, so you must have any shape on the artboard. Then using the Shapes we will use the Blend Tool to make beautiful Blends. To create the blend we can use any shape.
So here we are using a circle, to draw a circle we need Ellipse Tool. Grab the Ellipse Tool from the left toolbar that is available under the Rectangle Tool.
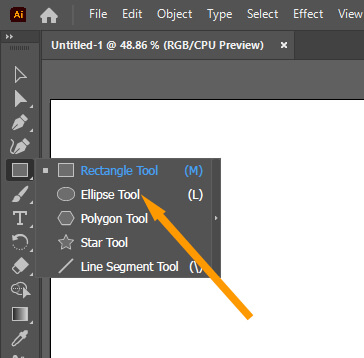
Press & hold the Shift key to create a circle using the Ellipse Tool. Instead of a circle, you can use any shape of your choice as well.
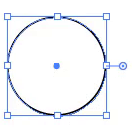
Now duplicate the circle or copy it by using ctrl+C from the keyboard.
To paste it press Ctrl+V from the keyboard.

Fill Color in Shape
Select any one shape using the Selection Tool.
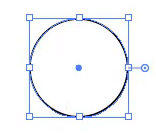
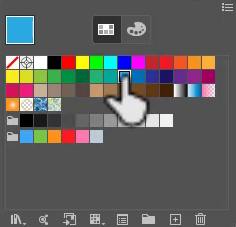
Fill in different colors in both circles. To fill the circle, you can use the Swatches panel or the Fill that is available under Properties > Appearance > Fill.
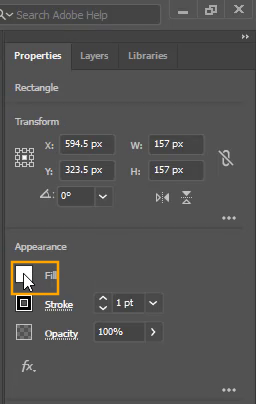
Select any fill color of your choice in the shape.
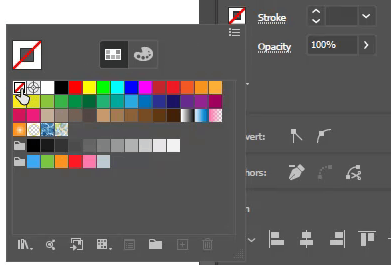
Set the Stroke to None.
Repeat the same with another shape.
Now that you have two different shapes, with different fill colors, you can easily find Blend Tool and use it on the shapes easily.

1st Method: Toolbar
You can find the Blend Tool in the Toolbar easily.
In the left toolbar, you will see the Blend Tool is available. It looks like the image given below.
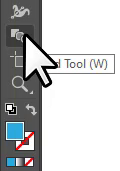
You can also press W from the keyboard to use the Blend Tool in Illustrator.
Note: To use the Blend Tool from the left toolbar, first of all, you must have two or more colored objects or shapes.
After selecting Blend Tool from the toolbar, click on the first object using the Blend tool.

After clicking on the first colored object by the Blend Tool now click on the second.

As you click on the second object, the Blend of the colors will appear. It will look like this.

To adjust the Blend Settings according to your choice, double-click on the Blend Tool.
Blend Option panel will appear. Here you can set the blend options to get amazing blend effects for your colored objects.
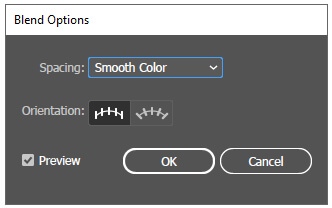
You can set the Spacing to Specified Distance and get a smooth blend.
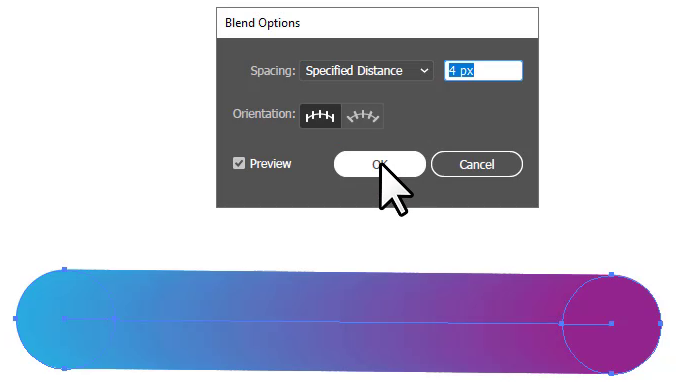
2nd Method: Object Menu
Blend Tool is available under the Object menu. You can also use it through the menu easily.
Step 1: Make sure to select the colored object using the Selection Tool.

Step 2: After selecting colored shapes, go to Object menu > Blend > Make.
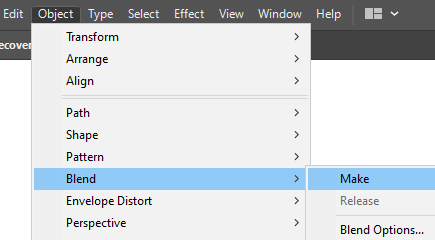
You can also press Alt+Ctrl+B as well.
The blend of the selected color shapes is here.

To see the Blending Option, select Object > Blend > Blend Option.
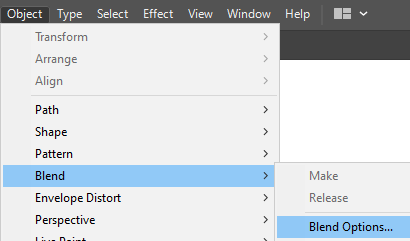
You have learned about where is Blend Tool in Adobe Illustrator.
In this tutorial, you have learned about where is Blend Tool in Adobe Illustrator. The Blend Tool is used to create blends using different colors to make logos and amazing illustrations. Blends are not created for only two colors but also you can use multiple colored shapes and then combine them to make blends.
You will find the Blend Tool amazing to work with in Illustrator, as it allows you to create different stylish text for logos or any text for your upcoming projects.
The blend basically creates a gradient for the two colors and these colors can also be used to add to your swatches palette. You can use the colors later as well or you can also create a new theme using these colors.
In the Blending options, you can increase or decrease the specified steps to get each color separately as well.
Have More Questions?
If you have any questions related to the Blend tool in Adobe Illustrator, you can ask in the comment section below. We have also answered some most frequently asked questions as well.
You can also learn: Where is the Fill Tool in Illustrator
Blend Tool not Working Illustrator
If the Blend tool is not working in Illustrator, make sure to select the colored object first by using the Selection Tool and then go to Object > Blend > Make. The Blend for two selected objects will be created.
You can also use the Blend Tool from the left toolbar or press W and then click one by one on the colored object to make the blend.
Blend tool Illustrator shortcut
The shortcut key for Blend Tool in Illustrator is W. You can also use Alt+Ctrl+B to directly blend the selected objects in Illustrator.
All Done! Enjoy.

Leave a Reply