
In this tutorial, I will show you how to use the Blend Tool in Adobe Illustrator.
In this lesson, you will have the opportunity to explore the different ways that you can use this tool to create a smooth transition from one shape or line segment to another.
The Blend Tool is an easy way to create smooth transitions between two or more shapes or lines in your drawing. It is also helpful for making adjustments when drawing complex shapes.
Table of Contents
Blend Tool in Illustrator
Blend Tool is a powerful tool when creating art in Adobe Illustrator.
It is very important that you know how to use it correctly in order for it not to mess up your design. That is why I made this tutorial for people who are new to Adobe Illustrator. I hope that my instructions are clear and helpful!
Introduction to Blend Tool in Abode Illustrator
Blending items allows you to generate and equally distribute patterns between 2 items. You may also mix blends of colors and objects to make color transitions in the shape of a particular item, or you can blend between two open pathways to create a seamless transition between objects.
Blending two distinct colors applied to two objects of the same form is the simplest mix you can produce. This helps you learn the Blend Tool and it’s enjoyable to see how the colors blend.
Blending Multiple Shapes
So, Let’s start the tutorial.
First thing first, Open the Adobe Illustrator CC.
Simply click Create New.
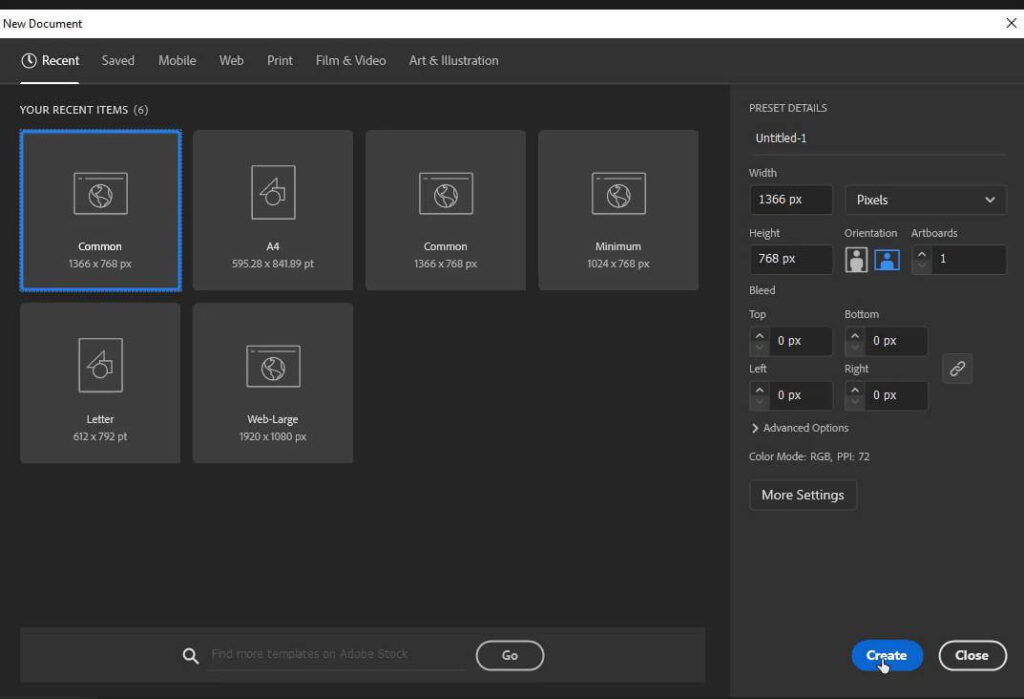
I am selecting a Common size.
Now select the Rectangle tool.
Simply draw two Squares of the same size.

Press the Shift key to draw the perfect square.
Go to the “Properties” Panel and in the “Appearance” section, click on the Fill option.
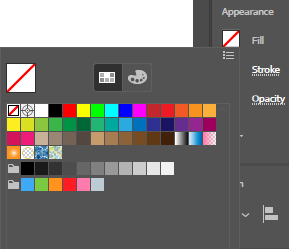
Now fill each square with a different color.

Select both squares.

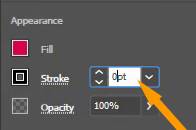
Now, go to the “Appearance” section and set the stroke to none.
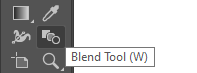
Selecting the Blend Tool
Then, in the Tool Bar, pick the Blend Tool (shortcut W).
How do I use Blend in Adobe Illustrator?
Now, click on the first shape, followed by the second. So there you have it. A simple blend has been created!

Blending Options
But, this is not enough. We want to use this tool in-depth.
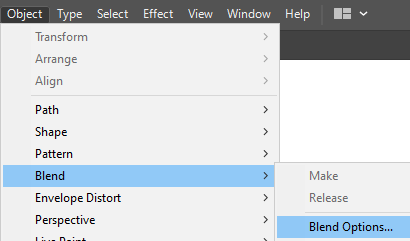
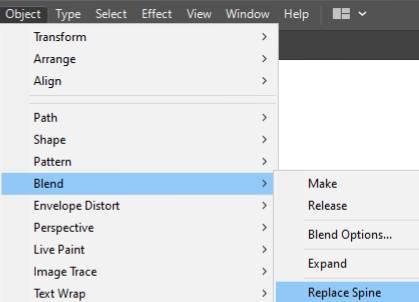
So Go to Object Menu >> Blend >> Select “Blend Options”.
“Blend Options” Dialog box will appear. Don’t forget to check the “Preview” option in the lower-left side of the dialog box.
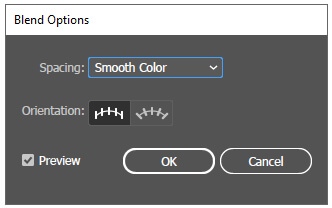
The first option is about “Spacing”.
Click on the Smooth Color option next to Spacing. A drop-down menu will appear.
There are three options available.
1. Smooth Color (Illustrator automatically calculates the number of steps for blends. The number of steps is calculated according to the number of colors that need to be stroked or filled in order to have a smooth color transition. The number of steps is determined by the longest distance between the bounding box edges of the two objects if the objects contain identical colors, gradients, or patterns.)

2. Specified Steps (Enter the number of steps (objects), you want between already drawn shapes.


3. Specified Distance (Distances are measured from the edge of one object to the edge of the next object.)


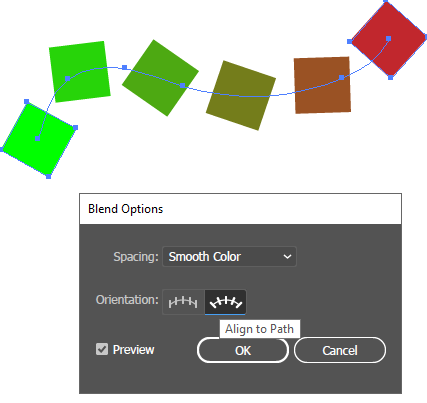
The second option is about “Orientation”.
There are two options available in Orientation Section. These are “Align to Page” and “Align to Path”.
To understand these let’s draw a random line with the brush tool.

Go to Object >> Blend >> Replace Spine.
Now we will go to Object >> Blend >> Blend Options.
If we choose “Align to Page”, all squares will be in their original shape.

If we choose “Align to Path”, all squares will be rotated according to the given path.
So, this was the blend tool. You can use your designing skills to make some cool designs using this “Blend Tool”.
You have learned to use the Blend Tool in Adobe Illustrator.
Click here to read a tutorial, in which we have used this tool to create a shadow effect to a text.

Feel free to comment below and share your opinion about this tool.


Leave a Reply