No one wants to have only a black and white version of their design. Filling multiple colors into the design can make it complete. Because we all know that colors add life to designs.
You can fill colors using different ways and techniques in Adobe Illustrator. The designer using Adobe Illustrator should know all the basic tools and techniques to Fill any shape, text, or object.
You can also learn:
- How to Fill in a Shape in Illustrator
- How to Fill a Shape With Text in Illustrator
- How to Fill Text With an Image in Illustrator
- How to Fill a Character with Text in Adobe Illustrator
- How to Fill an Image with Another Image in Illustrator
For many beginners, it’s quite a difficult situation when it comes to Filling in Adobe Illustrator. As they don’t know which tool they should use to Fill any color in the objects.
If you are new or don’t have any idea to Fill in Illustrator, then you are in a right place. In this tutorial, we are going to give you a complete guide on How to Fill in Illustrator.
So Let’s start.
4 Methods to Fill in Illustrator (Complete Guide)
Different methods can be used to fill any color of your choice in Illustrator. You can fill any text, or object using the Fill methods whenever you want.
1st Method: Fill from Toolbar
The first method to Fill is by using the Fill Tool available in the left toolbar.
The fill for the shape remains white when you create a shape using any shape tool.
But the fill for text converts to black.
So now, we will fill the shape and text with different colors from the fill.
We are drawing a shape using the Rectangle Tool.


How to Use Fill Tool in Illustrator
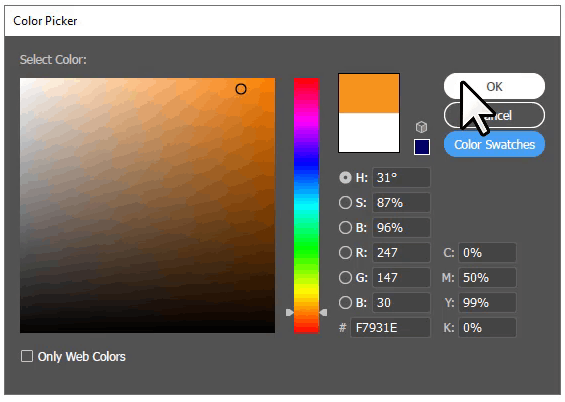
Double-click on the Fill Tool.
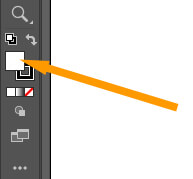
The Color Picker palette appears.
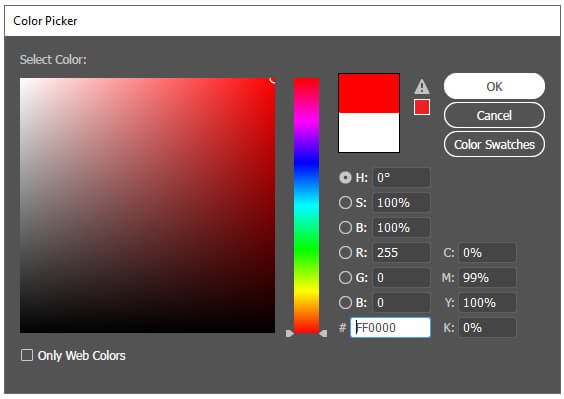
Now there are multiple options.
Select the color from the Fill box by taking the pointer at the location of the color you want to fill in the rectangle. You can switch between different colors from the color slider and then use the pointer to fill a different color. You can also add RGB or CMYK or Hex color code.
Click on the Color Swatches.
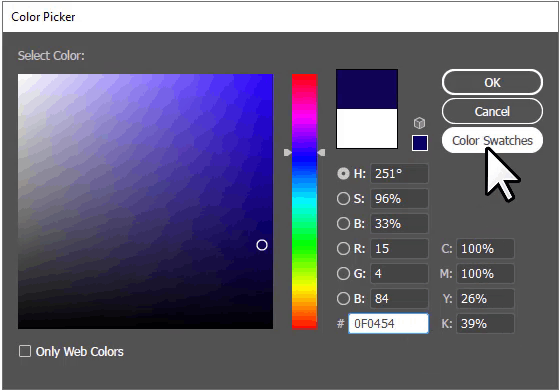
You can select any color from Color Swatches as well.
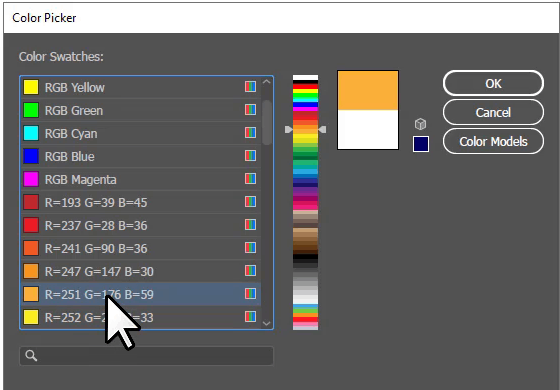
After selecting any color, Click OK.
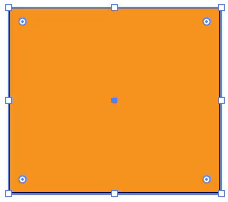
The selected color is applied to the rectangle.
Select the stroke.

Set it to none if you don’t want to add any stroke color.
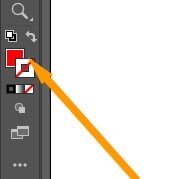
But if you want to add stroke color, then double click on the stroke and select the stroke color from the Color Picker palette.
In the same way, you can select any color for the text as well.
2nd Method: Appearance
You can fill colors to any shape and text by using the Fill available in Appearance.
You can access the fill by Properties > Appearance > Fill.
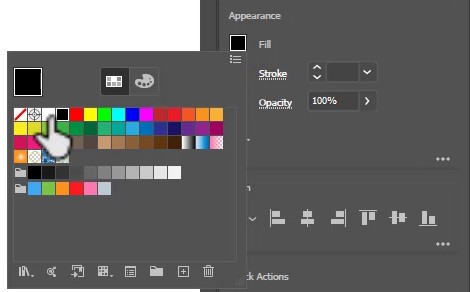
Make sure that you have selected shape and text and only then Appearance panel will appear in the Properties on the Right side of your workspace.
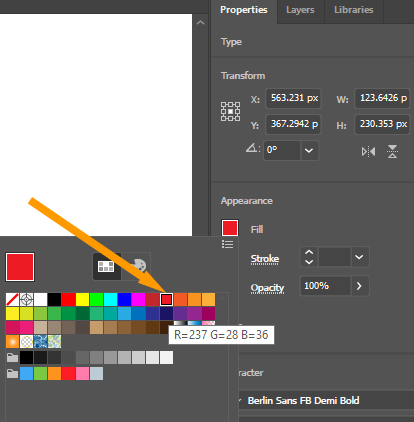
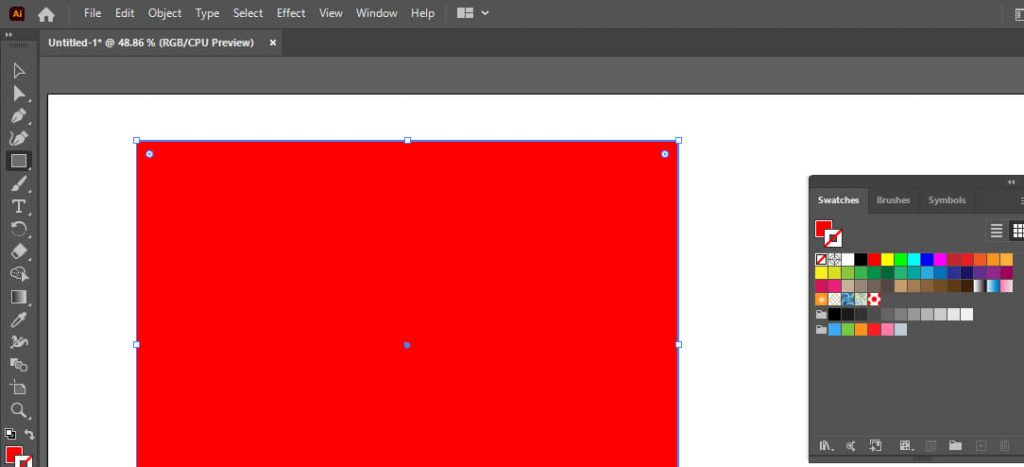
Step 1: Draw a rectangle using the Rectangle Tool.


Step 2: Go to Properties > Appearance > Fill.

Step 3: Select the desired color that you want to fill in the Rectangle.
The selected color is applied to the Rectangle.
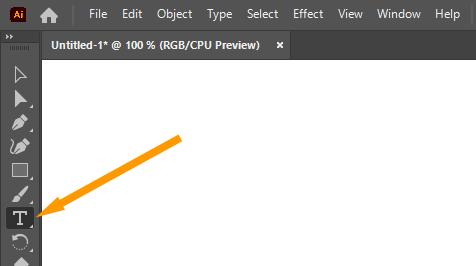
In the same way, if you have to type any text using the Type Tool.
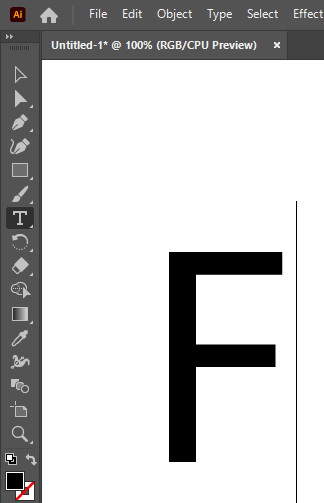
Select it using the selection Tool.

Go to Properties > Appearance > Fill.

Select the desired color.
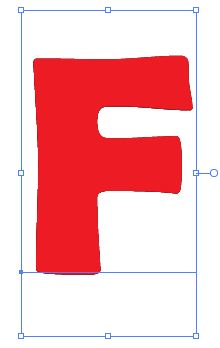
The selected color is applied to the text.
3rd Method: Colors from the Window menu
Adobe Illustrator also comes with some more color palettes that can be used to fill any shape or text. These color palettes have different color options and different swatches. Illustrator provided a range of colors through these palettes.
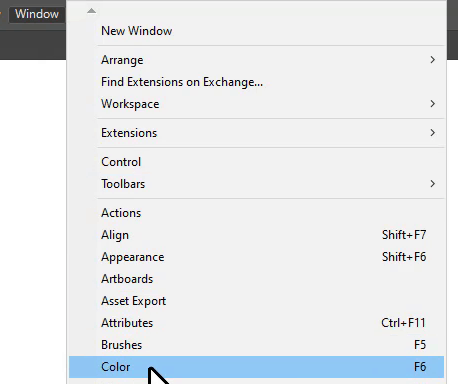
Go to Window > Color. You can also press F6 from the keyboard.
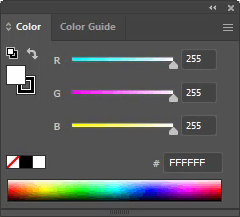
The color palette will appear on the artboard.
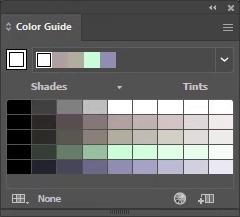
- Go to Window > Color Guide. You can also Shift + F3 from the keyboard.
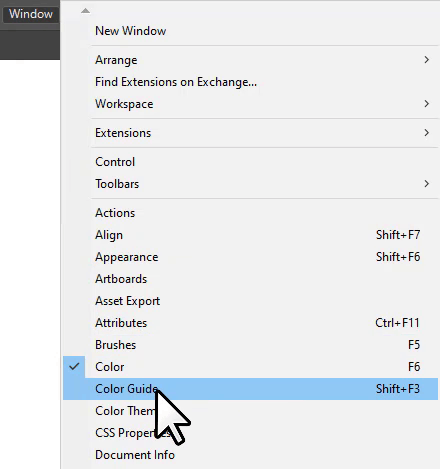
The Color Guide palette will appear.
- Go to Window > Swatches.
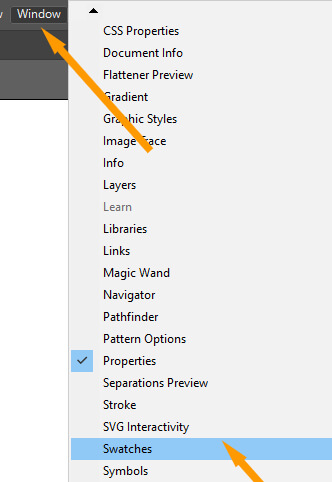
The Swatches panel will appear.
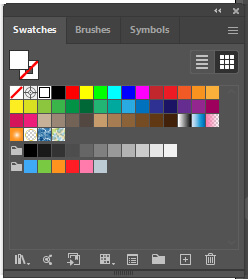
To fill the color using all these palettes, select the object using the Selection Tool.

Select any color from these palettes.
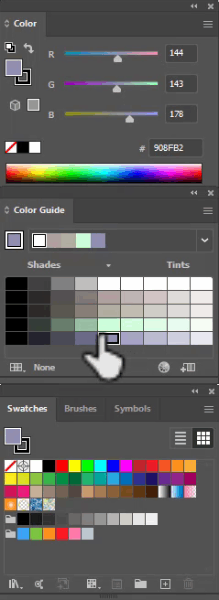
The selected color will be applied to the object that you have selected using the Selection Tool.

4th Method: Paintbrush Tool
Many artists use the Paintbrush Tool to fill colors in the object. The Paintbrush Tool’s basic purpose is to give a painting style to the drawing you have created. You can use any color to fill in objects that you have drawn using the Paintbrush Tool.
Step 1: Grab the Paintbrush Tool from the left toolbar.
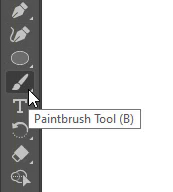
Step 2: From the Stroke in the left toolbar, double click to open it.

Step 3: Color palette will appear.
Step 4: Pick your desired color.
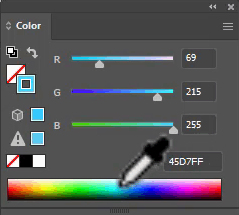
Step 5: Start painting colors in objects according to your choice.
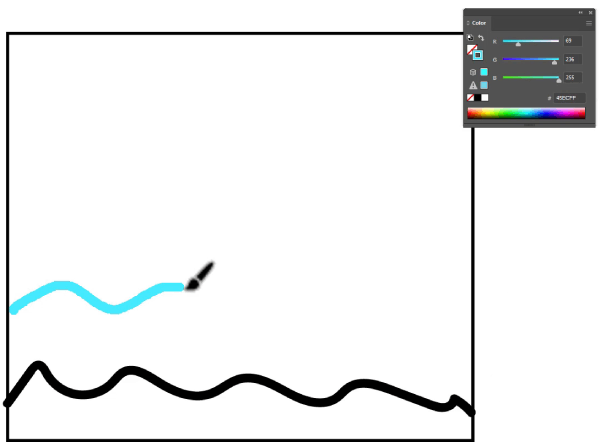
You can fill different colors in a single object to make it look more amazing.
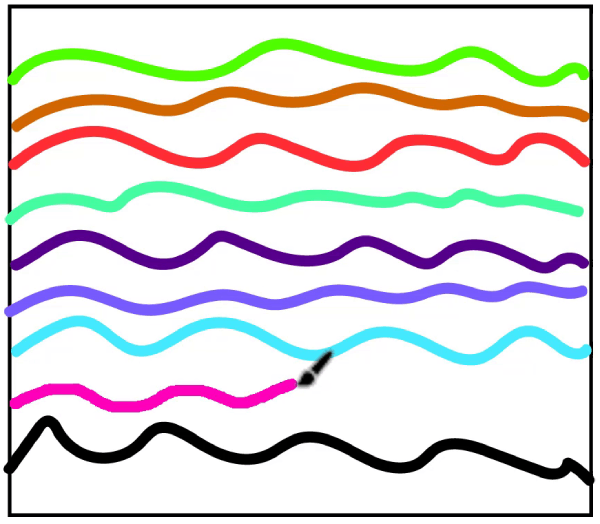
You have learned to Fill in Illustrator.
In this tutorial, you have learned to Fill in using the 4 different methods in Adobe Illustrator. You can fill shapes with text or any object using the given fill methods. Fill in important as it can make the design more interesting. We can easily apply different colors and swatches using the Fill tool available.
You can also watch the detailed video tutorial, to learn How to Fill in Illustrator.
Have More Questions?
If you have any questions related to filling in the Illustrator, you can ask in the comment section below. We have also answered frequently asked questions below.
How to Color in Illustrator
In Adobe Illustrator, you can fill by using the Fill option available in the toolbar, from the Window menu > Choose Swatches, Color guide, or color and Paintbrush Tool.
How to Paint in Illustrator
You can paint in Illustrator by using the Paintbrush Tool. You can select the Paintbrush Tool from the left toolbar.
Shortcut to Fill Color in Illustrator
The shortcut to fill color in Illustrator is X. You can press X from the keyboard and the Fill will be activated. Double Click on the Fill and the Color Picker panel will appear. Choose the desired color and click OK.
All done! Enjoy.

Leave a Reply