
In this tutorial, you will learn how to draw an umbrella in Adobe Illustrator. Watch the video below or follow the steps written below.
Open the Adobe Illustrator, and choose your document size as you wish.
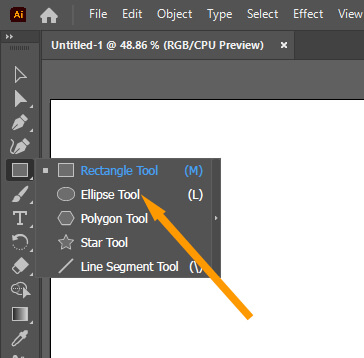
After opening the Illustrator Interface, focus on the left-hand side toolbar and right-click on the “Rectangle Tool”. Choose “Ellipse Tool”. You can also press the “L” key from your keyboard.
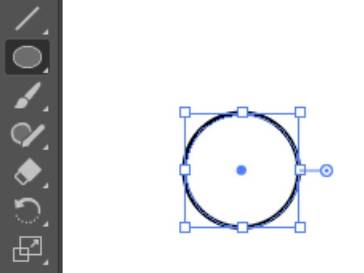
Now press the “Shift” key from your keyboard and draw a small perfect circle by pressing the “Shift” key. Without pressing the “Shift” key, the circle will be imbalanced.
After drawing a circle, select the “Selection Tool”.

Now press and hold the “Alt” key from your keyboard and also press and hold the “Left Click” button of your mouse. Now drag the circle to the right side until you see red thin lines with “intersect” text. It means your duplicated circle is aligned with previously drawn circle.

Now simply press “Ctrl+D” from your keyboard and another circle will be automatically drawn. “Ctrl+D” will automatically repeat the previous step. So you will have to create a total of 6 small circles.

Now make sure that the “Selection Tool” is selected.
Select all the circles by left click on empty space and dragging the cursor over all circles.

Choose “Direct Selection Tool” from the left toolbar.
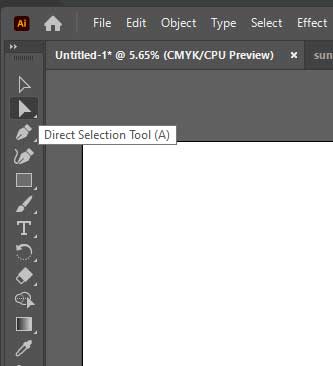
Anchor points of the circles will be visible.

Select all the lower anchor points.

and press the “Delete” key from your keyboard.

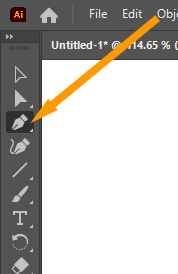
Select the “Pen Tool”.
Draw a straight line in the center of the circles to make a Shaft of Umbrella. Also, make a handle by clicking next to the shaft.
Press the “Esc” key from your keyboard to release the “Pen Tool”.

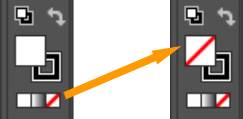
Make sure that the “Fill” color is Nill.
Now right-click the “Line Segment Tool” and choose “Arc Tool”.

Now left-click on the left side of the umbrella and drag to the top of the umbrella’s shaft.

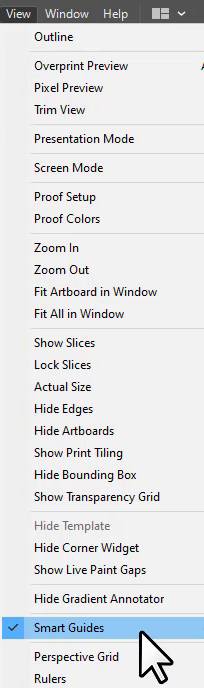
To perfectly align the lines, make sure that the “Smart Guides” option is checked in the “View” menu.
Try to draw the lines, when the red color “anchor” text is visible.

Make arc lines with all the circles to the top of the umbrella.

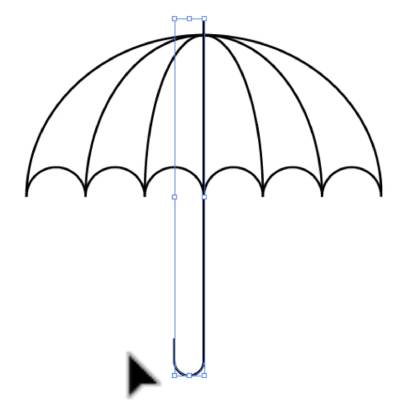
After this choose “Direct Selection Tool” and select the anchor points of the handle.
Move two circles upward to round the corners.

Choose the “Selection Tool” and select the shaft and move it upward to make the End Tip of the Umbrella. Your shape is ready.
To add the colors, choose the stroke color option in the left side toolbar. Color Box will appear, choose your desired color.

You can also increase the Stroke and play with different options as per your need.
Good News: You can download the file used in this tutorial here.


Leave a Reply